Good news! You can now install Ubuntu 22.10 as a virtual machine on macOS M, M2 or M3 with UTM. If you are a Mac user, MacBook Pro, M1, M2 or M3, you are probably struggling to install VirtualBox on your Mac. Well, this article presents you with a better alternative to VirtualBox, yes, I’m talking about UTM.
In this article, we will see step by step how to install Ubuntu 22.10 as a virtual machine on your Mac using the UTM emulator. By following the instructions provided, you will be able to install and configure Ubuntu 22.10 on your virtual machine and enjoy all the features of this OS.
Steps to install Ubuntu 22.10 Desktop on macOS M1, M2 or M3
Step 1: Download Ubuntu ARM and UTM
Before you start, you need to download UTM from the official website. Once the download is complete, install the application on your Mac by following the instructions.
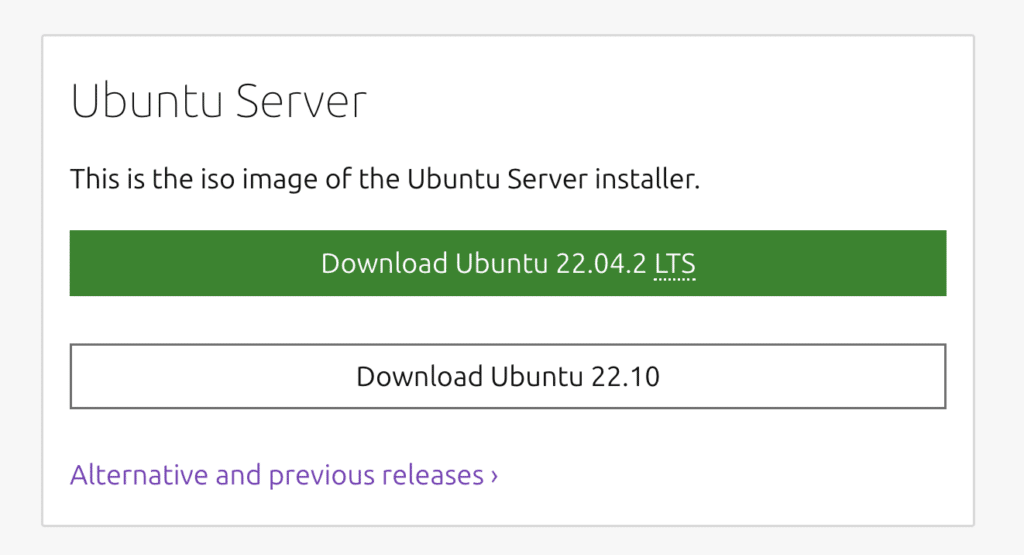
Then download Ubuntu ARM from the official website. Note that the ARM version is designed specifically for the M1, M2 or M3 architecture of macOS.
Step 2. Create a new virtual machine
Launch UTM, then start creating a new machine by clicking on +.
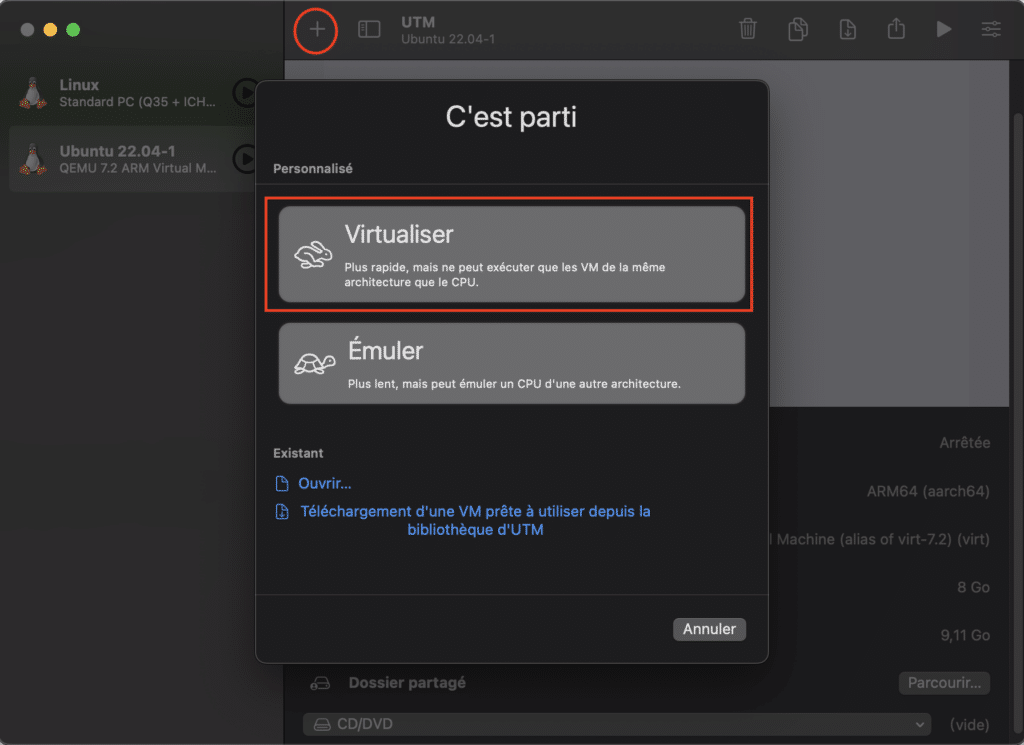
Then select Virtualize if you have downloaded the ARM version of Ubuntu. If you have another version, choose the Emulate option, but your VM will be slow.
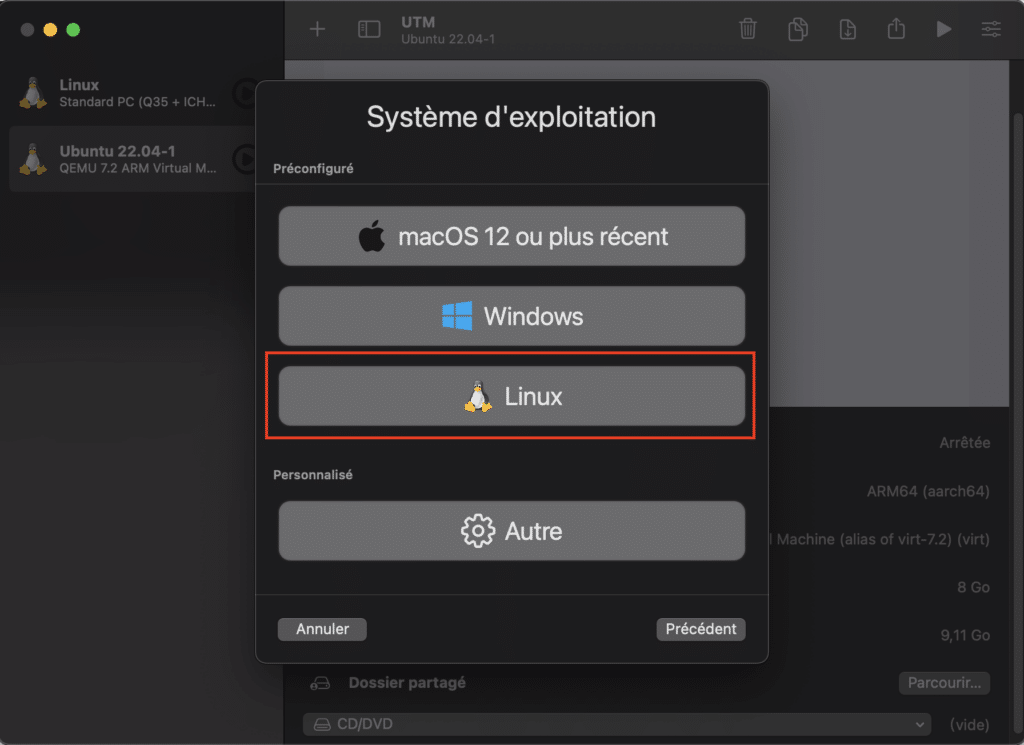
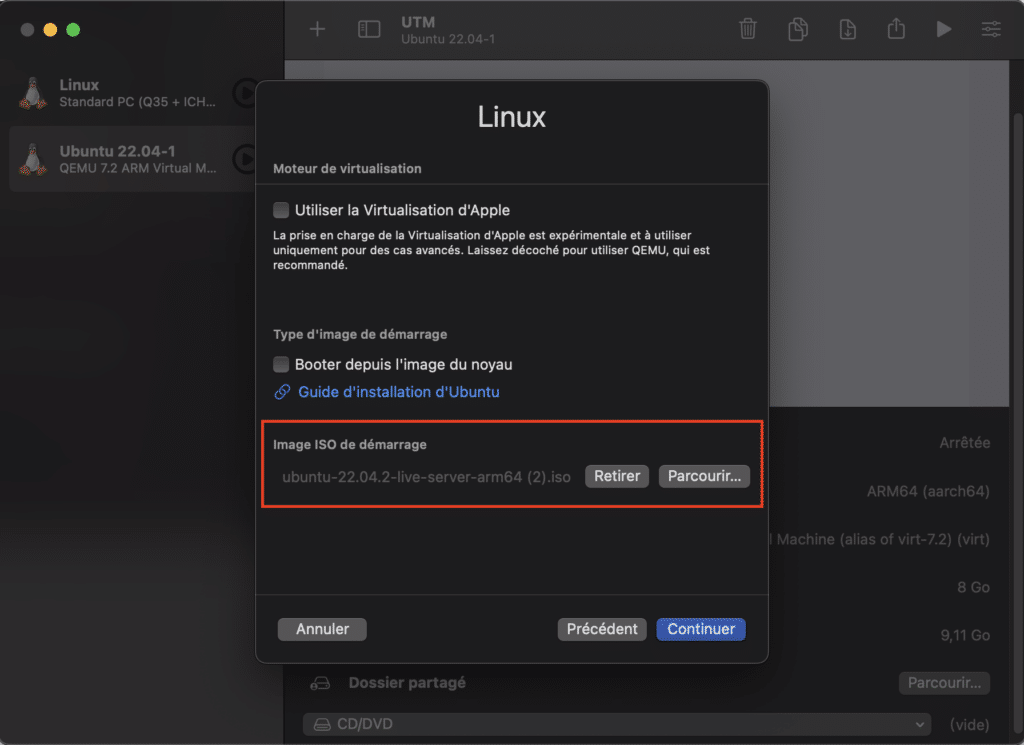
Click on Linux and add your Ubuntu ISO file.
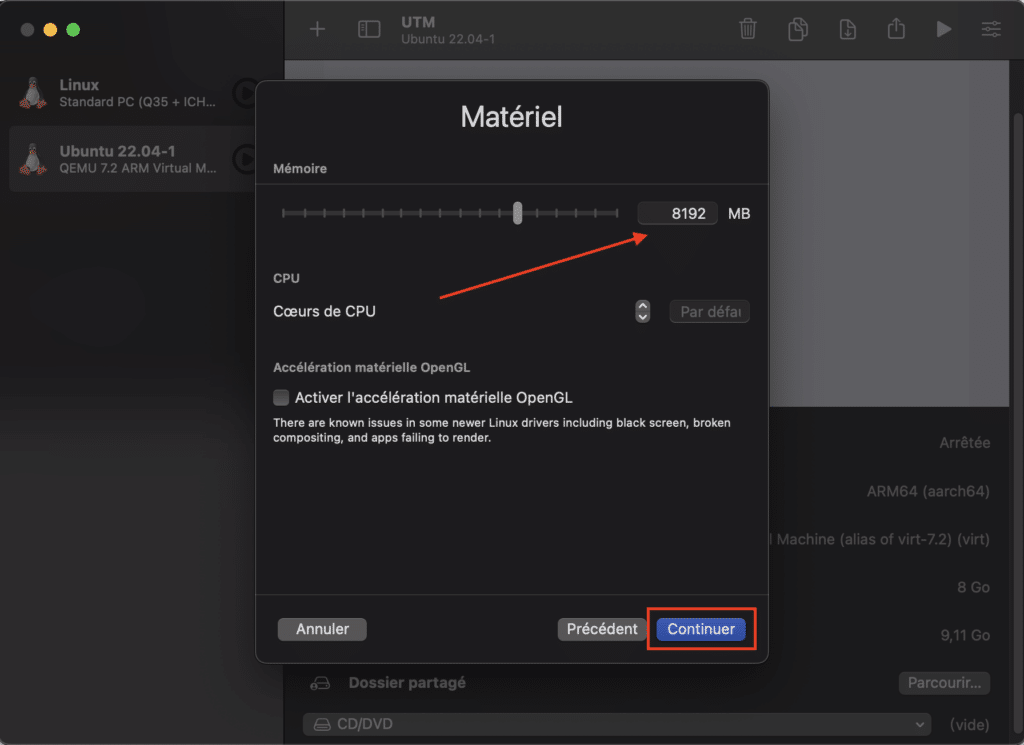
Give the RAM memory and storage size to your VM, then click Continue.
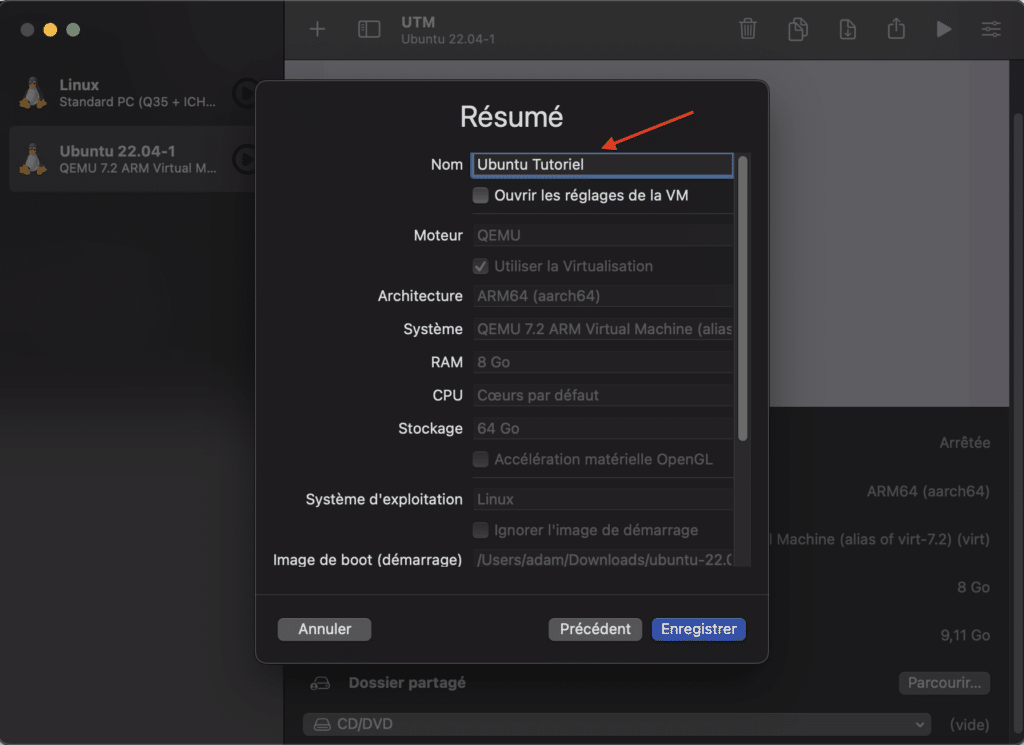
Then, do not forget to give a name to your virtual machine, then save.
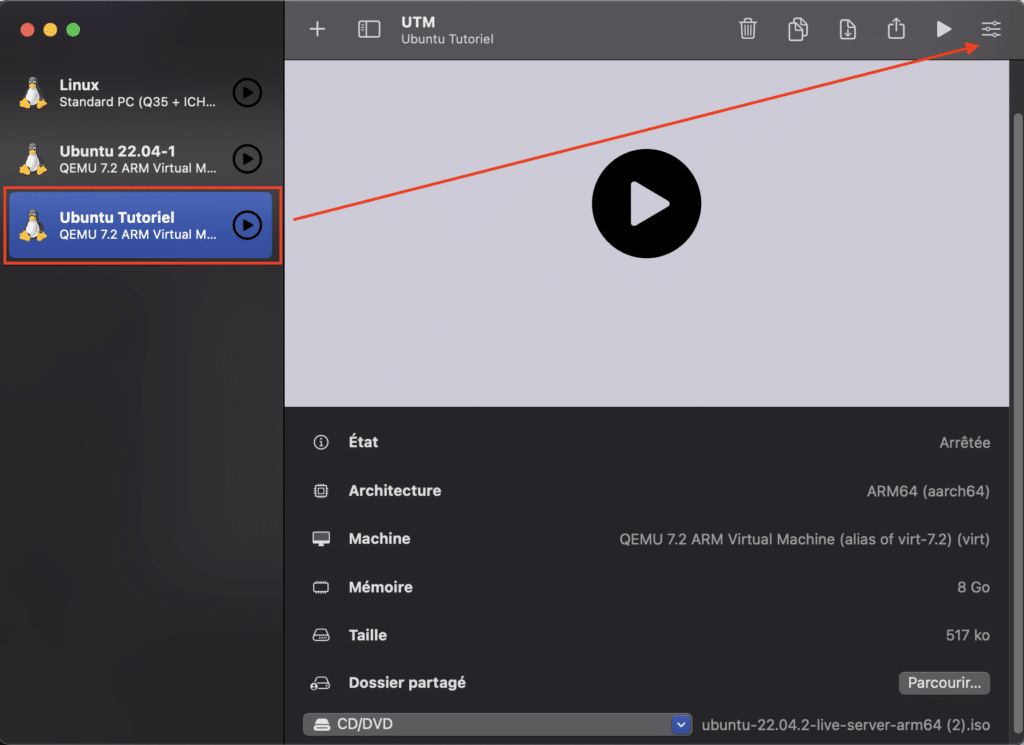
We will configure the network card before starting the installation. Select your VM, then click on the three bars at the top right.
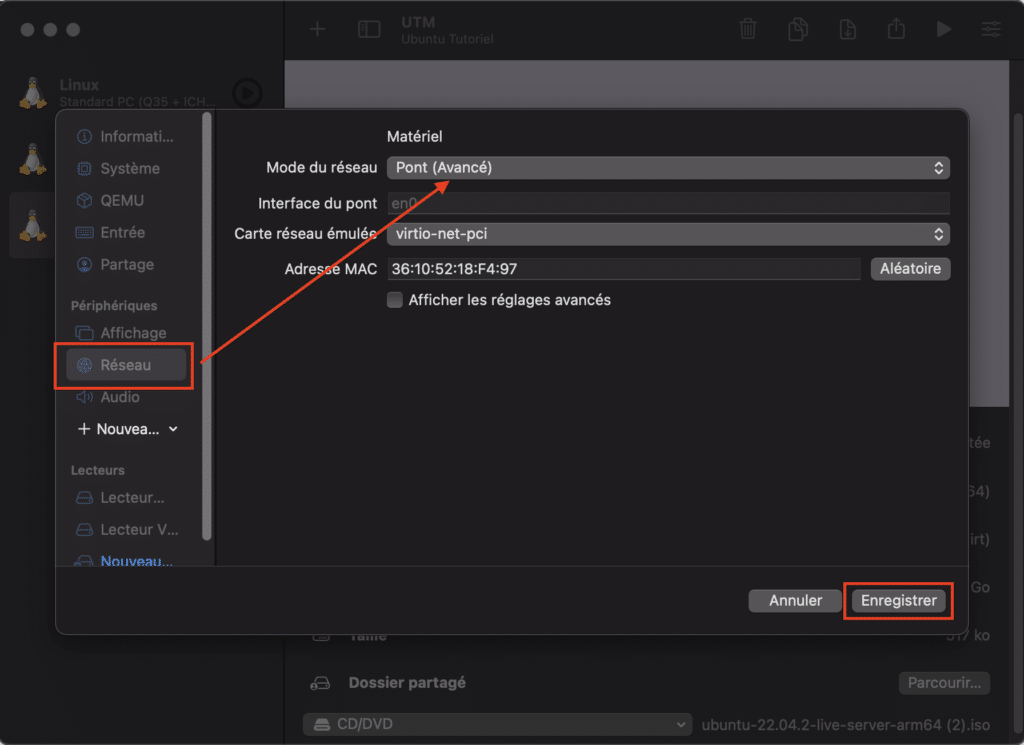
Configure the network card in Bridge mode (advanced) to allow the machine to connect to the Internet and install updates.
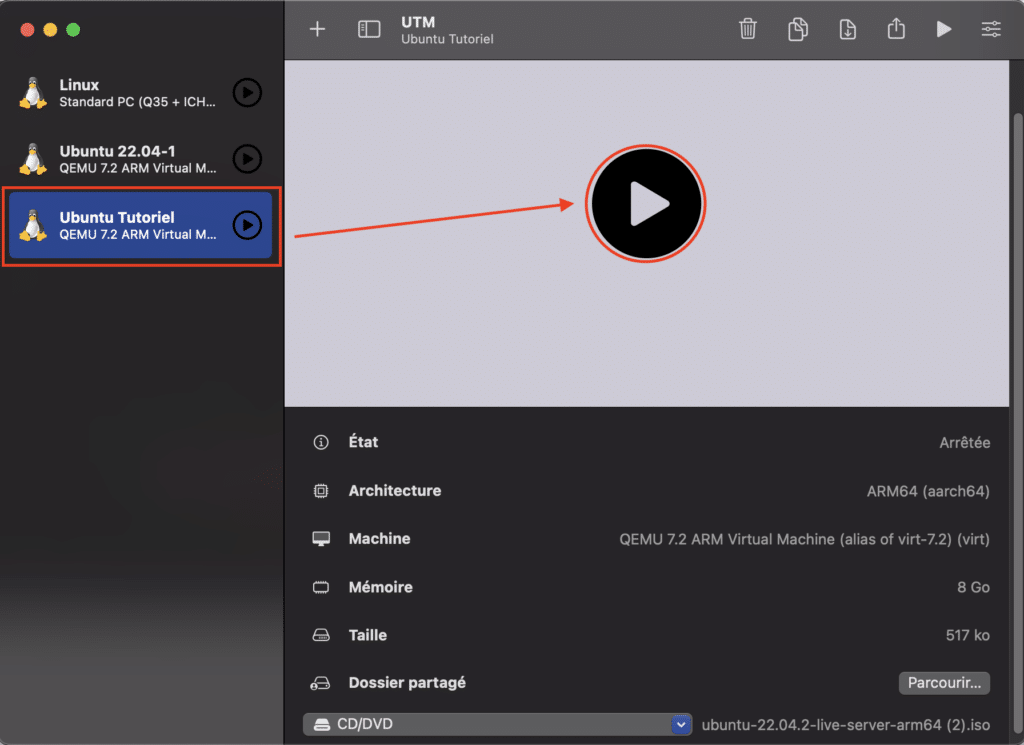
Now it’s time to start the installation. Click on the play button and the installation starts automatically.
Step 3: Installing Ubuntu
Read also: How to install AnyDesk on Ubuntu 22.04 LTS?
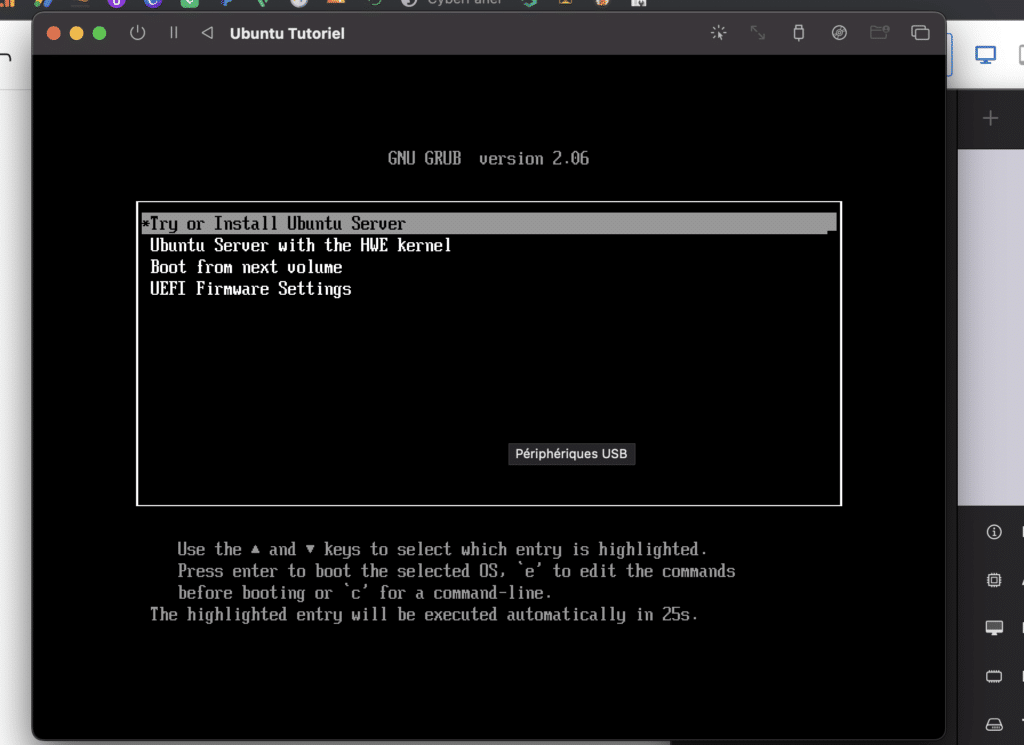
Select Try or Install to begin the installation.
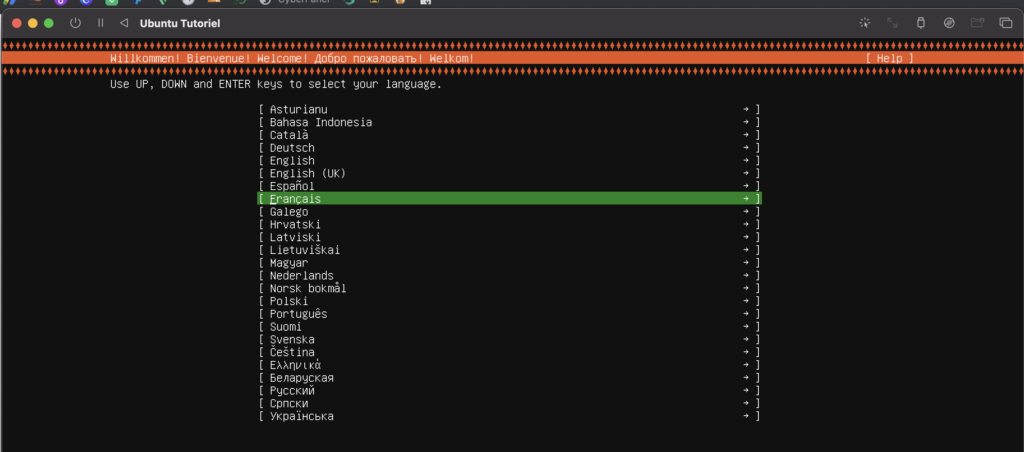
Choose the installation language and follow the instructions.
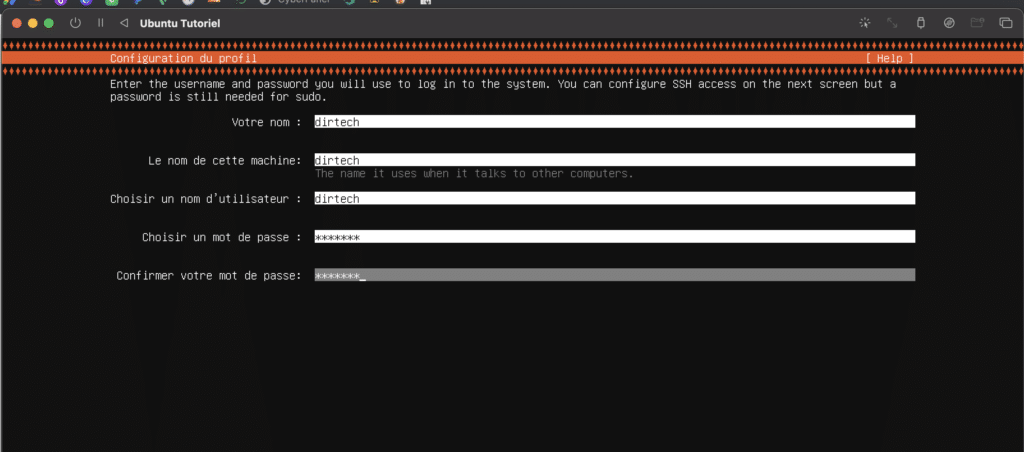
Then, give a username and the root word of the machine.
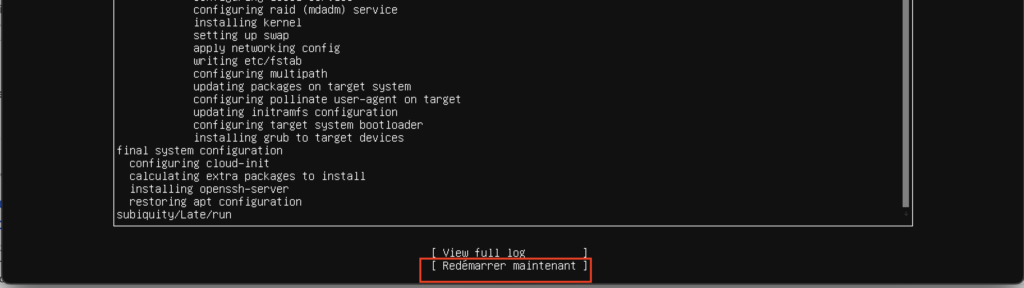
Once the installation is complete, select restart.
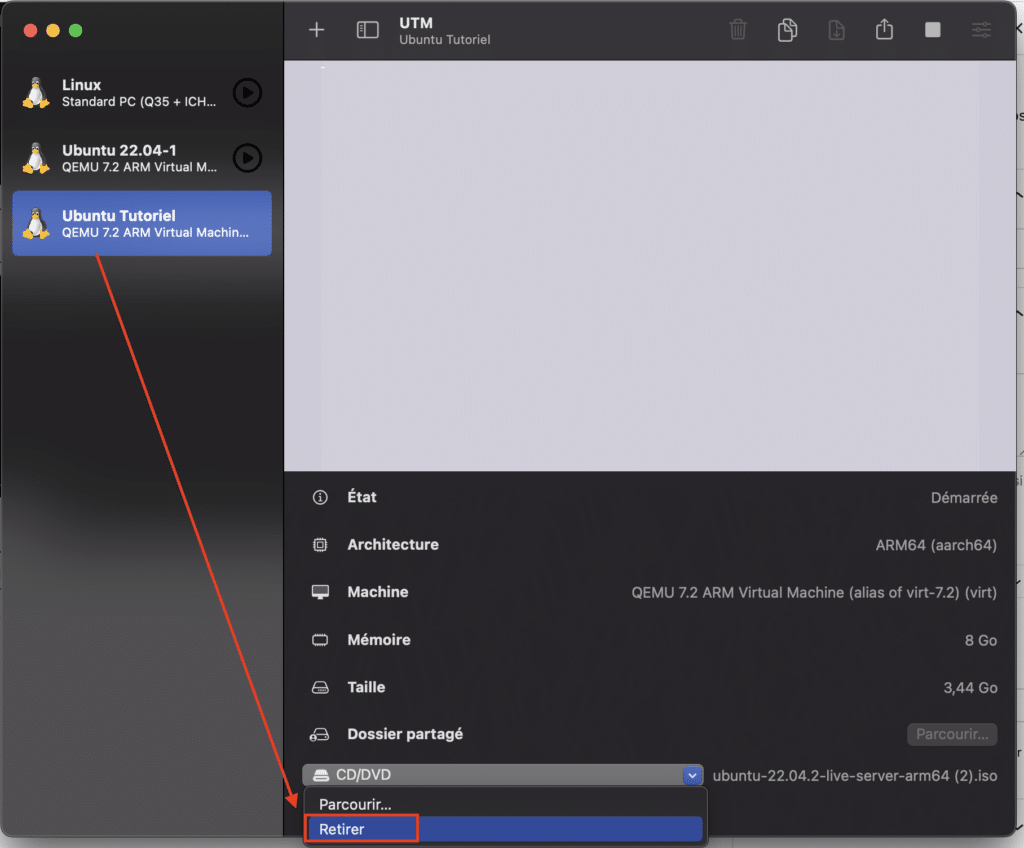
While the machine is restarting, take the opportunity to remove the installation disk. This is to prevent the VM from booting again in installation mode.
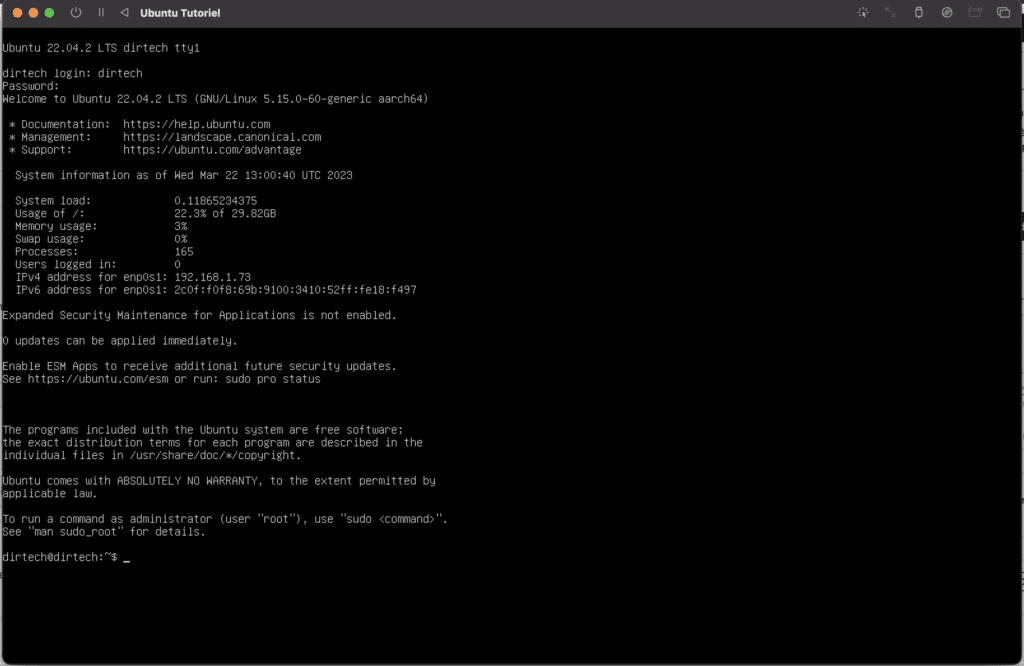
Below is the interface of our machine, note that the machine is in server mode. To have the graphical interface, you have to install it. We will now proceed to the installation of the graphic interface.
Step 4: Installation of Ubuntu Desktop
To install Ubuntu Desktop, log in and run the following commands one by one:
$ sudo apt update
$ sudo apt install ubuntu-desktop
$ sudo reboot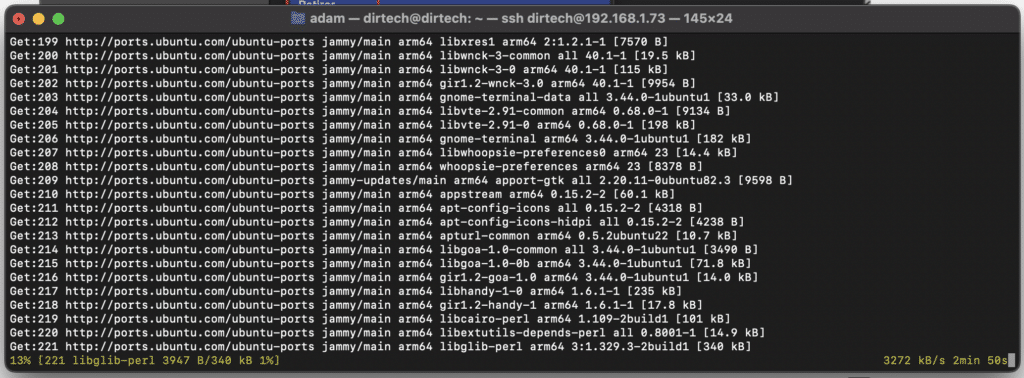
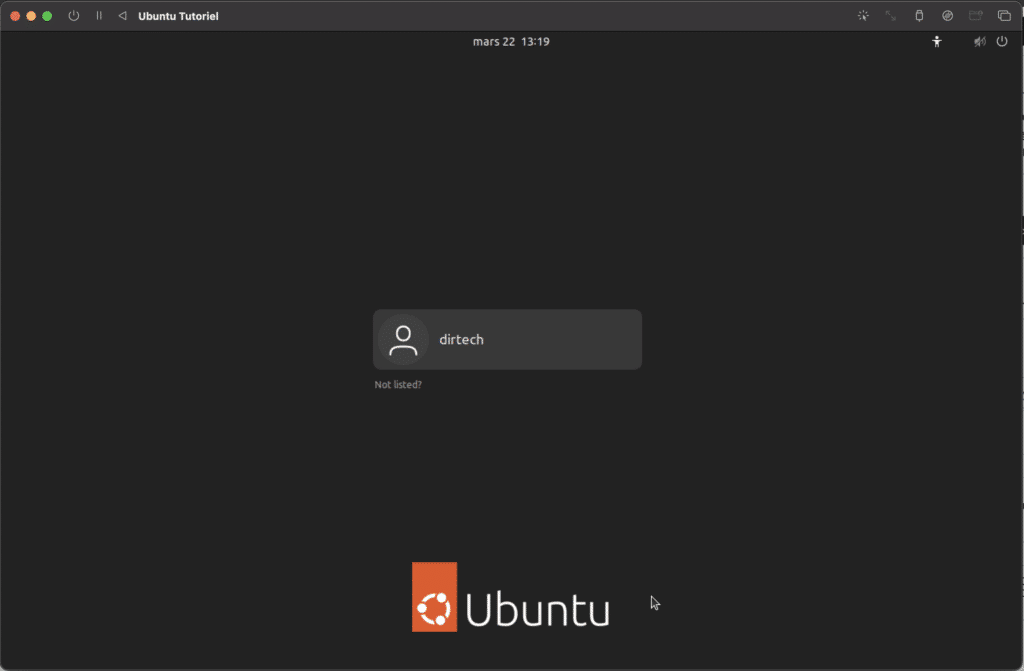
Once the installation is complete, reboot the machine with the sudo reboot command.

From here you can log in and access the graphical interface of your machine.
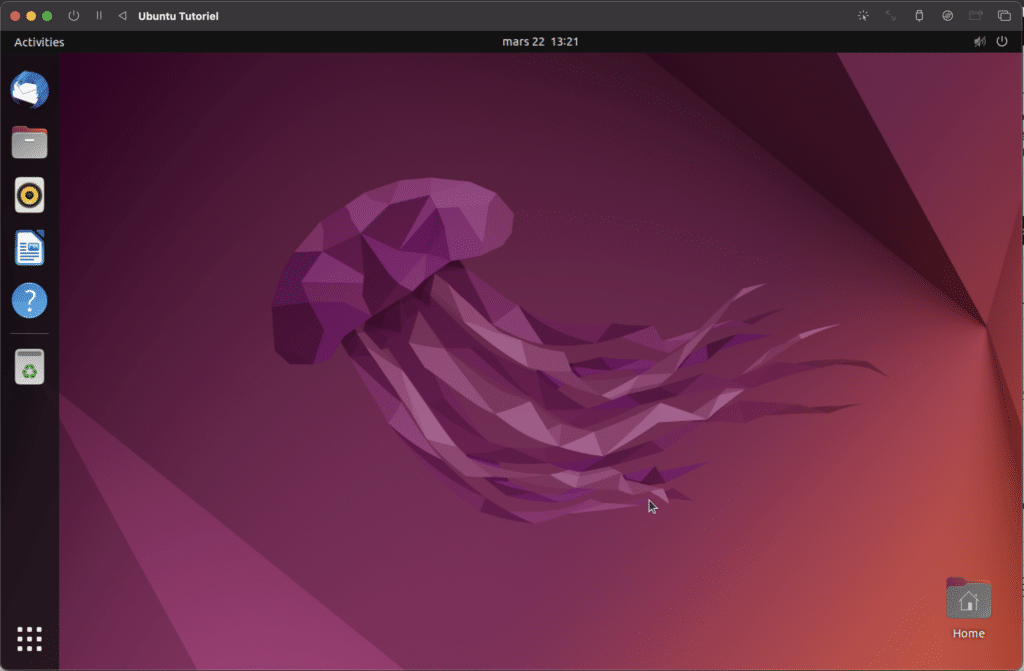
Enjoy this fact of Ubuntu 22.10 on your Mac M1, M2 or M3. Thanks for reading this article and see you soon for the next tutorials.