In this article, we will see how to install and configure GNS3 GUI on macOS, MacBook M1, M2 or M3. This helps you set up a LAB to prepare for Cisco or other exams in a more professional manner.
If you are a computer network professional or student, you should already be familiar with GNS3 GUI. It is a powerful and flexible network simulation tool for testing and deploying complex networks with virtual devices. If you are new to this, don’t worry, we will guide you through each step of installing GNS3 GUI on your macOS system. This guide is designed for beginners as well as advanced users. It will help you understand the prerequisites, download, installation and configuration of GNS3 GUI on your macOS system.
What is GNS3 GUI?
GNS3 is an open-source network simulation tool that allows you to create and test complex networks from your computer.
You can use GNS3 to create virtual networks with devices such as routers, switches, firewalls, etc.
This allows you to test and deploy network configurations in a virtual environment without the need for physical equipment.
GNS3 GUI also provides a user-friendly graphical interface for designing network topologies and configuring network settings.
It is available for free and can be used on different operating systems such as Windows, macOS and Linux.
Requirements for installing GNS3 GUI on macOS
Before you begin installing GNS3 on your macOS system, make sure your computer meets the minimum requirements.
Here is the list of hardware requirements needed to successfully install GNS3 on your macOS system
- A computer running macOS version 10.12 or higher
- At least 4 GB of RAM (8 GB or more is recommended)
- At least 2 GB of free hard drive space
- A multi-core Intel or Apple Silicon M1/M2/M3 processor
- A stable Internet connection to download the necessary files
Download and installation of GNS3 GUI
Now that you have verified that your macOS system meets the minimum requirements for GNS3 installation. You can download and install GNS3 by following these steps:
Open your web browser and go to the official GNS3 website. Then you create an account and log in before you can download GNS3.
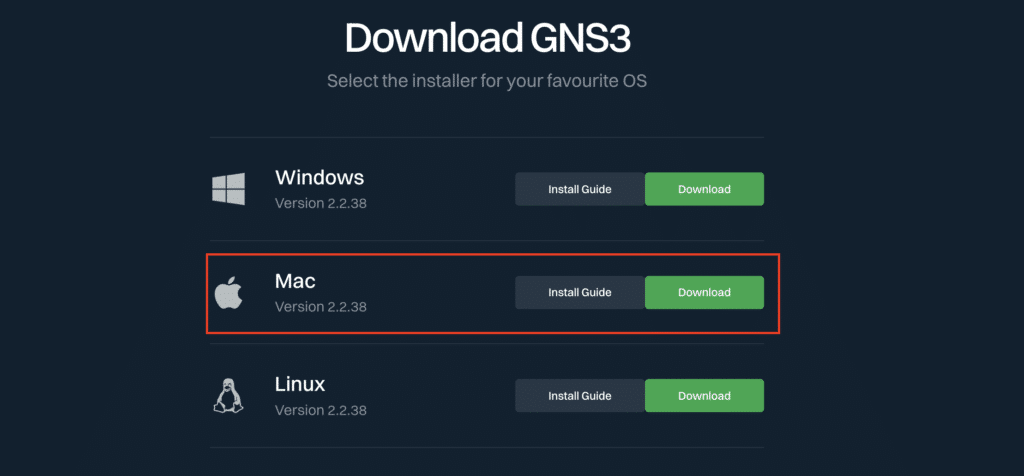
Click on the download button for the macOS version of GNS3.
⇒ Read also how to install AnyDesk on Ubuntu
Once the download is complete, open the installation file and follow the on-screen instructions to install GNS3 GUI on your macOS system.
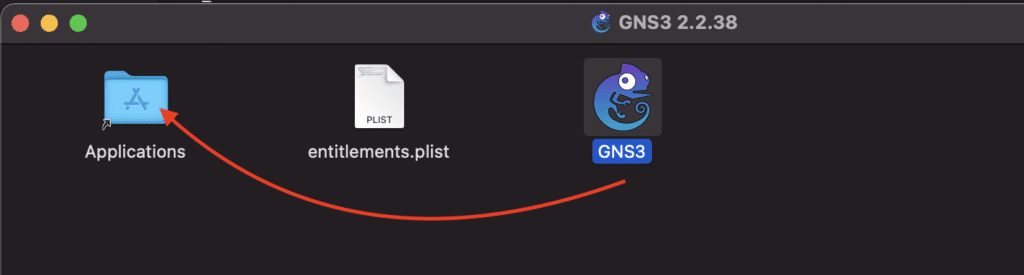
You will just have to move GNS3 to the Applications folder.
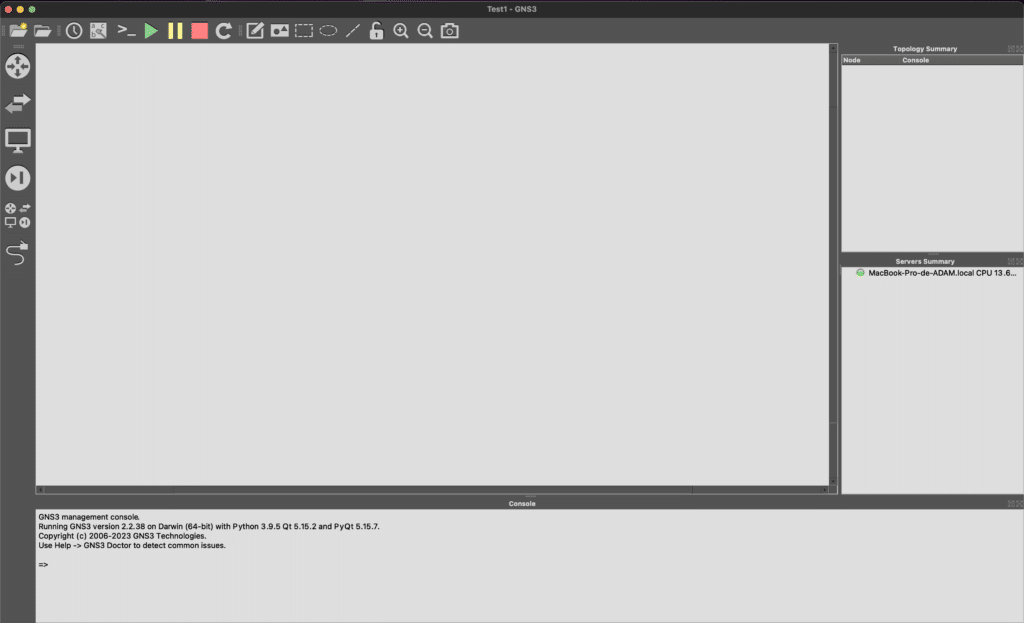
When the installation is complete, you can launch GNS3 GUI by clicking on the corresponding icon in the Applications folder.
Once you have completed these steps you can start using GNS3 GUI on your macOS system.
Common problems and solutions
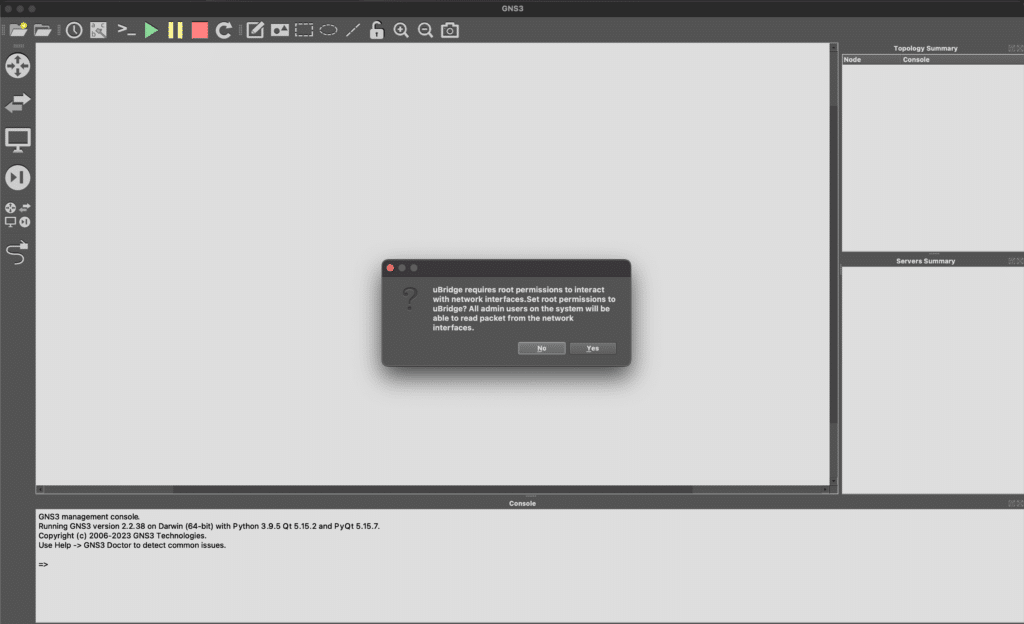
If you are running macOS 13 (Ventura), you will probably encounter this error when you start GNS3 for the first time.
Could not execute command "osascript -e 'do shell script "chown root:admin /Applications/GNS3.app/Contents/MacOS/ubridge && chmod 4750 /Applications/GNS3.app/Contents/MacOS/ubridge" with administrator privileges'": Command '['osascript', '-e', 'do shell script "chown root:admin /Applications/GNS3.app/Contents/MacOS/ubridge && chmod 4750 /Applications/GNS3.app/Contents/MacOS/ubridge" with administrator privileges']' returned non-zero exit status 1.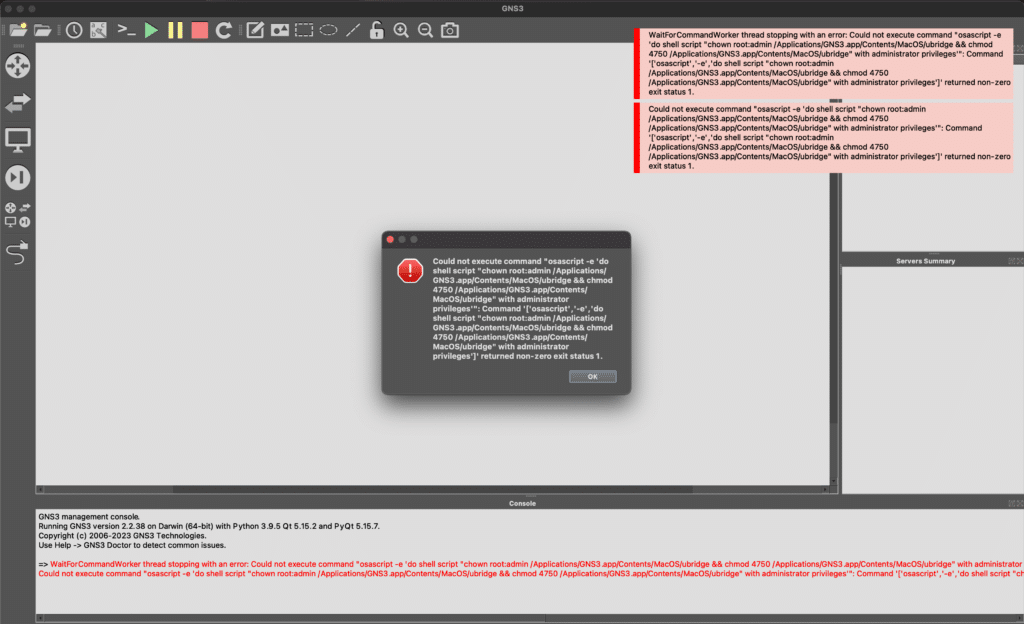
The reason is that a security layer in the macOS Ventura version blocks any third-party changes to the content of the installed application package. This is for data integrity.
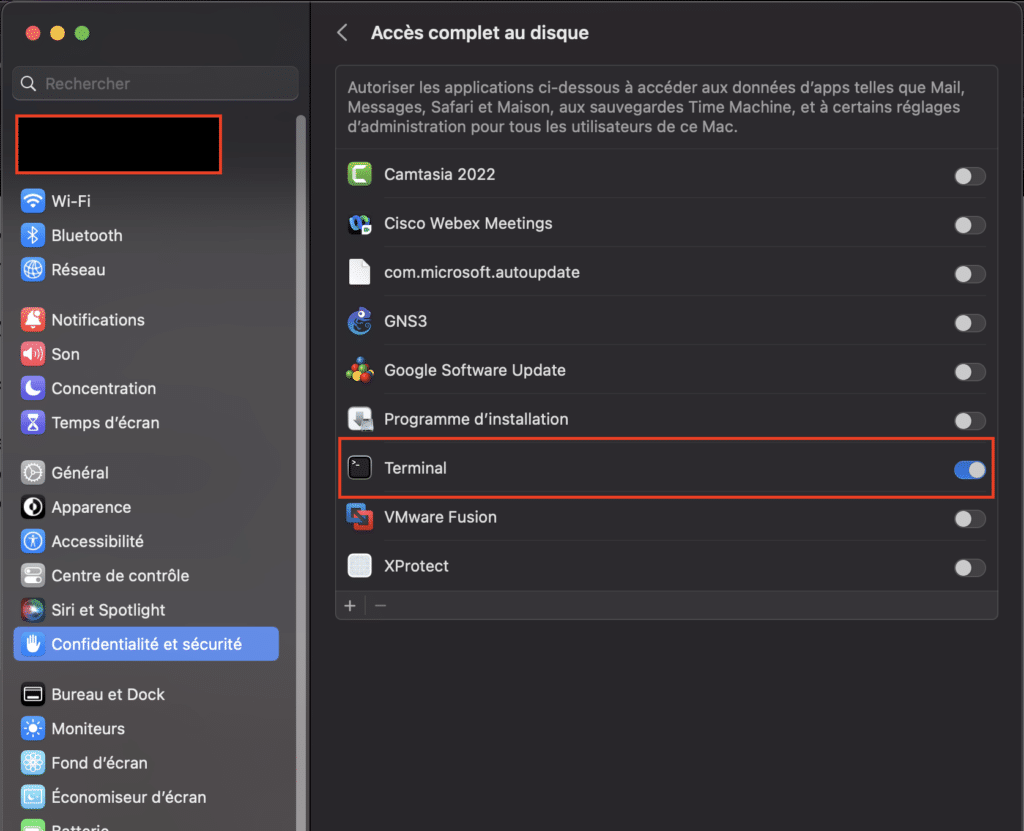
To bypass it, you must grant the terminal “Full disk access”. As shown in the image, go to Privacy & Security → Full Disk Access and enable the terminal you want to use.
Then run the following command in the Terminal, as requested by GNS3:
sudo osascript -e 'do shell script "chown root:admin /Applications/GNS3.app/Contents/MacOS/ubridge && chmod 4750 /Applications/GNS3.app/Contents/MacOS/ubridge"'Finally, you can disable Terminal again in the system settings, for security reasons. And GNS3 would be installed correctly.
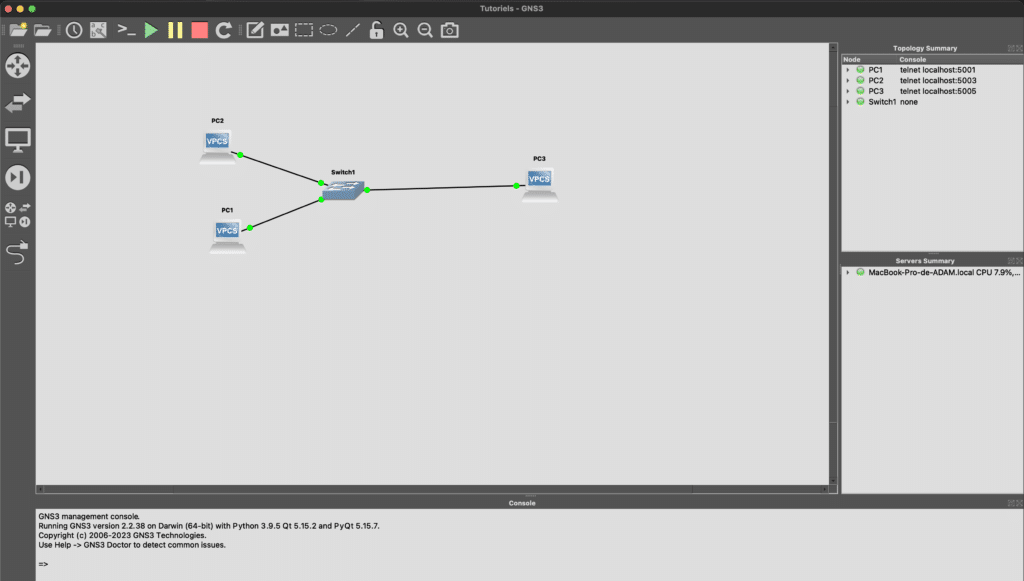
Now that you have installed GNS3 GUI on macOS, MacBook M1, M2 or M3, it’s up to you to use the LAB.
Other problems you may encounter:
Compatibility problem with macOS version. If you try to install a version of GNS3 that is not compatible with your version of macOS, the installation may fail. So make sure the version of GNS3 you download is compatible with your version of macOS.
Lack of resources. If your macOS system does not have sufficient resources to run GNS3, the installation may fail. Make sure your computer meets the minimum requirements for GNS3 GUI installation and close other applications to free up memory.
By following these solutions you should be able to solve most common problems encountered when installing and using GNS3 GUI on macOS.
Conclusion
In short, installing GNS3 on macOS can be a simple and easy process if you follow the steps described in this article.
We hope this article has helped you install GNS3 GUI on your Mac and that you have learned how to use this tool to simulate networks. If you have any questions or comments, please feel free to share them in the comments section below.
For optimal performance, GNS3 recommends using a virtual machine. In a next article, we will see How to install the GNS3 virtual machine on
macOS/Mac M1, M2 or M3.