CyberPanel is a popular web hosting control panel that allows you to easily manage your website, databases, emails and FTP accounts. In the previous articles, we installed CyberPanel, configured the DNS server and set up the email server. In this article, we will configure and create an FTP account on CyberPanel. This is to help you manage and transfer your files with ease.
Login to CyberPanel
To get started, you must be logged into CyberPanel. Open your favorite web browser and make sure you are connected to the Internet.
Enter the URL of your CyberPanel administration interface. Generally, the address looks like this: https://your-ip:8090 or https://your-domain:8090.
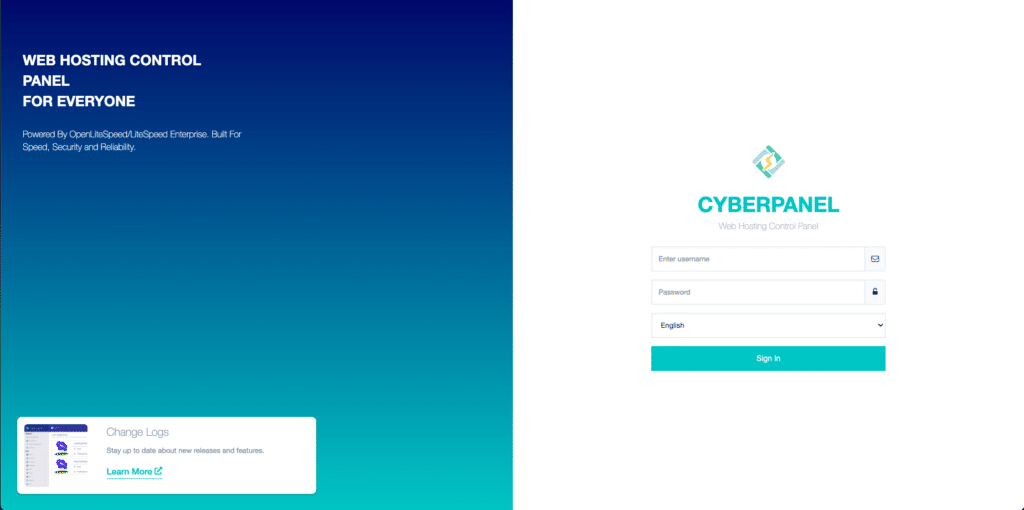
On the CyberPanel login page, enter your username and password.
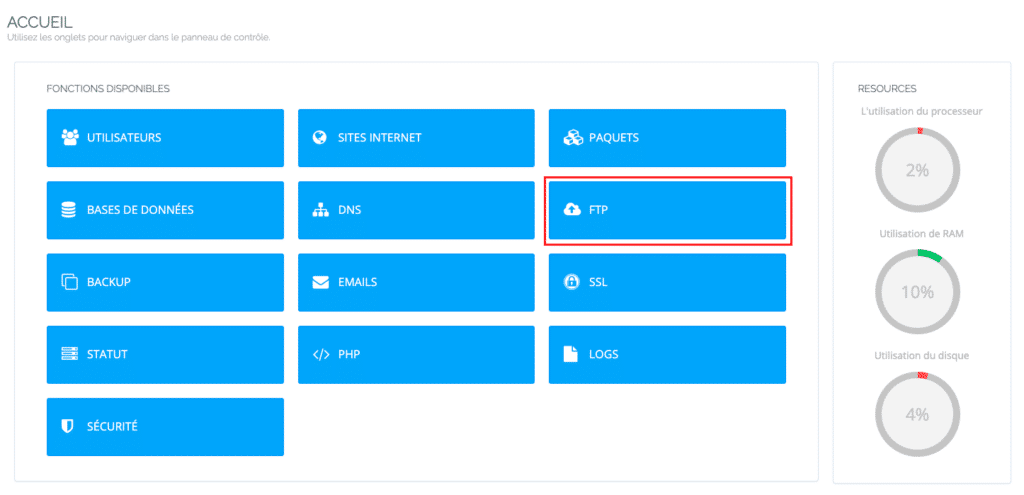
Once logged in, you will see the CyberPanel dashboard, which allows you to manage your web hosting, databases, emails, and FTP accounts.
Create a new FTP account on CyberPanel
On the CyberPanel dashboard, click on the FTP tab.
Click on CREATE FTP ACCOUNT.

After that, you will select a website to see the information to fill in for your new account.
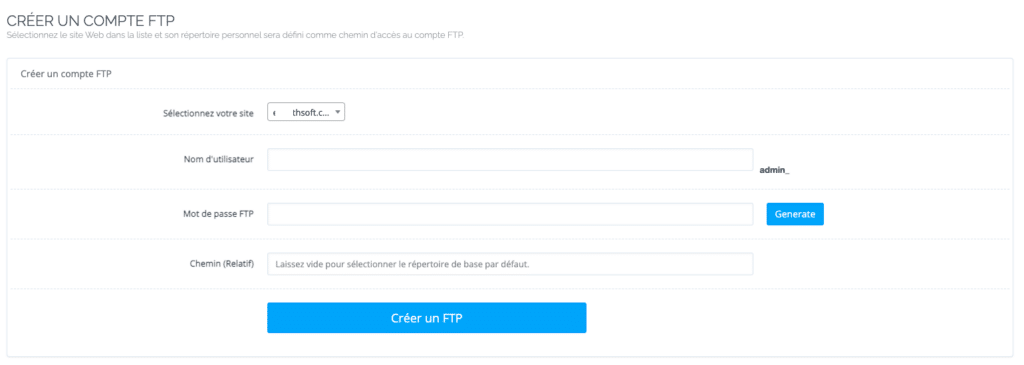
In the FTP account creation form, fill in the following fields:
Username: Choose a unique username for the FTP account.
Password: Enter a secure password for the FTP account (you can generate a strong password). Make sure it is complex enough to prevent unauthorized access.
Directory: Select the directory to which the FTP account will have access. By default, the root directory of the website is selected. But you can choose a specific subdirectory if necessary.
Create the FTP account: After filling in the required information, click on the Create FTP button to finalize the FTP account creation. CyberPanel will then redirect you to a confirmation page, indicating that the FTP account has been successfully created.
List FTP accounts on CyberPanel
Return to the CyberPanel home page and click on FTP. You can then list the FTP accounts by clicking on FTP ACCOUNTS LIST.

Then select a website to see the list of FTP accounts associated with that site.
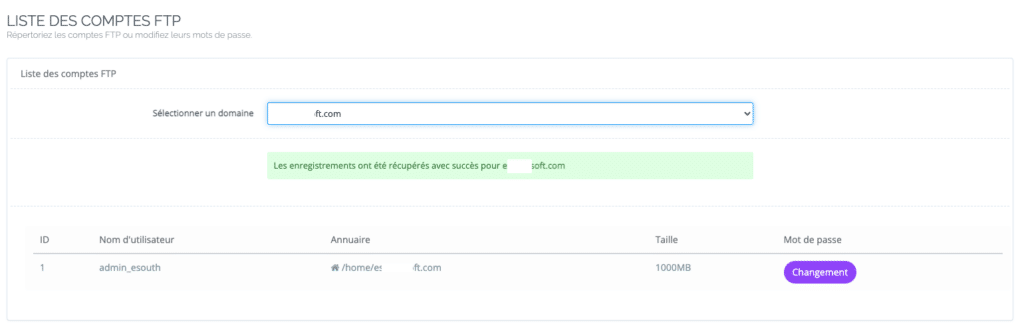
To change the password of an FTP account, click on Change and change the password.
Delete an FTP account on CyberPanel
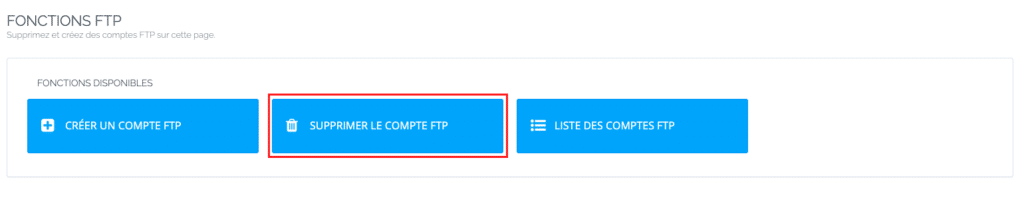
Still on your CyberPanel dashboard, click on FTP and then on DELETE FTP ACCOUNT.
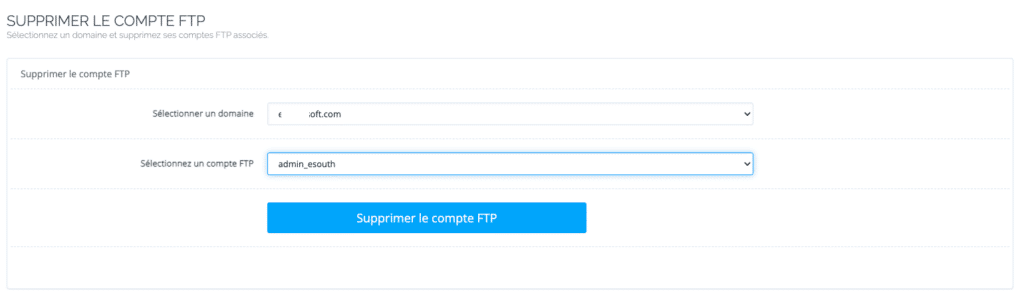
Select a website, then the FTP account to delete. Then click on Delete FTP account, you will confirm the deletion of the account.
Now you know how to manage FTP accounts on CyberPanel.
With this feature, you will be able to manage your files efficiently and securely, simplifying the maintenance of your website.
Use an FTP client to connect to your account
To connect to your FTP account, you will need an FTP client. There are several, including FileZilla, WinSCP, etc.
To connect via FTP, in the appropriate fields, enter the following information:
Host: Enter the IP address of your server or the domain name associated with your CyberPanel account.
Port: Use port 21 for a standard FTP connection or port 22 for a secure connection (SFTP).
Username: Enter the username of the FTP account you created earlier.
Password: Enter the password associated with the FTP account.
Now that you are connected to your FTP account, you can upload, download and manage your files on the server.
With an FTP account set up and an FTP client installed, you now have the ability to easily manage and transfer files between your computer and your CyberPanel server.
Remember to disconnect your FTP client once you have finished working with your files to ensure the security of your server.