Would you like to discover Fedora on your Apple Silicon M1/M2/M3 Mac? With UTM, you can now run Fedora Linux in a virtual machine on your Mac. Follow our step-by-step guide to installing Fedora on a Mac M1/M2/M3 with UTM.
Requirements
- Make sure you have at least 20 GB of free space on your Mac;
- 2 GHz dual-core processor or faster ;
- 4 GB RAM memory.
Step 1: Download and install UTM
Open your browser and go straight to the official UTM website to download it.
Once you’ve downloaded the file, install it by simply dragging UTM into the Applications folder.
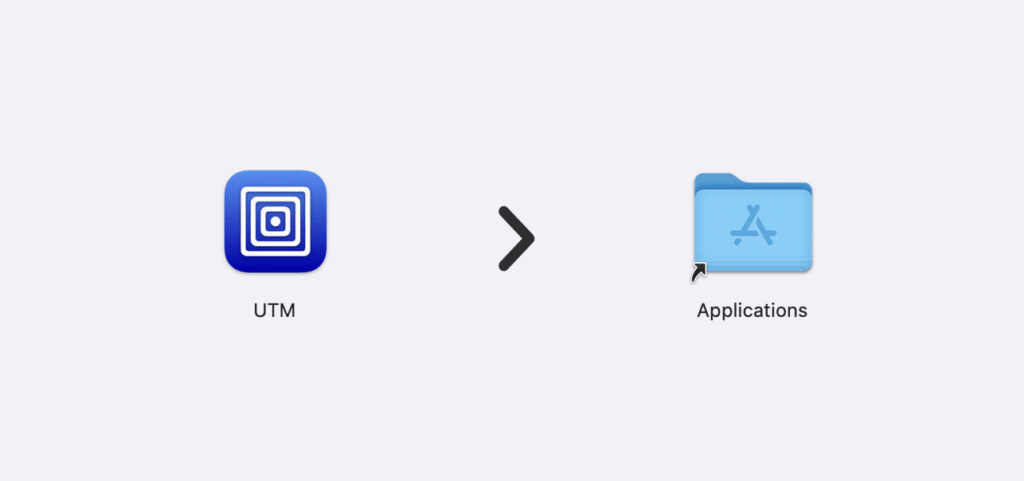
Once installation is complete, click on the UTM icon in your Applications folder to launch the application.
Step 2: Download Fedora ARM
Go to the official Fedora website and download the ISO image. Make sure you choose the ARM aarch64 variant for Apple Silicon Macs.
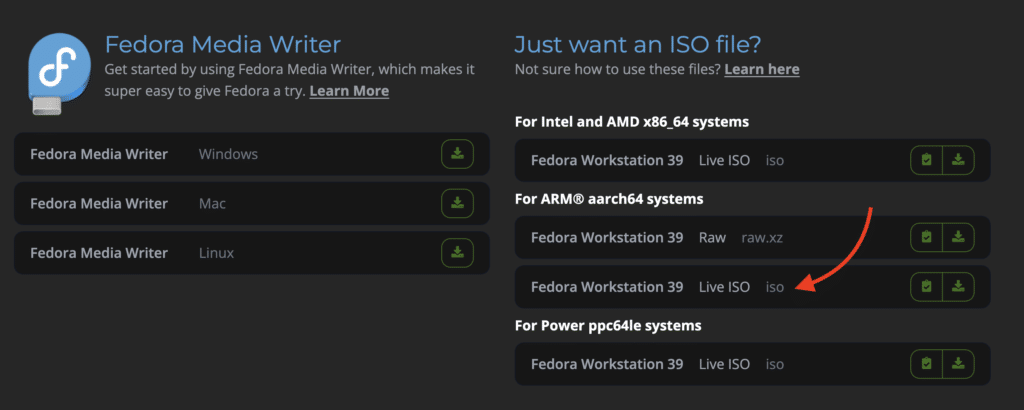
Wait for the download to finish.
Step 3: Create the Fedora virtual machine
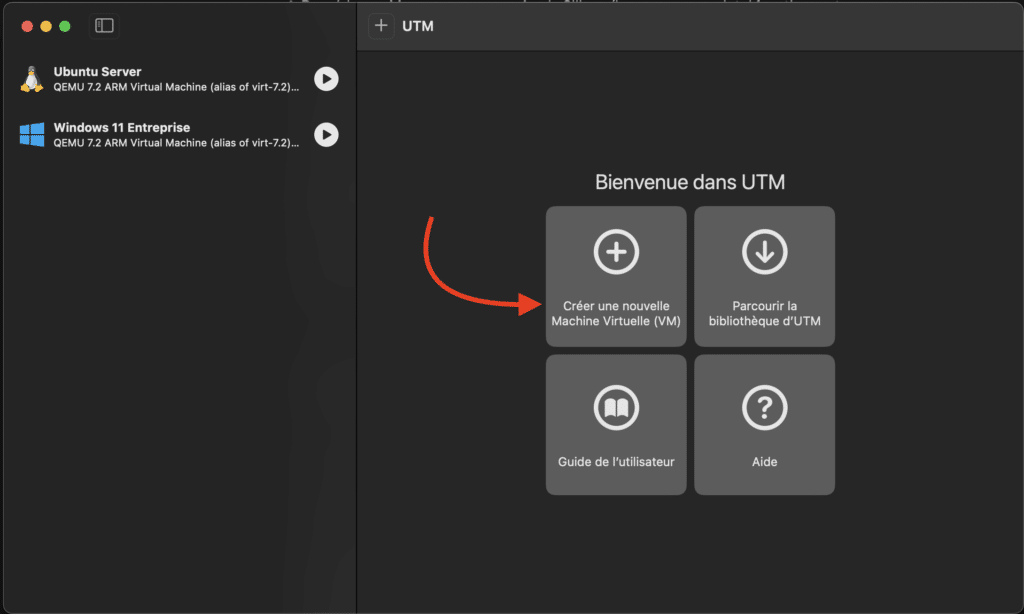
Once UTM has been installed on your Mac, launch the application.
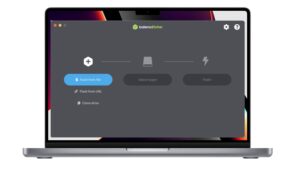
Click + to create a new Virtual Machine.
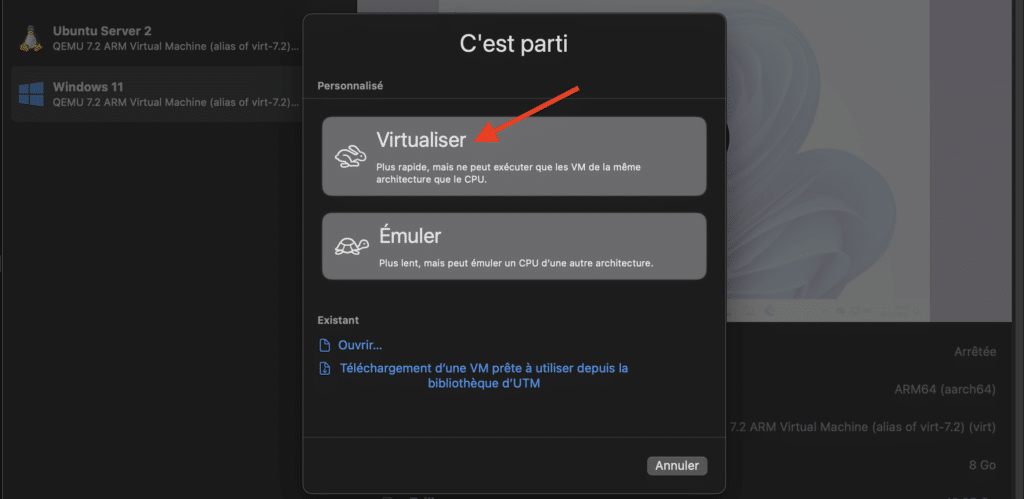
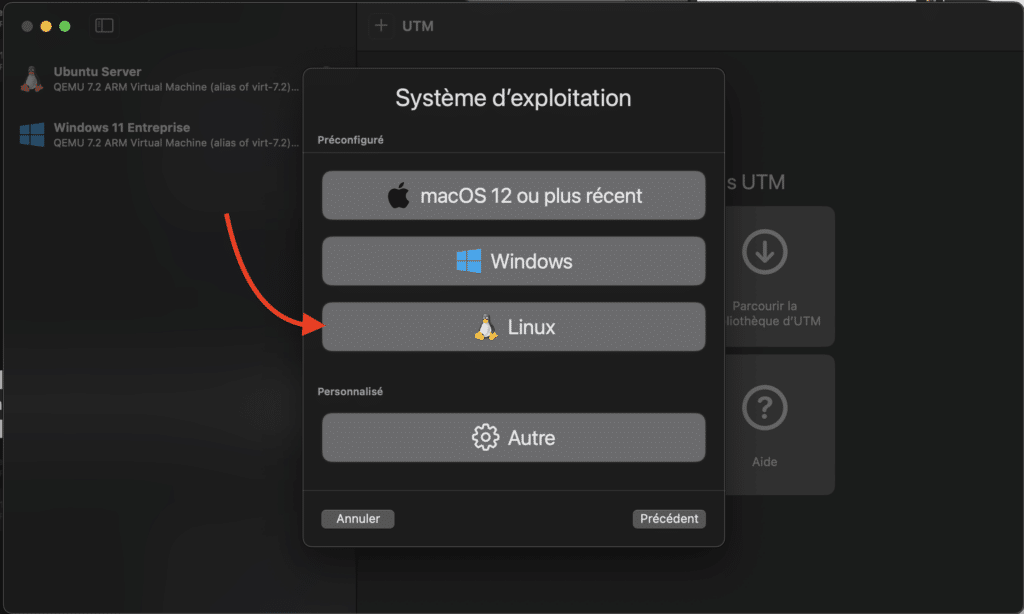
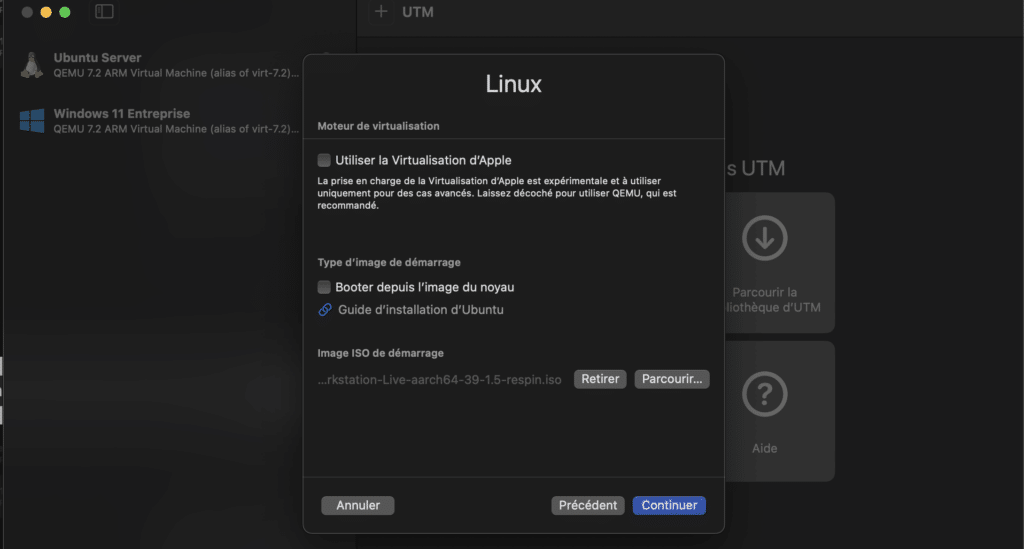
Then select Virtualize Linux.
Click on Browse and select the Fedora ISO file you have just downloaded.
See also: Installing Windows 11 on a Mac M1/M2/M3 with UTM
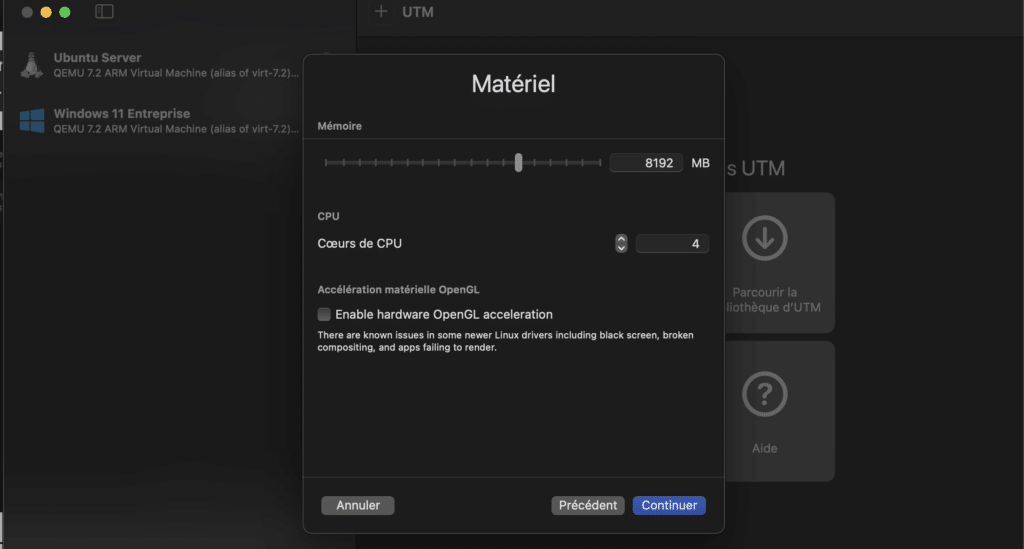
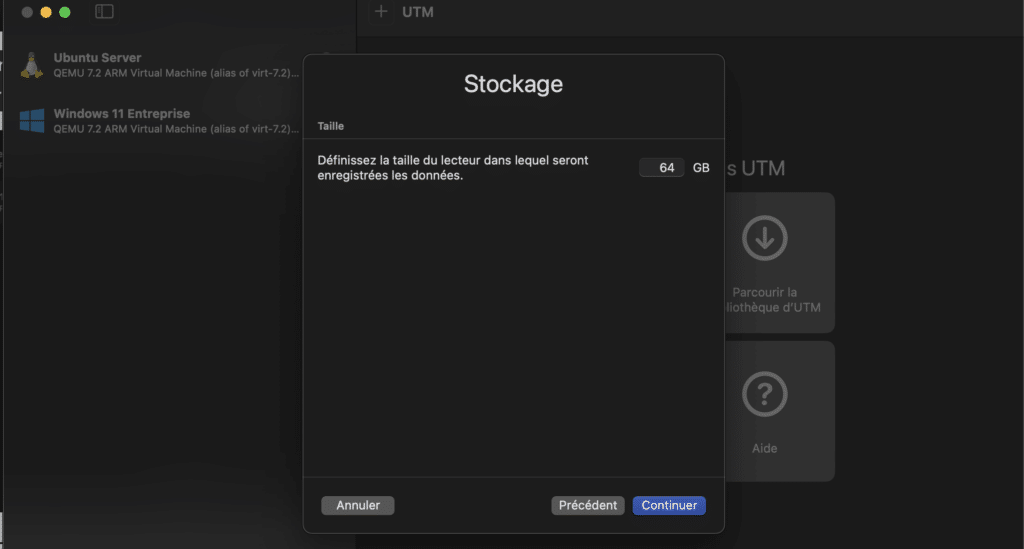
Configure RAM, number of processors and storage according to your needs. Don’t forget to configure storage and then continue.
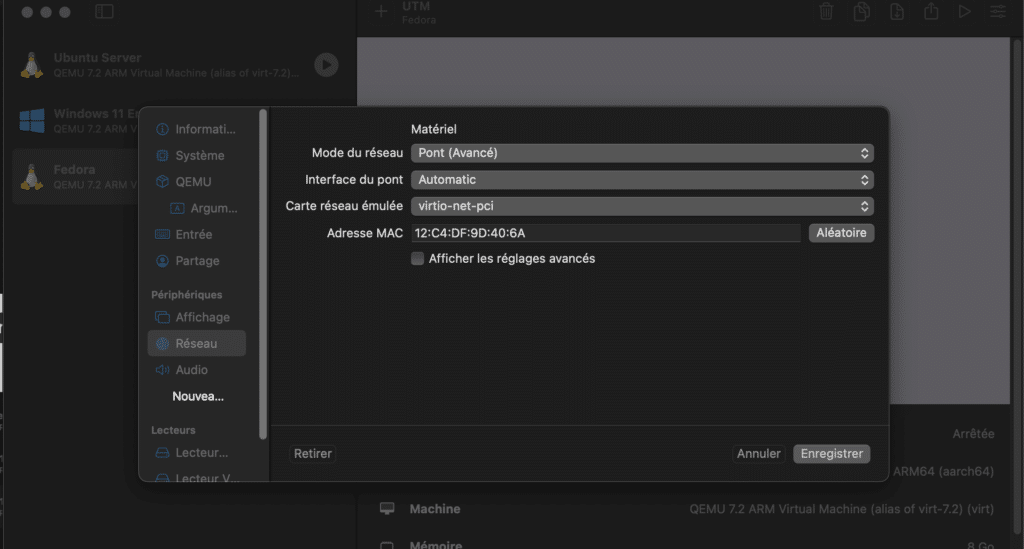
Finish by giving your virtual machine a name, then save. Don’t forget to check Open VM settings to configure the network card.

Configure the network card in bridge mode to enable the machine to connect to the Internet.
Step 4: Install Fedora on UTM
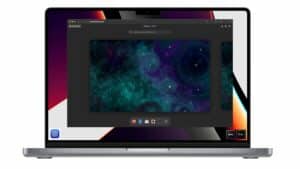
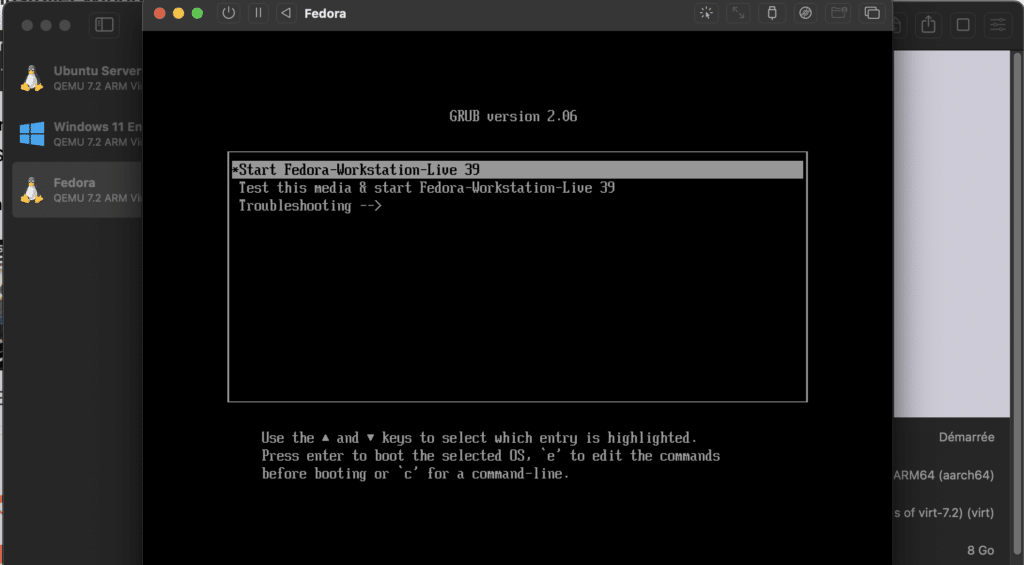
After creating the virtual machine, launch it to start installing Fedora.
Select Start Fedora-Workstation-Live.
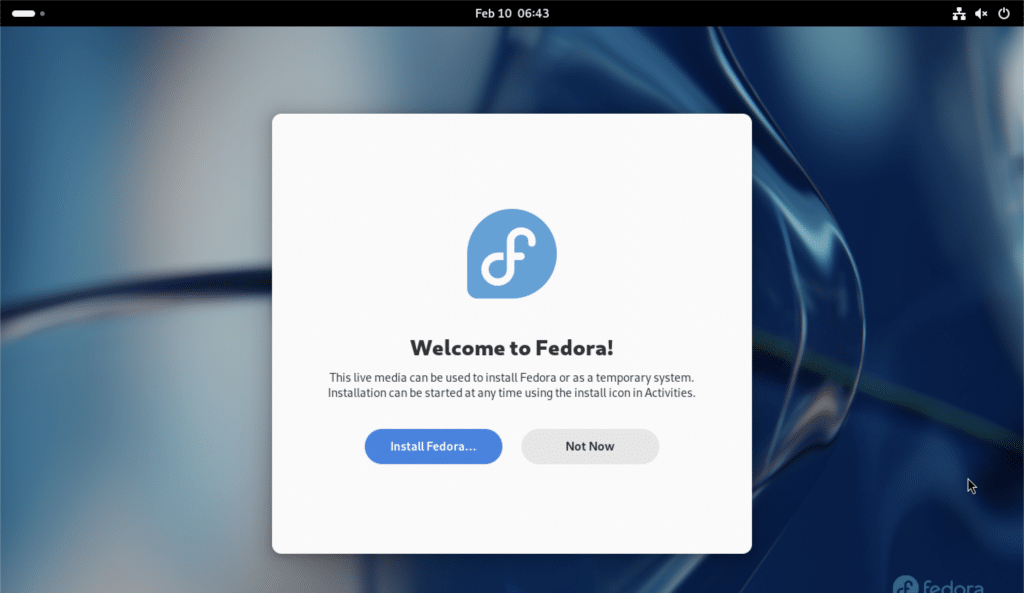
The machine launches normally, now click on Install Fedora.
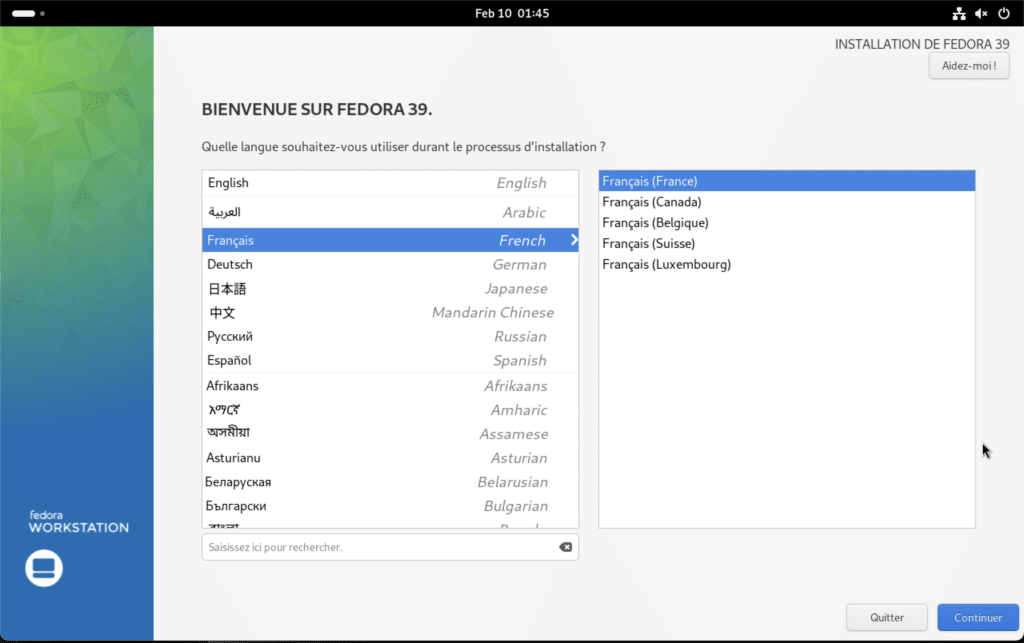
Select installation language preference and continue.
Click on Installation Destination and choose the disk partition for installation.
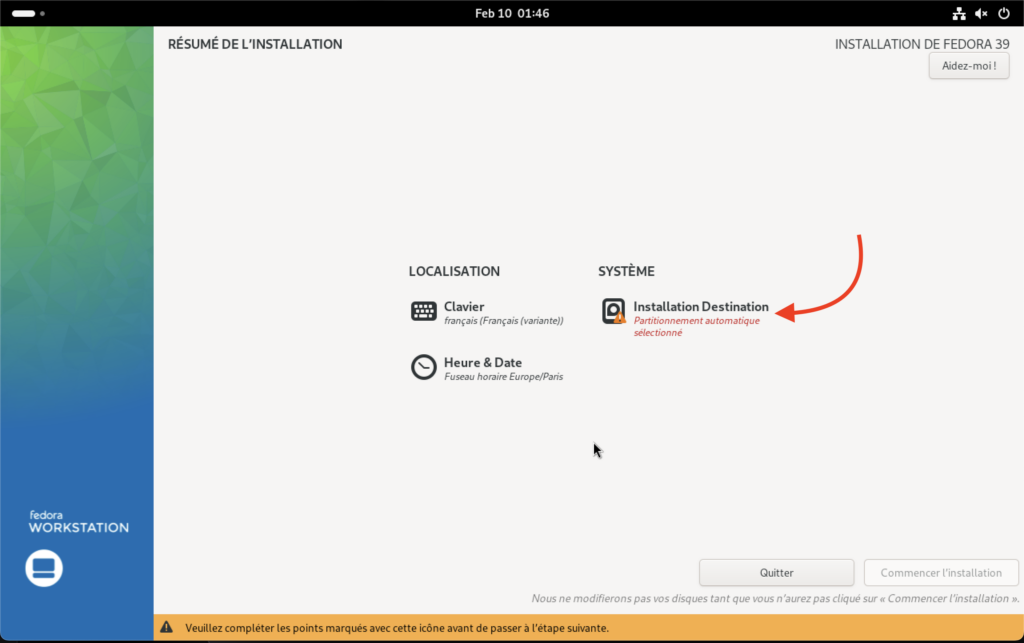
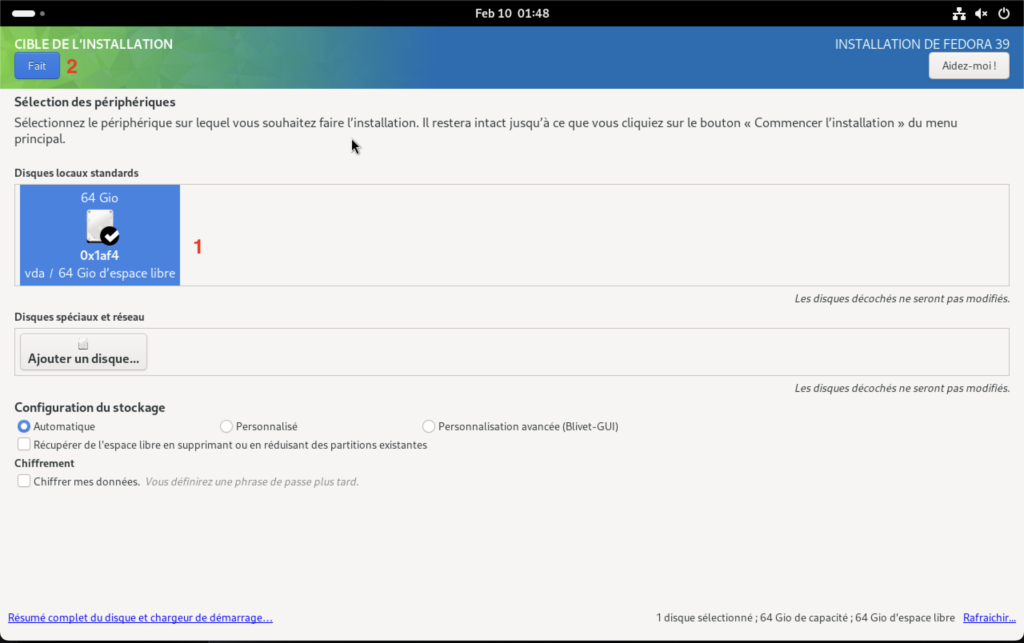
You can now start installing the machine.
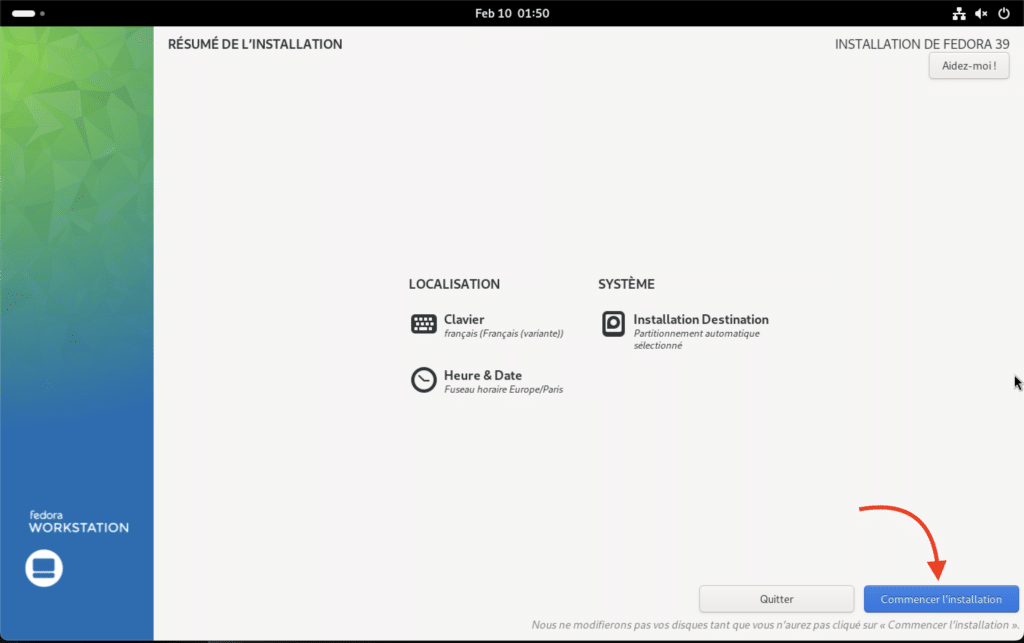
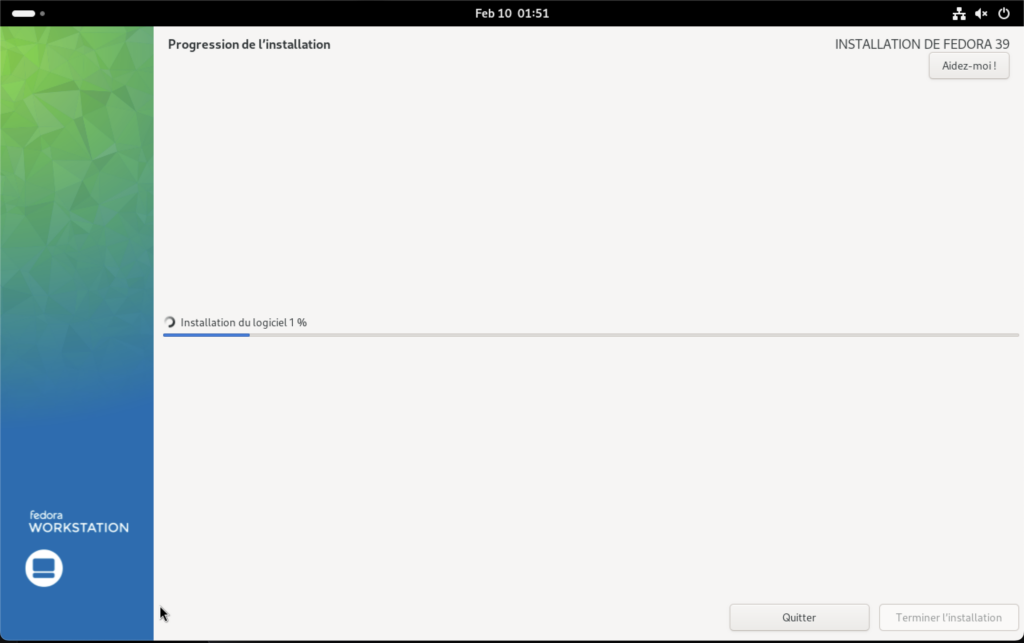
Once you have configured the installation parameters, UTM will install Ferdora on the virtual machine. Wait until the installation process is complete.
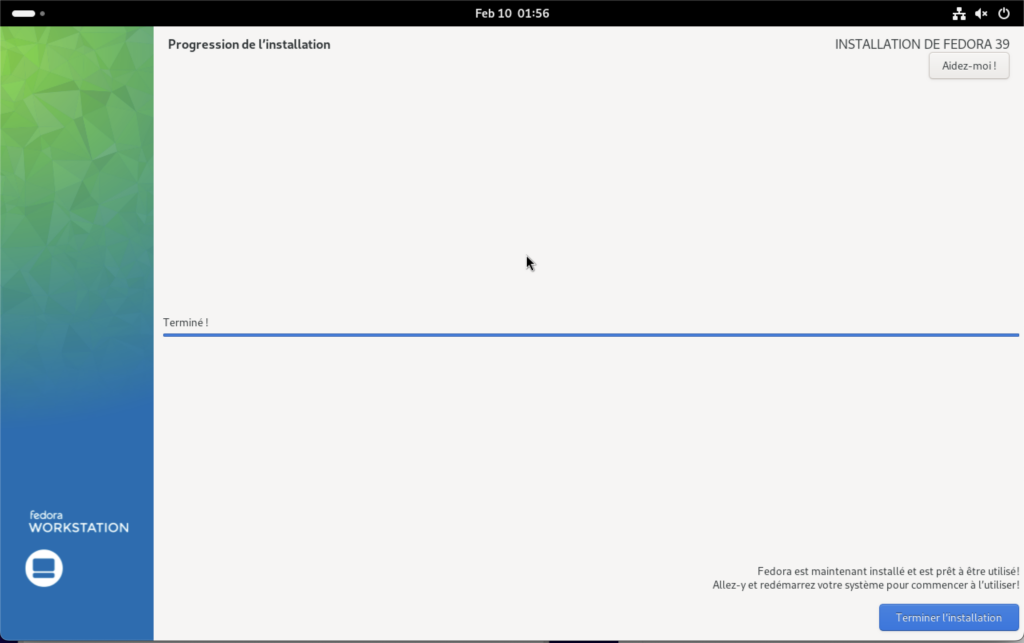
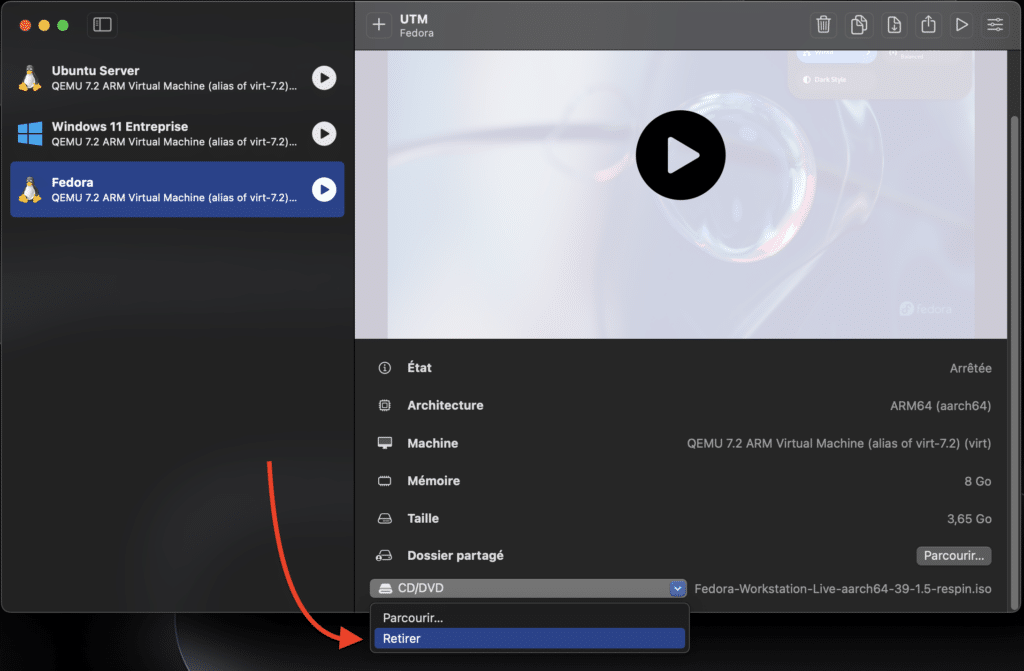
Finish installation, then switch off the machine. Then remove the installation disk.
You can now start the machine as normal and complete the configurations.
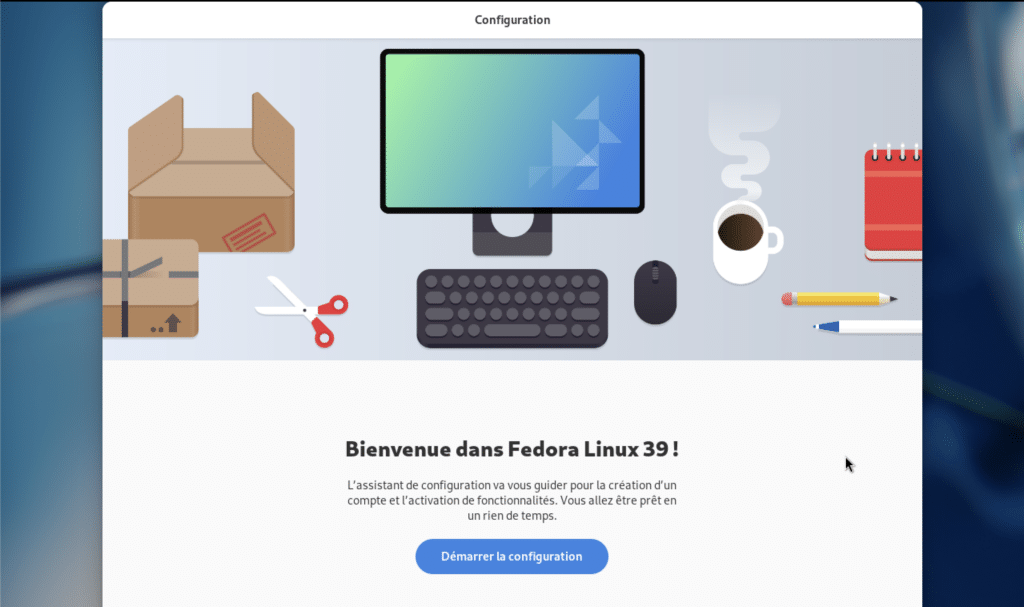
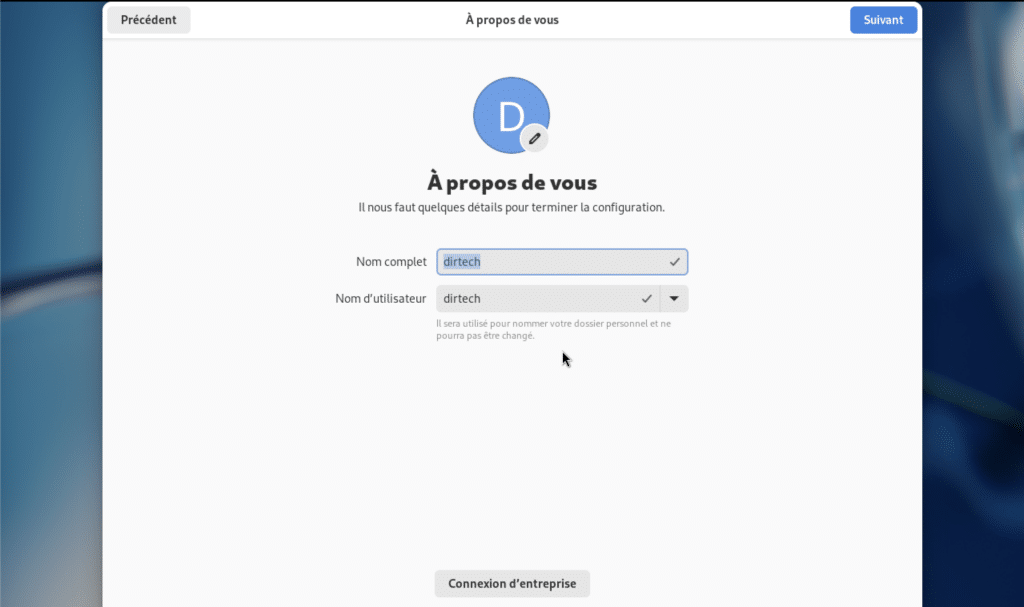
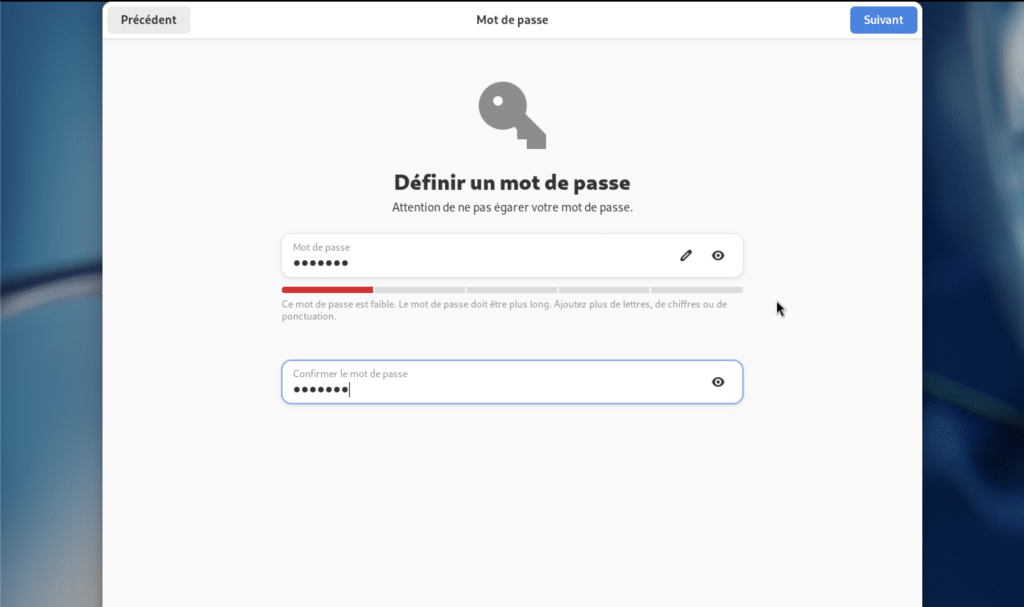
Start configuration and follow instructions. Give your machine a name and password.
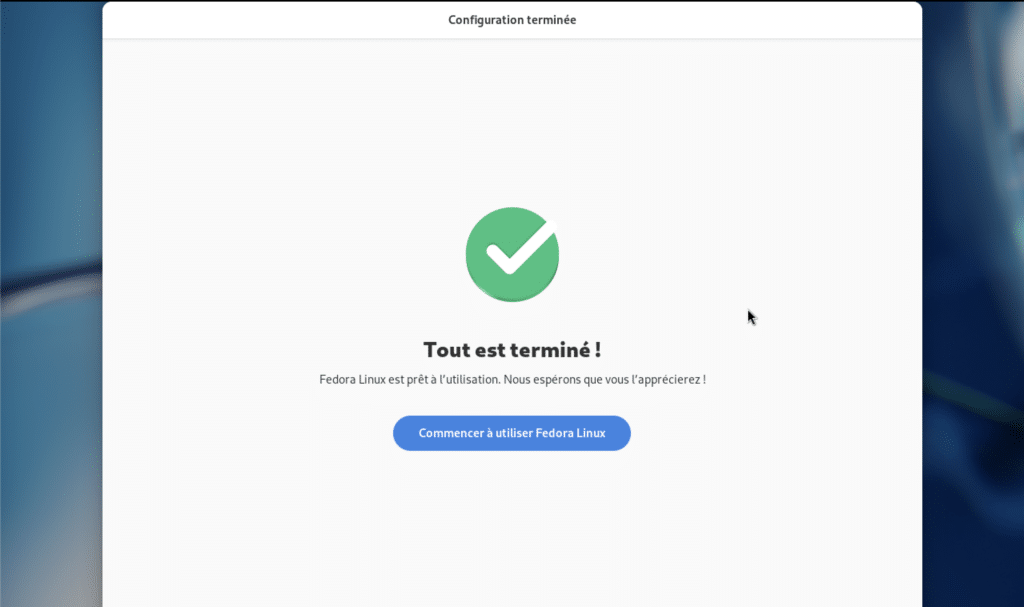
Congratulations, you’ve just installed Fedora on your Mac.
Conclusion
In conclusion, thanks to this simple and straightforward guide, you now have all the information you need to install Fedora on your Apple Silicon Mac using UTM. Follow the steps with confidence and explore the infinite possibilities offered by Fedora on your Mac.
FAQs
What are the advantages of installing Fedora on an Apple Silicon Mac?
Fedora offers a robust, customizable alternative to the macOS operating system.
You can explore new features and tools available in the Fedora ecosystem.
It also enables you to test Linux-compatible applications and software.
Is installing Fedora on an Apple Silicon Mac complicated?
No, thanks to tools like UTM, Fedora installation becomes relatively simple and accessible, even for beginners.
Is it possible to return to macOS after installing Fedora?
Yes, you can always use UTM to stop the virtual machine and return to macOS at any time.
Are there any limitations to using Fedora on an Apple Silicon Mac with UTM?
UTM may experience performance or compatibility problems with certain software or peripherals. We recommend consulting UTM documentation for the latest updates and patches.
Can I install other Linux distributions with UTM on my Apple Silicon Mac?
Yes, UTM supports several Linux distributions, so you can explore different options depending on your preferences and needs.