Virtualizing Windows 11 on a Mac M1/M2/M3 using UTM opens up new possibilities for users wishing to explore Microsoft’s operating system on their Apple hardware. In this article, we’ll look at how to install Windows 11 on a Mac M1/M2/M3 with UTM.
Requirements
Before starting the Windows 11 installation process on your Mac M1/M2/M3 with UTM, please make sure you have the following items:
- Available storage space, at least 60 GB ;
- The Windows 11 ARM ISO file.
Step 1: Download and install UTM
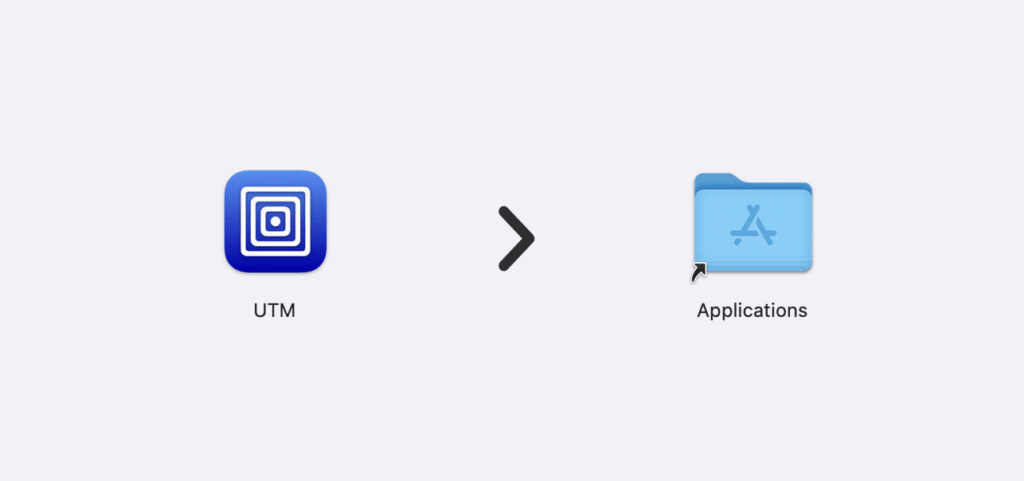
Open your browser and go to the official UTM website to download it.
Once the file has been downloaded, install it by dragging UTM into the Applications folder.
Once installation is complete, click on the UTM icon in your Applications folder to launch the application.
Step 2: Download Windows 11 ARM
The easiest way to obtain a Windows 11 installation ISO is to use CrystalFetchs on macOS, a free utility based on UUPDump.
You can download the ISO file directly from UUPDump.
The other method is to use CrystalFetch.
See also: Installing a Virtual Machine on Mac M1, M2 or M3 with Apple Silicon
Launch CrystalFetch and start installing Windows 10 or 11. You’ll be able to select the language of installation and editing.
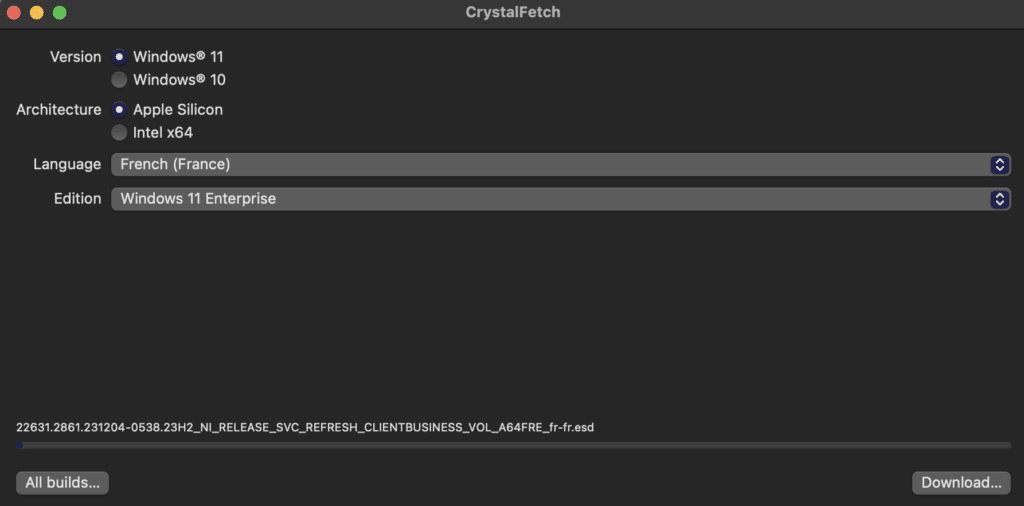
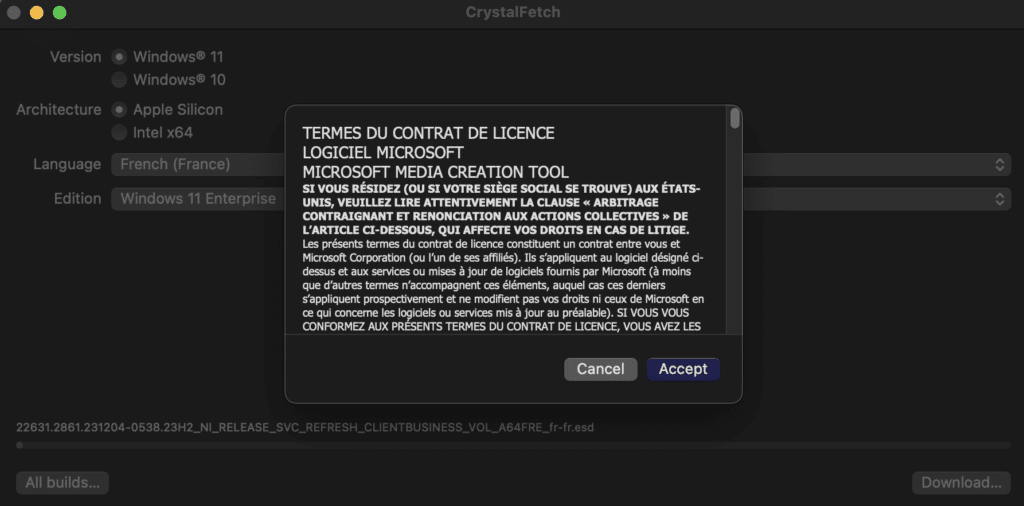
Then click on Download to start the download. Accept terms and conditions.
Downloading the Windows 11 ARM disk image may take some time, depending on the speed of your Internet connection.
Make sure you have a stable connection and wait until the download is complete.
Once the download is complete, save the file in a folder.
Step 3: Create a virtual machine
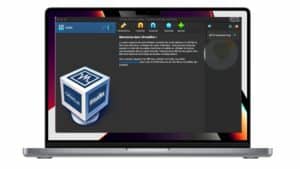
Launch the UTM application on your Mac.
Click on the “+” button: In UTM’s main interface, click on the “+” button to start creating a new virtual machine.
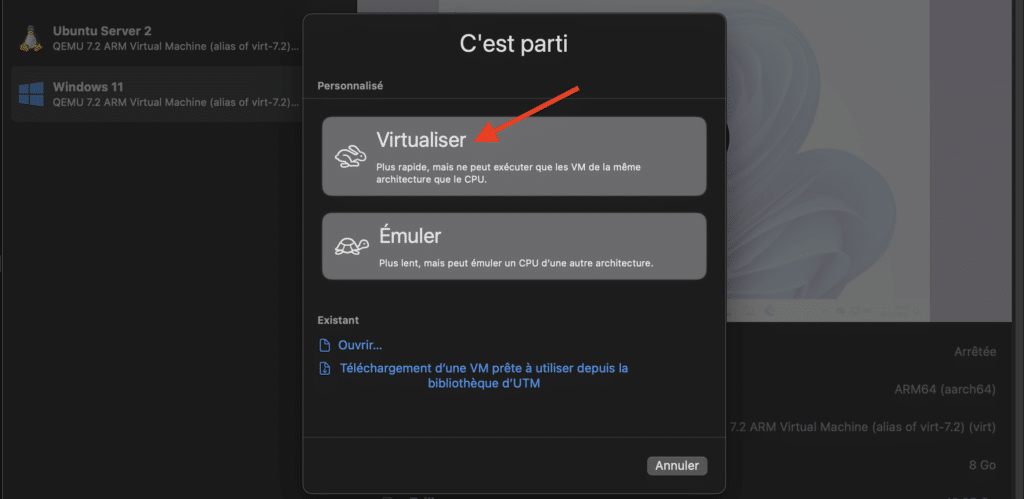
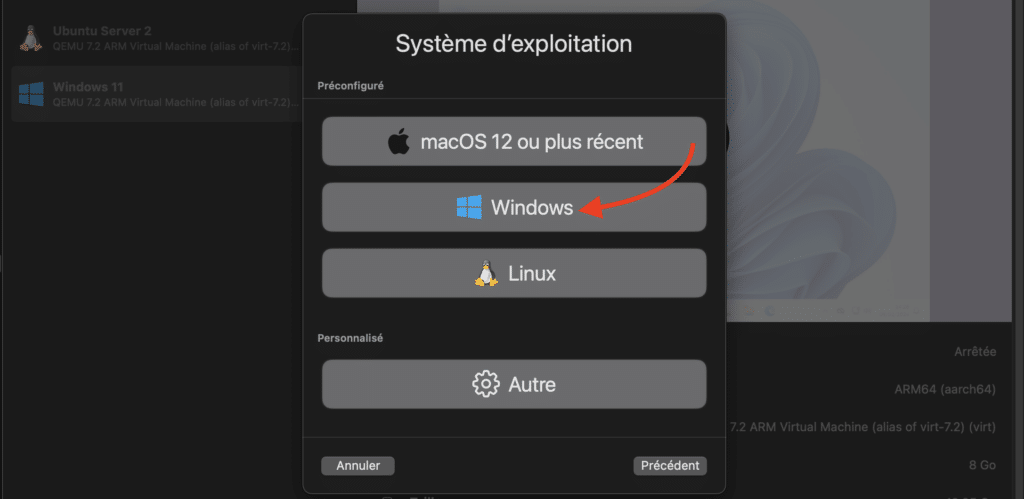
Then select Virtualize Windows.
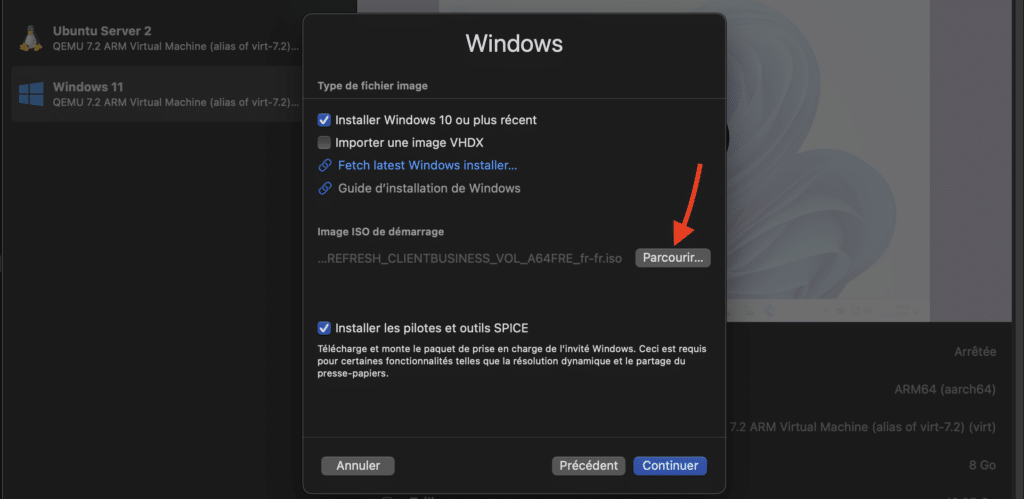
Click on Browse and select the Windows 11 ISO file you have just downloaded.
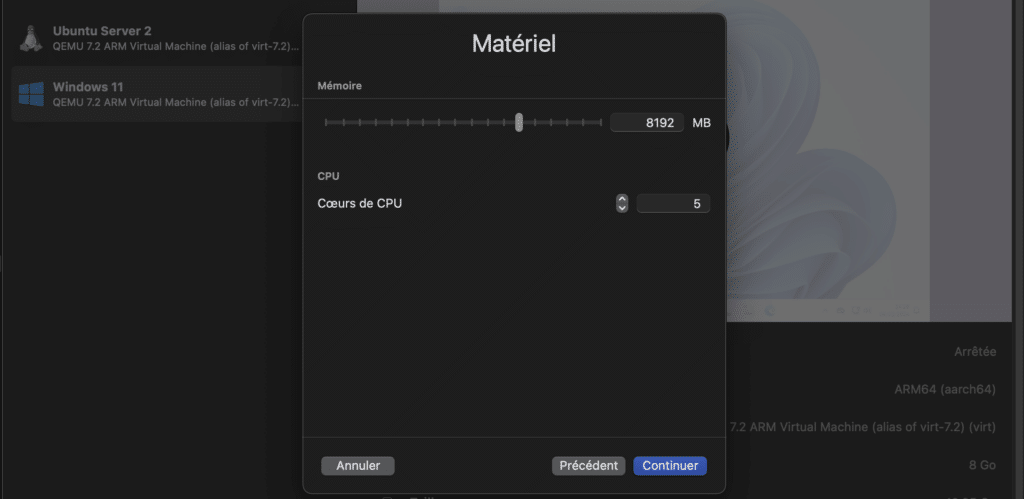
Configure RAM and number of processors according to your needs. Don’t forget to configure storage and then continue.
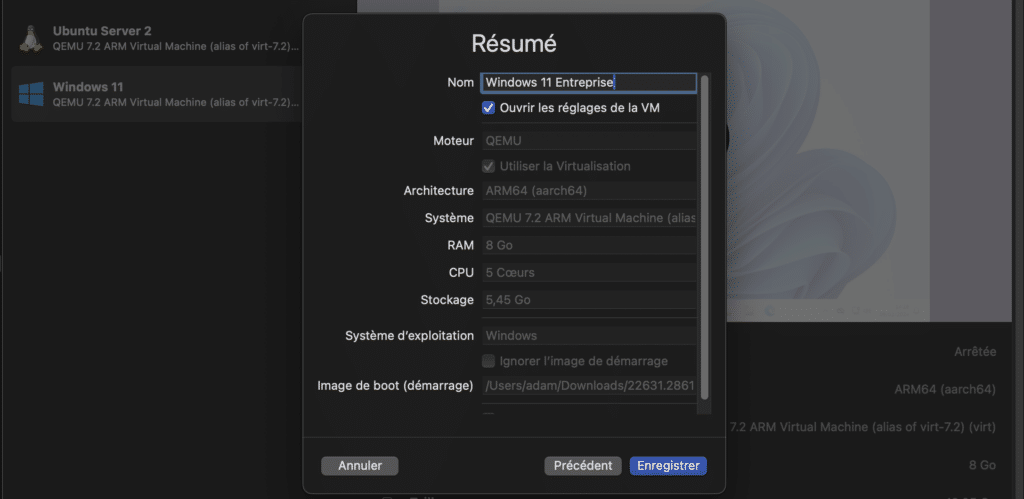
Finally, give your virtual machine a name, then save. Don’t forget to check Open VM settings to configure the network card.
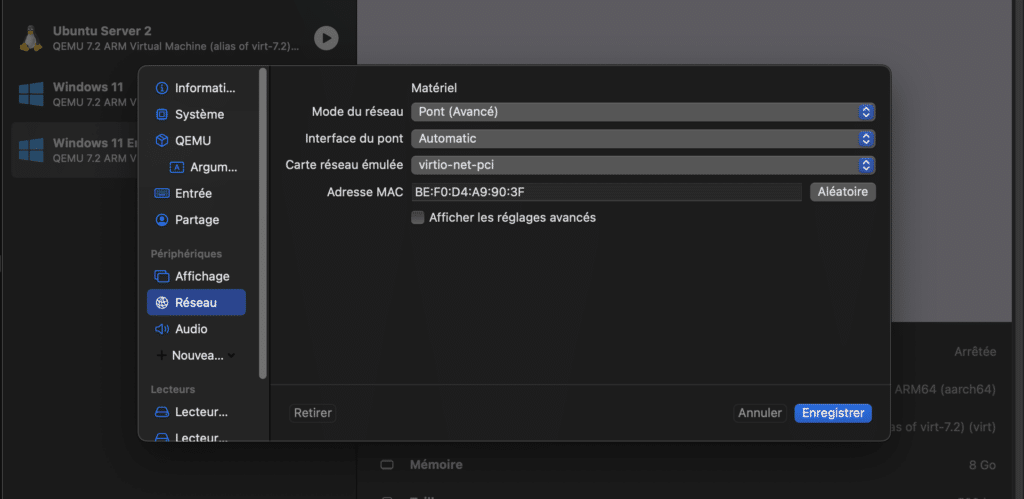
Configure the network card in bridge mode to enable the machine to connect to your network.
Step 4: Install Windows 11 on UTM
After creating the virtual machine, launch it to begin installing Windows 11.
When the machine starts up, quickly press the Enter key to boot to the ISO file.
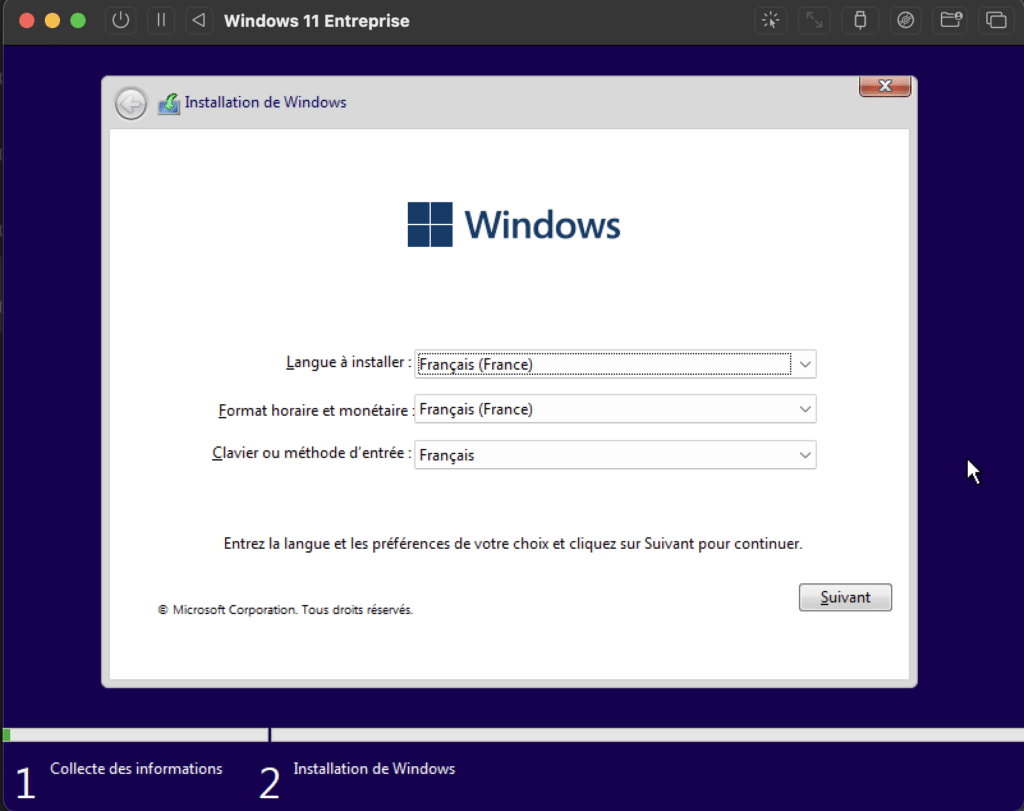
Select language and click Next.
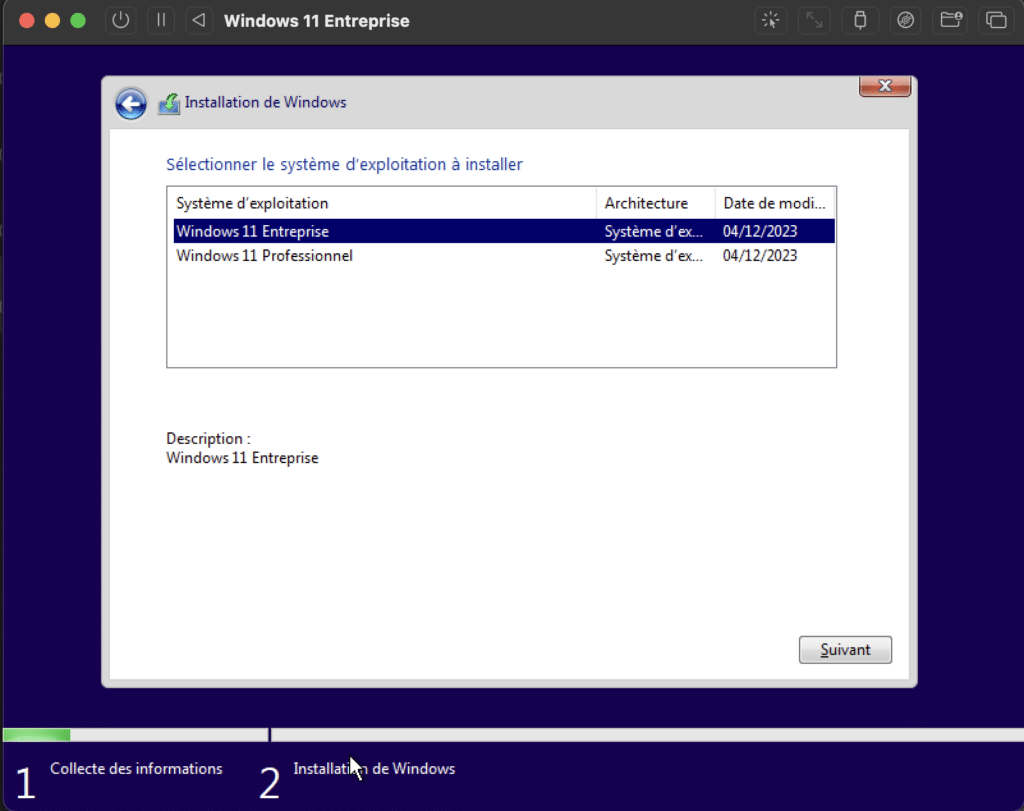
Select the Windows 11 edition, then click Next.
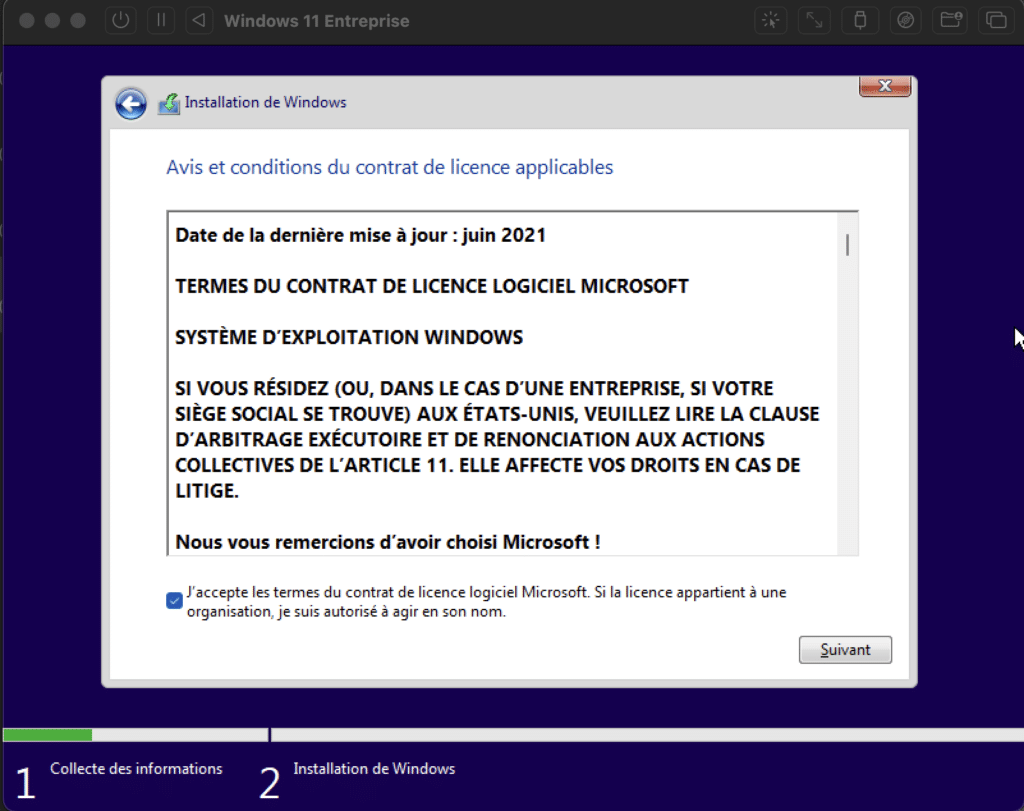
Accept terms and conditions.
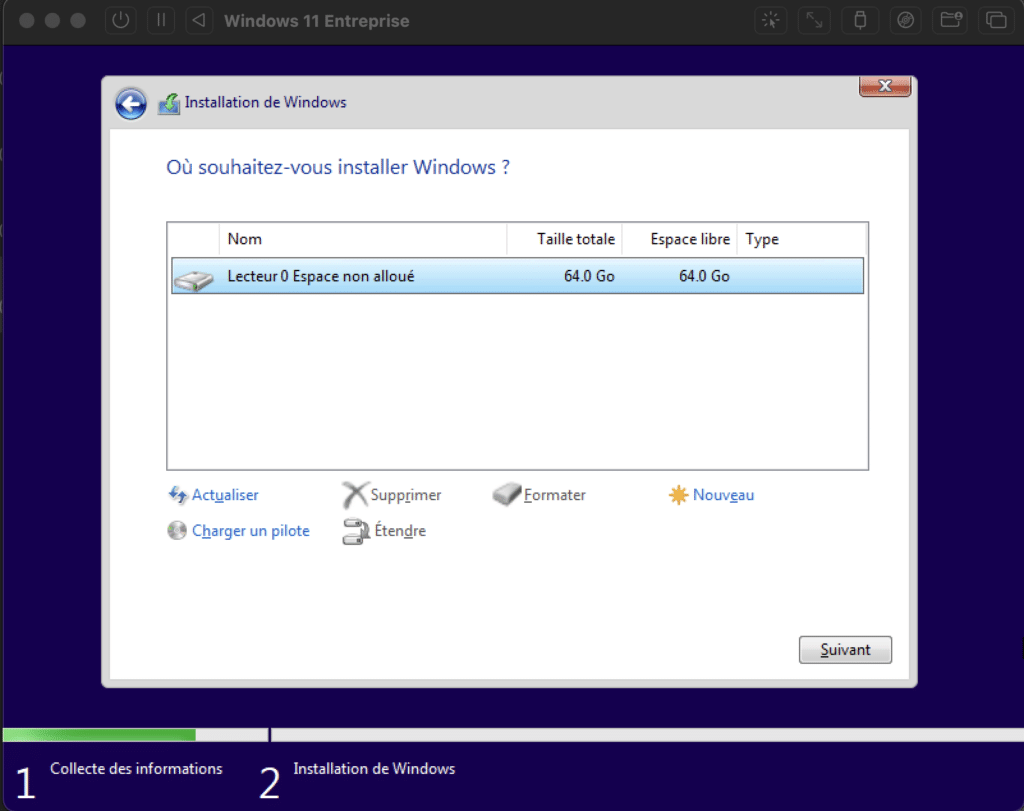
Continue by selecting the entire disc.
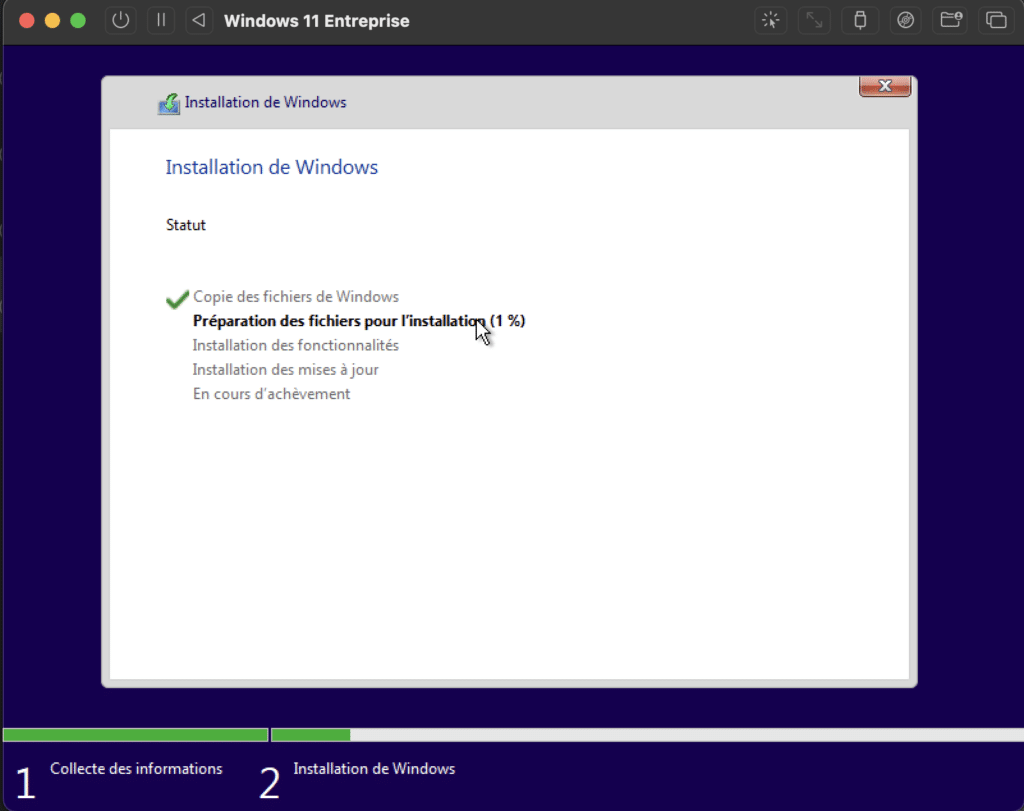
Once you’ve configured the installation parameters, UTM will install Windows 11 ARM on the virtual machine. Wait until the installation process is complete.
Once installation is complete, restart the virtual machine to apply the settings and finalize Windows 11 configuration.
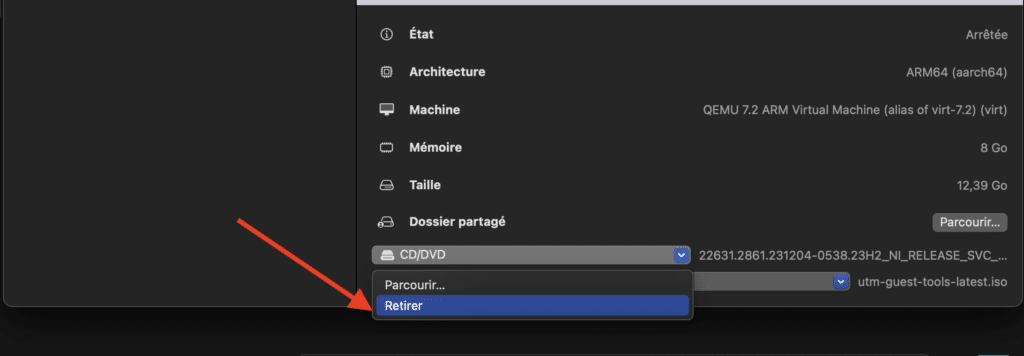
Switch off the machine and remove the installation disk.
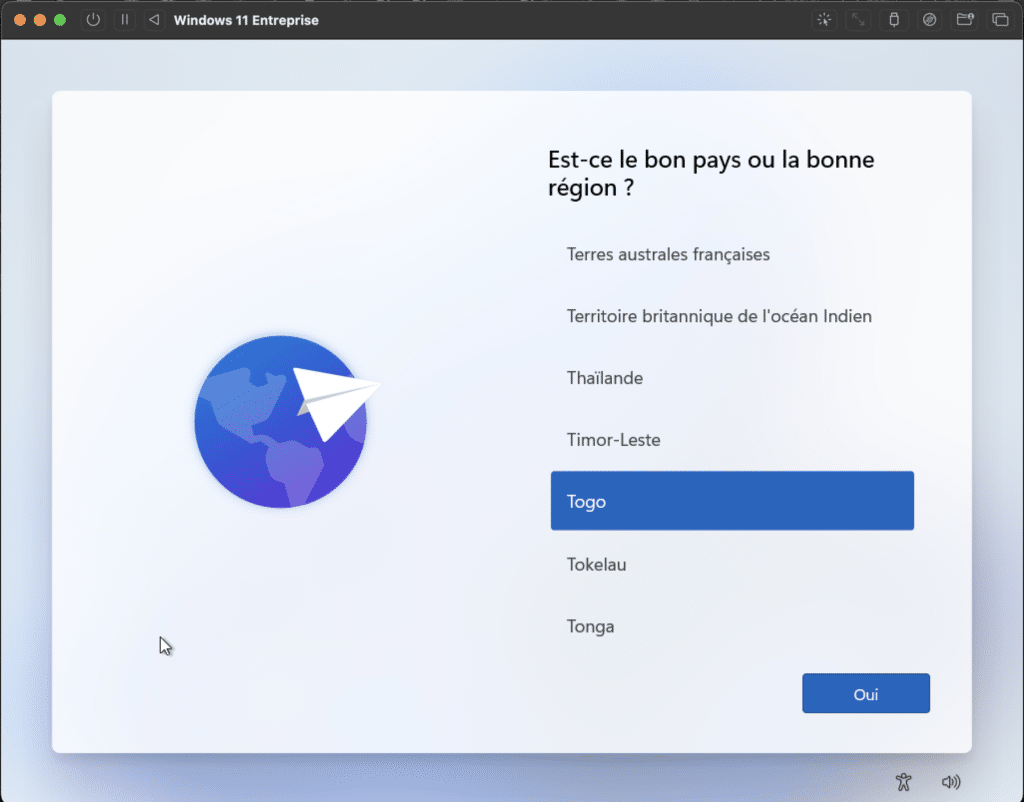
You can then start up the machine to continue configuring it.
Select your region, keyboard layout and continue.
Give your machine a name and password, then answer the questions.
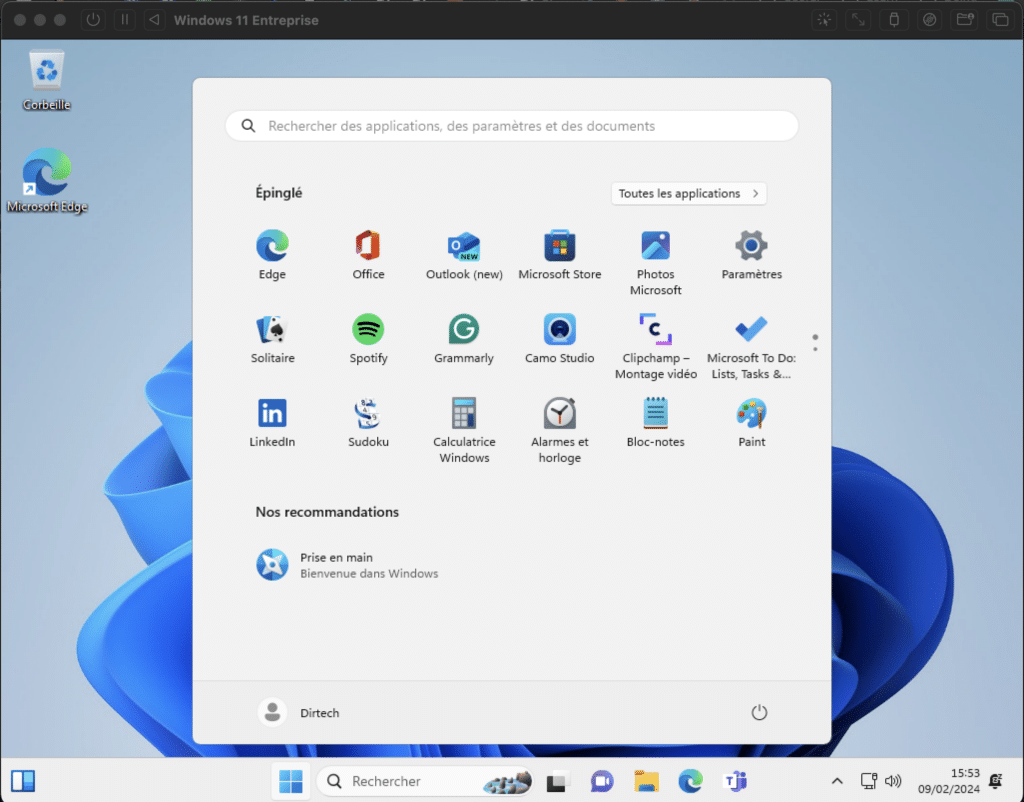
Wait for Windows 11 configurations to finish.

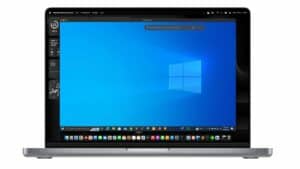
Congratulations, you’ve just installed Windows 11 on your Mac.
Conclusion
In conclusion, thanks to UTM, it’s now possible to install Windows 11 on a Mac M1/M2/M3. Following these simple steps, users can make the most of their Mac’s features and benefit from the Windows 11 environment on their Apple device. This virtualization opens up new opportunities for use and exploration.
FAQs
What are the advantages of using UTM to install Windows 11 on a Mac M1/M2/M3?
UTM offers a powerful and flexible virtualization solution, enabling users to run different operating systems on their Apple Silicon Mac. This allows you to explore and test Windows 11 without compromising the performance or stability of your Mac.
Is my Mac M1/M2/M3 compatible with Windows 11 via UTM?
Yes, UTM is compatible with Macs equipped with Apple Silicon processors, including M1, M2 and M3 models. Just make sure you follow the appropriate steps to download and install Windows 11 on your Mac with UTM.
Where can I find an ISO image of Windows 11 ARM?
You can download a Windows 11 ARM disk image from the official Microsoft website or other reliable online sources. Make sure you choose the right ARM version for use with UTM on your Mac M1/M2/M3.
What are the recommended system specifications for running Windows 11 on a Mac M1/M2/M3 with UTM?
Although exact specifications may vary according to intended use, we recommend allocating at least 4 GB of RAM and 40 GB of disk space for a smooth experience with Windows 11 on UTM. Also, make sure you have enough resources available on your Mac to avoid slowdowns or performance problems.
Can I run other operating systems on my Mac M1/M2/M3 with UTM?
Yes, UTM supports a variety of operating systems, including macOS, Linux and other versions of Windows. You can use UTM to create and run multiple virtual machines on your Apple Silicon Mac, offering great flexibility for your virtualization needs.