In IT, flexibility is key. This is where VirtualBox comes in, allowing you to run multiple operating systems on a single machine. This is especially useful if you use an Apple Silicon M1, M2 or M3 Mac and want to experiment with other operating systems. However, installing VirtualBox on these new Mac models can be a bit complex. Fortunately, you’ve come to the right place! In this article, we will see how to install VirtualBox on a Mac Apple Silicon M1, M2, M3.
Step 1: VirtualBox and the Apple Silicon M1, M2, M3
VirtualBox, an Oracle creation, is a free and open source tool that allows you to create and manage virtual machines.
It is a versatile virtualization platform that works on Windows, Linux, Macintosh and others.
With VirtualBox, you can run multiple operating systems simultaneously, which is great for testing applications, troubleshooting scenarios, or even getting familiar with a new operating system.
That said, when it comes to Apple and its latest Mac M1, M2 and M3, things get a little tougher. These Macs, designed with the new Apple Silicon chip, have radically changed the way macOS interacts with applications. Instead of using an Intel-based architecture like previous Macs, the M1, M2 and M3 models use an ARM architecture. This means that applications must be specifically adapted to run on these machines.
For many software developers, including those at VirtualBox, this has created a significant challenge: how to make their applications compatible with these powerful new machines? This is where the development version for macOS / Arm64 (M1/M2/M3) hosts was born.
Step 2: Installation Requirements
Before you begin installing VirtualBox on your Apple Silicon M1, M2 or M3 Mac, there are a few key things to check to make sure everything goes as smoothly as possible.
First, you need to make sure your operating system is up to date. Apple is constantly working to improve support for third-party applications and software on its new Macs, so having the latest version of macOS is crucial. You can check if updates are available by going to System Preferences and clicking on Software Update.
Second, make sure your Mac has enough storage space. Installing VirtualBox requires space on your hard drive, and it will also require space for each virtual machine you plan to create.
Finally, it is important to note that you will need a stable Internet connection to download VirtualBox and any updates. Make sure you are connected to a reliable network before starting the installation.
⇒ How to install Ubuntu 22.10 in VM on macOS M1 or M2 with UTM?
Step 3: Download VirtualBox for Mac Apple Silicon
Downloading VirtualBox for an Apple Silicon M1, M2, M3 Mac is a crucial step in the process. It should be noted that VirtualBox is not yet fully compatible natively with the Apple Silicon architecture.
The developer version of VirtualBox has been removed from the official website. But you can download it by clicking here!
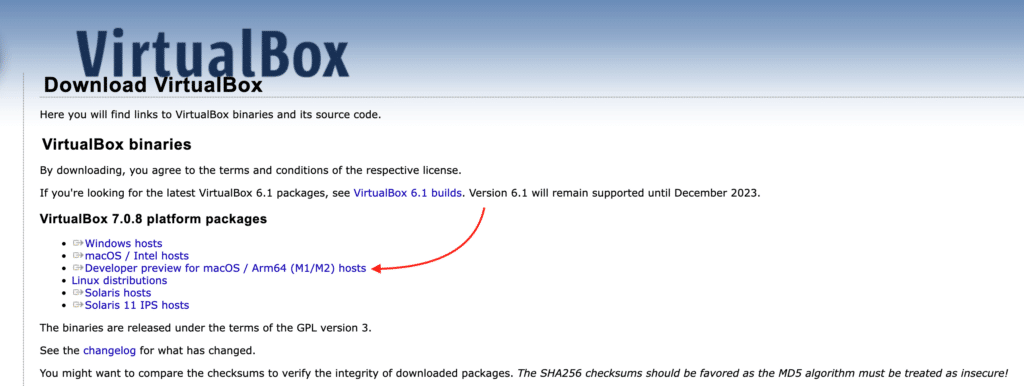
Here are the steps to download VirtualBox:
- Open your web browser and go to the official VirtualBox website.
- On the home page, click on the Download VirtualBox button for the Arm64 (M1/M2/M3) version located in the middle of the page.
Once you have downloaded VirtualBox, you can move on to the next step: installing VirtualBox on your Apple Silicon Mac. Be sure to keep the downloaded installation file in an easily accessible place, as you will need it for the next step.
Step 4: Installing VirtualBox on Apple Silicon Mac
The installation process of VirtualBox on an Apple Silicon M1, M2, M3 Mac may be slightly different from that of a standard Mac due to the different processor architecture.
Click on the downloaded file.
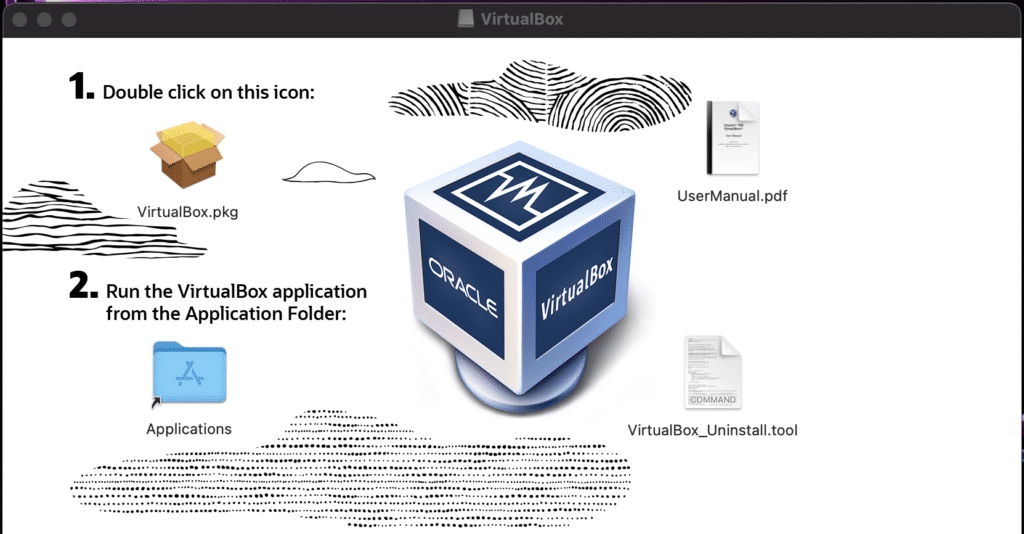
Then double-click on the icon in step 1.
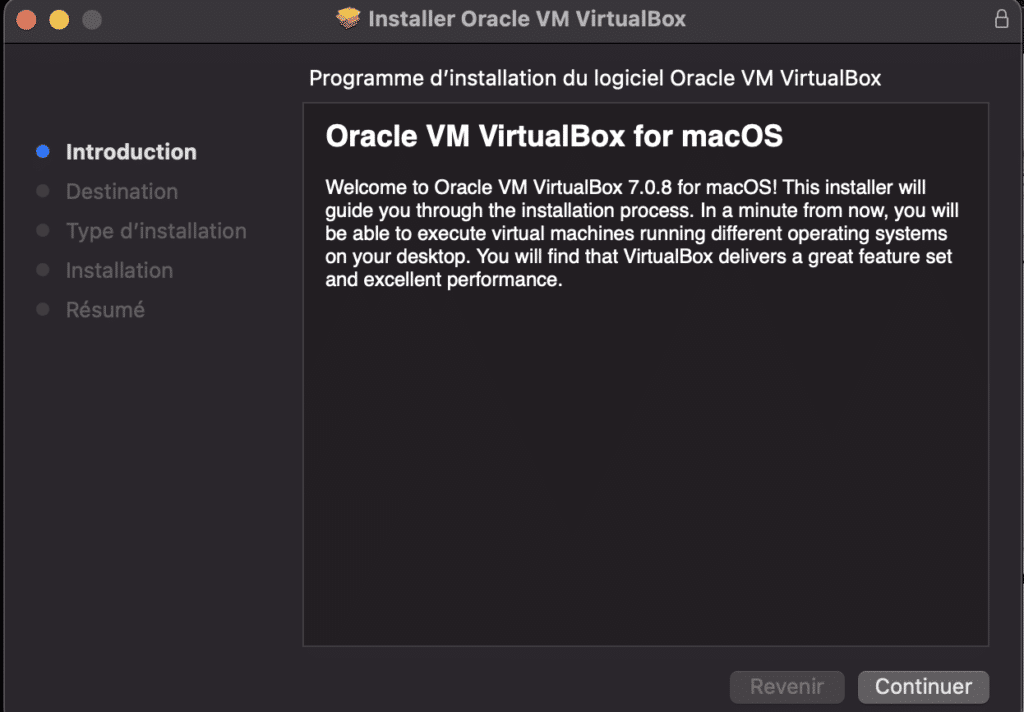
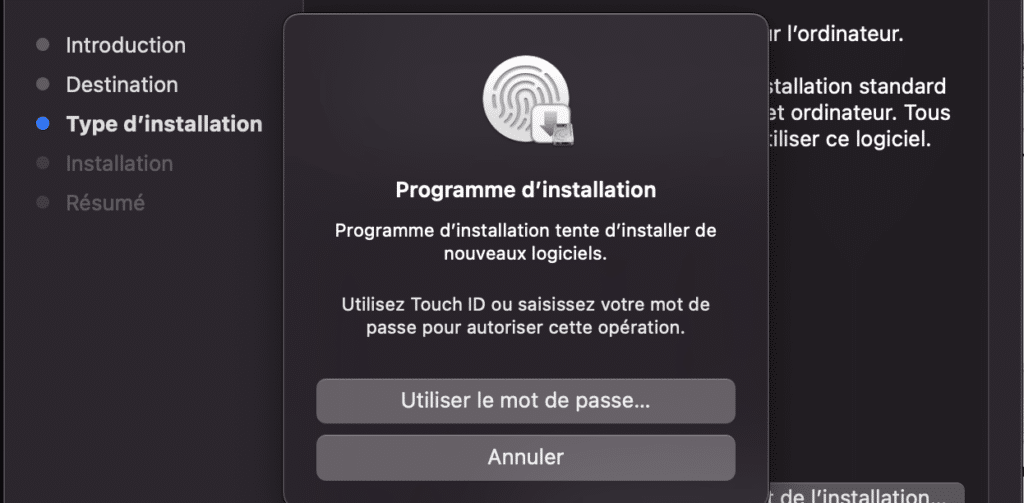
Continue the installation by following the default procedure. Confirm your password.
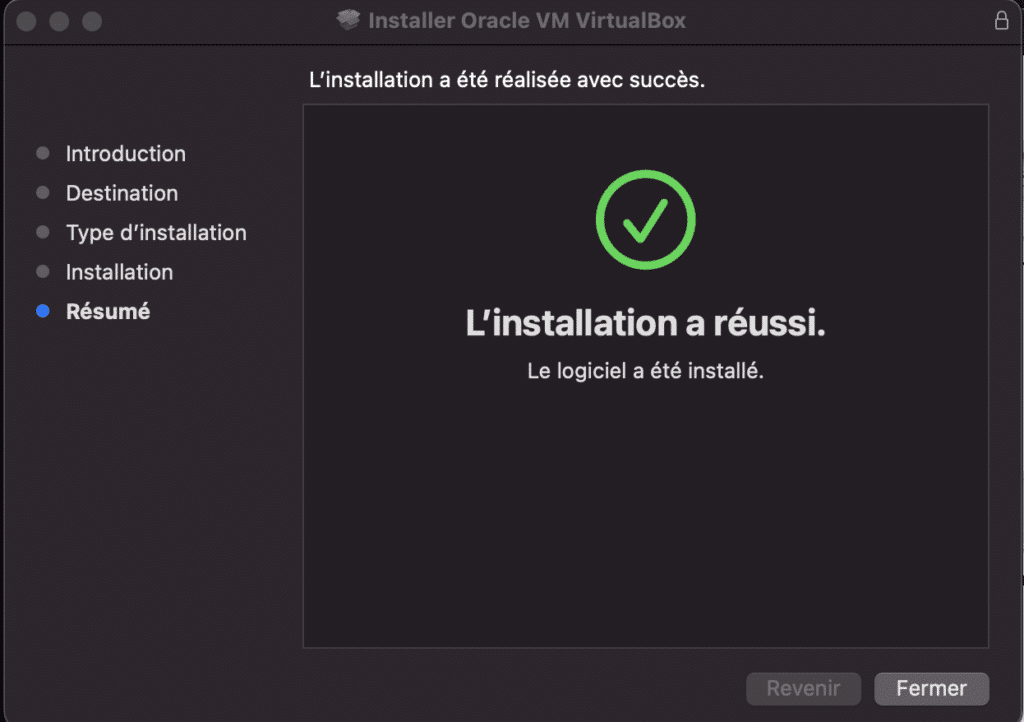
Once the installation is complete, click on close.
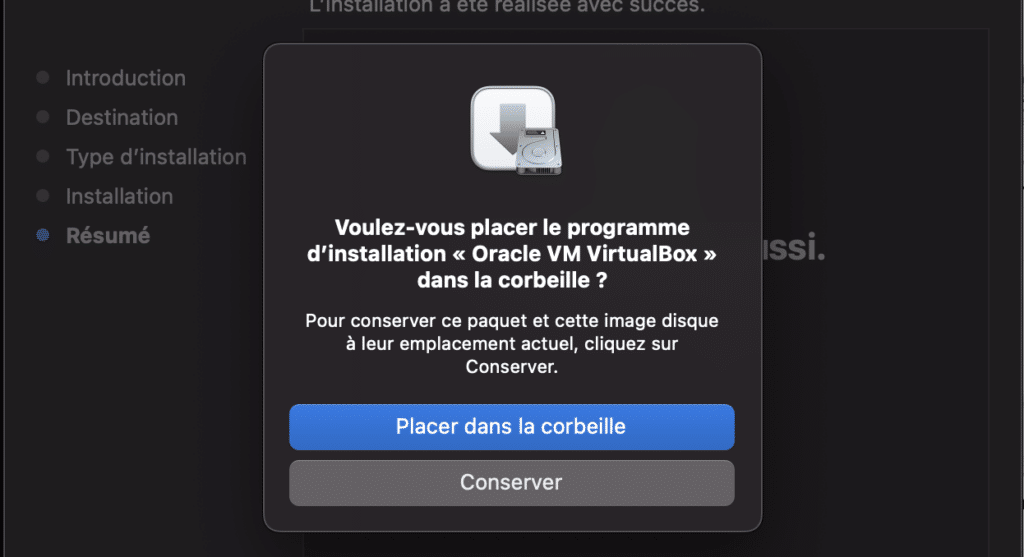
Then delete the installation file by clicking on put in the recycle garbage can.
Congratulations, you have installed VirtualBox on your Mac M1/M2/M3.
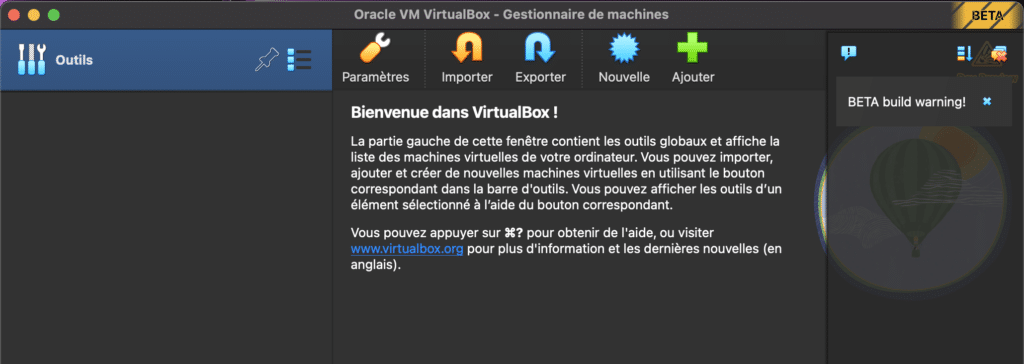
Step 5: Launch and use VirtualBox on Mac
Now that you have installed VirtualBox on your Apple Silicon M1, M2 or M3 Mac, it’s time to explore all the possibilities this powerful tool has to offer.
Here are some of the things you might want to explore:
- Search in the applications and launch VirtualBox.
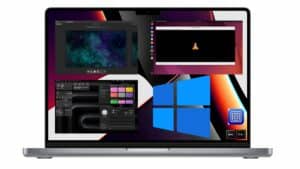
- Create virtual machines: VirtualBox allows you to create virtual machines (VM). You can install different operating systems in these VMs, which can be useful for testing new applications or configurations without disrupting your main system.
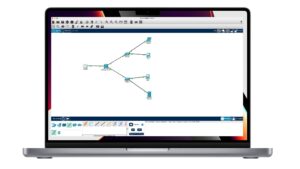
- Virtual Network: VirtualBox provides virtual network options, allowing you to simulate different network scenarios for your VMs. This can be especially useful if you work in the field of computer networking or cyber security.
- File Sharing: VirtualBox allows you to easily share files between your host system and your VMs. This can be useful for data transfer, or for providing files to an application you are testing in a VM.
Remember, although VirtualBox is a powerful tool, one should also be aware of its limitations, especially when used on an Apple Silicon Mac. But with a good understanding of these limitations and judicious use, VirtualBox can be a valuable asset to your IT workflow.
The developer preview of Virtualbox for mac silicon is no longer available from the downloads page.
Try to download it from this link : https://download.virtualbox.org/virtualbox/7.0.8/VirtualBox-7.0.8_BETA4-156879-macOSArm64.dmg
Thanks for this shared link Adam. Do you know why VirtualBox for Mac silicon is no longer available form the download page please ?
I don’t know exactly, but I think the beta version is not stable. I used it for a while, there are too many bugs.