GNS3 is network virtualization software that lets you create and test virtual computer networks on your own computer. Whether you’re a network professional or a student, GNS3 offers a practical and powerful solution for simulating complex network environments without the need for physical hardware. So how do I install GNS3 VM on an Apple Silicon M1, M2 or M3 Mac?
In this guide, we’ll show you how to install and use GNS3 on your Apple Silicon Mac. This lets you create and configure virtual network topologies to meet your development or testing needs.
Compatible with the latest Apple Silicon Macs
Software compatibility with the new Apple Silicon Macs, equipped with M1, M2 or M3 processors, is a major concern for many users. Fortunately, the new version of GNS3 is perfectly compatible with these new Macs.
Thanks to the revolutionary architecture of Apple Silicon processors, GNS3 can take full advantage of the performance and energy efficiency of these new Macs. Whether you’re using a MacBook Air, MacBook Pro or Mac mini with an Apple Silicon processor, you can enjoy all GNS3’s features without compromise.
See also: Why use GNS3 VM instead of GNS3?
Steps to download and install GNS3 VM
Step 1: Download VMWare Fusion
To install the GNS3 virtual machine, we need VMWare Fusion.
Open your web browser and go to the official VMWare website.
You can have the license for personal use free of charge.
Once downloaded, install VMWare Fusion on your Mac.
Step 2: Download VM GNS3 and GNS3.
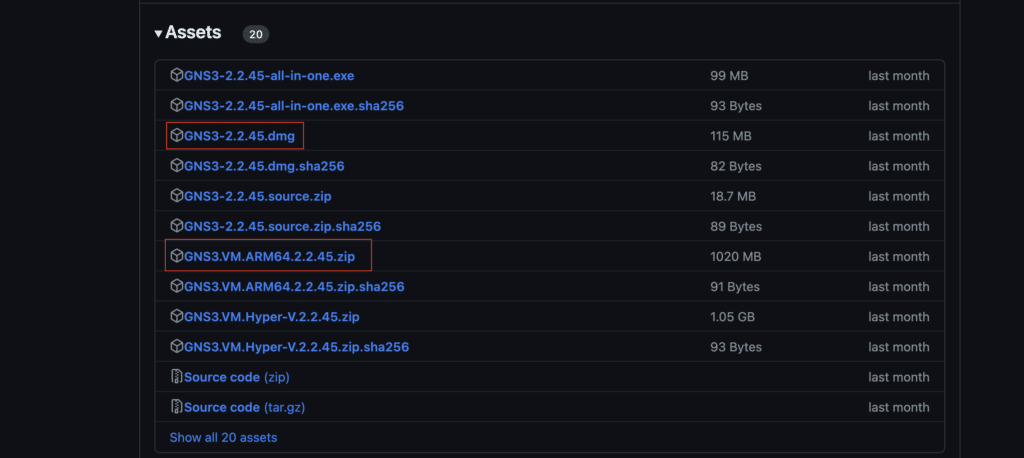
Open your web browser and go to the official GNS3 GitHub page.
Find the ARM64 version of VM and start the download. Also download the GNS3 dmg file.
Important: the GNS3 VM and GNS3 must be of the same version, otherwise they won’t work together.
Select the GNS3 VM version you wish to download according to your needs. GNS3 generally offers a stable version as well as more recent development versions.
Once you’ve selected the GNS3 VM version, click on the appropriate download button to begin the download process.
Step 3: Install VM GNS3 and GNS3.
Installing GNS3 VM in VMWare Fusion :
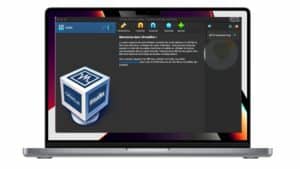
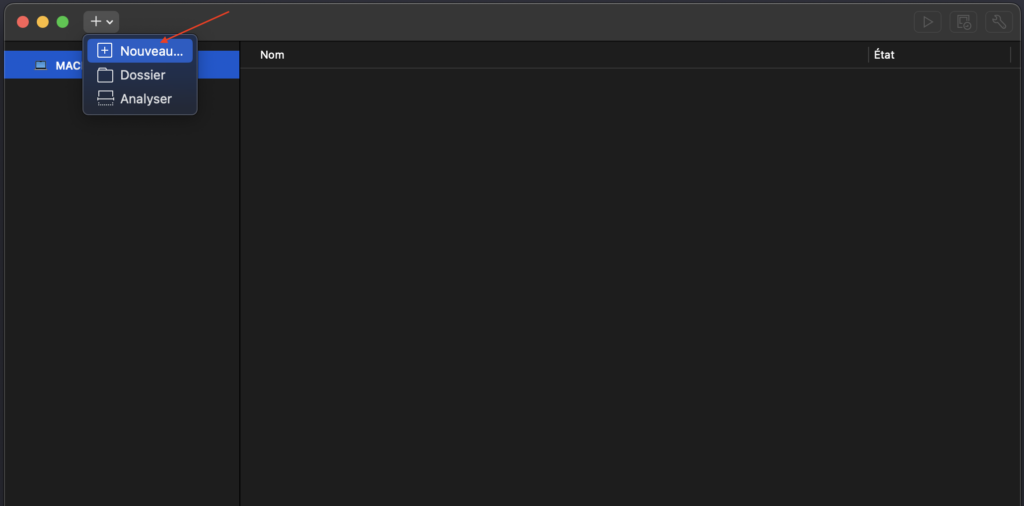
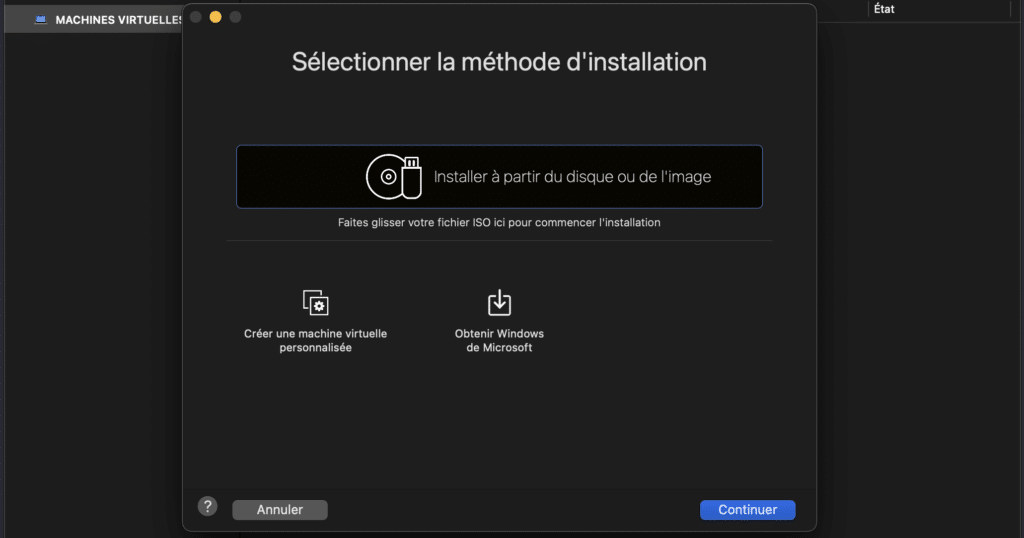
Launch the VMWare Fusion application on your Apple Silicon Mac. Click + then new to create a new virtual machine.
Choose Create a custom virtual machine.
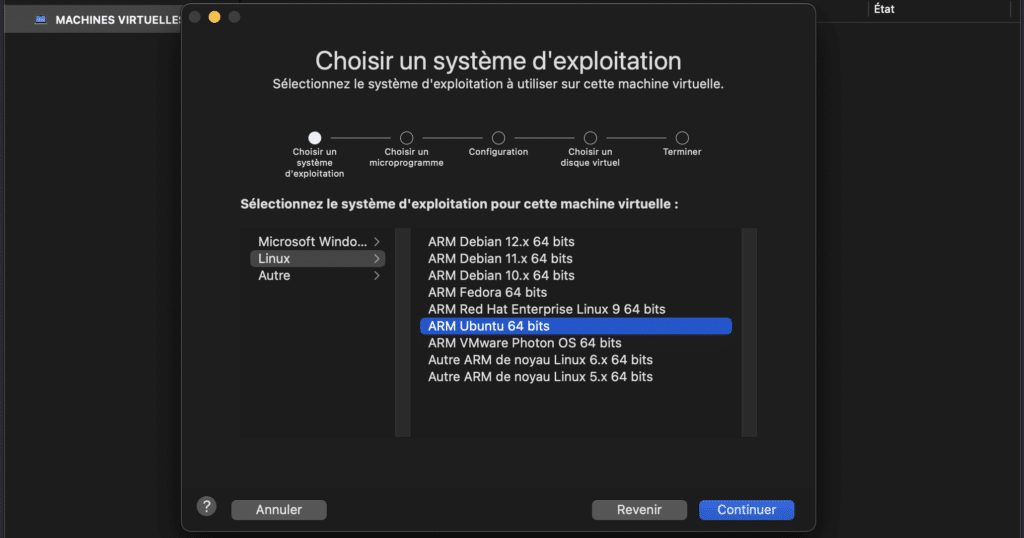
Select Linux then ARM Ubuntu 64-bit and continue.
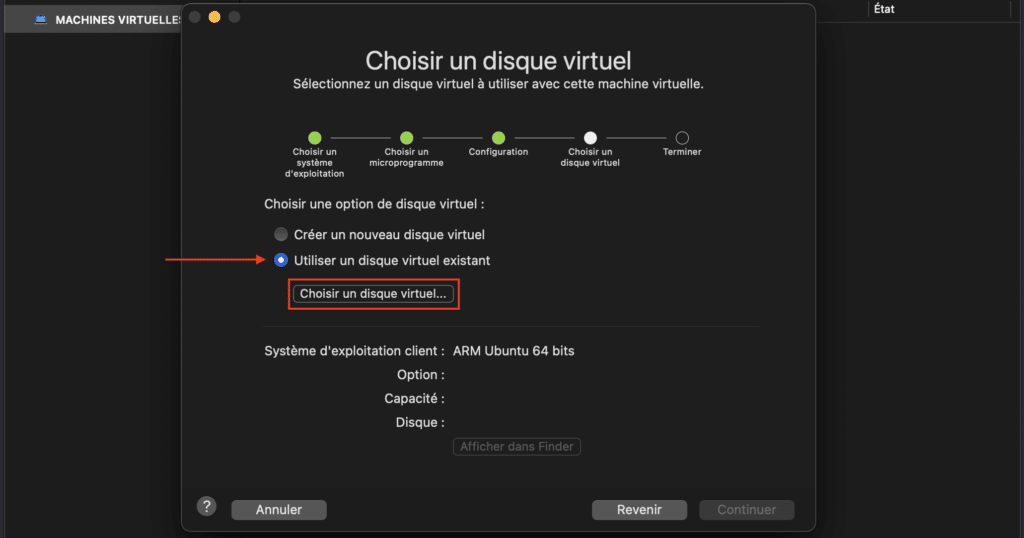
Check Use an existing virtual disk and select a virtual disk.
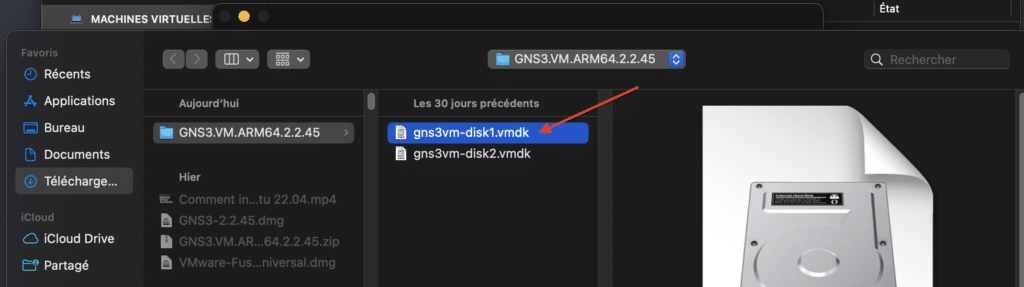
In the VM GNS3 file you’ve downloaded and unzipped, select disk 1, then continue.
Finish and do not start the virtual machine again.
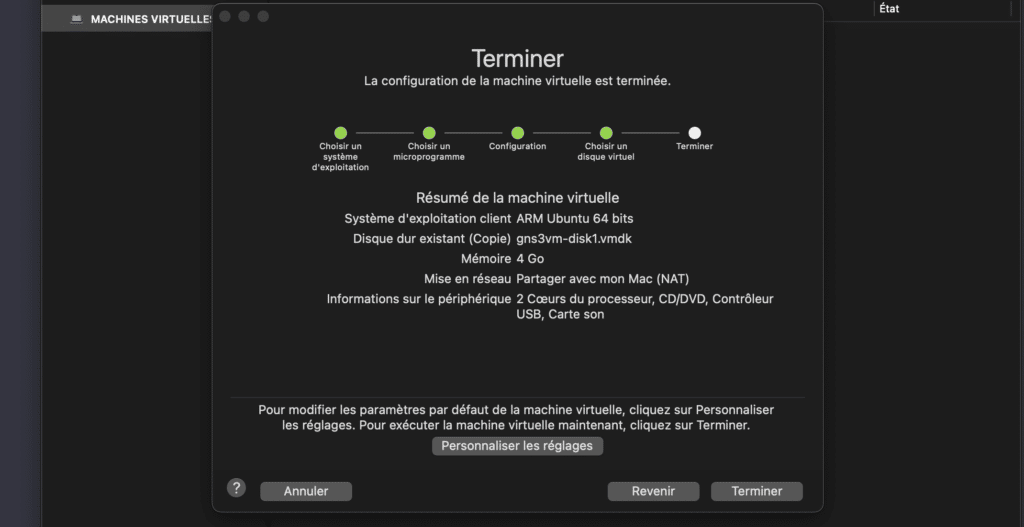
Give the machine a name and save. Do not always start the machine.

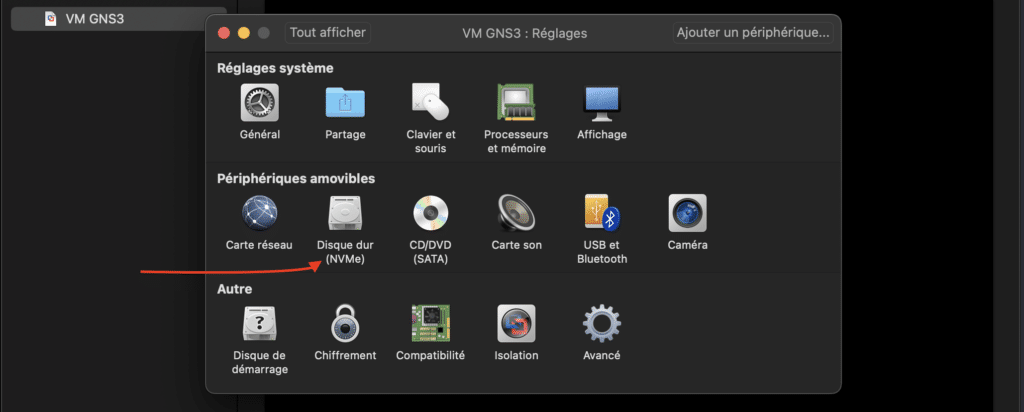
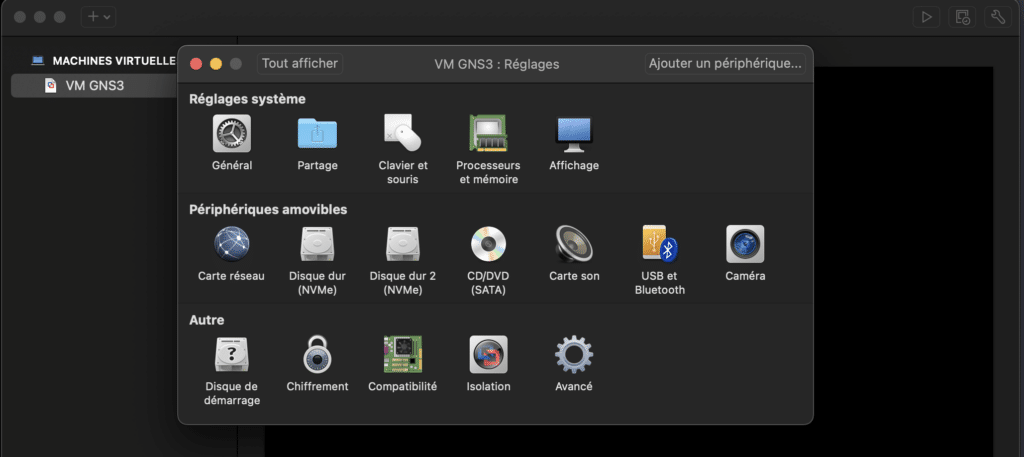
Then click on Settings in the top right-hand corner.

Then click on hard disk.
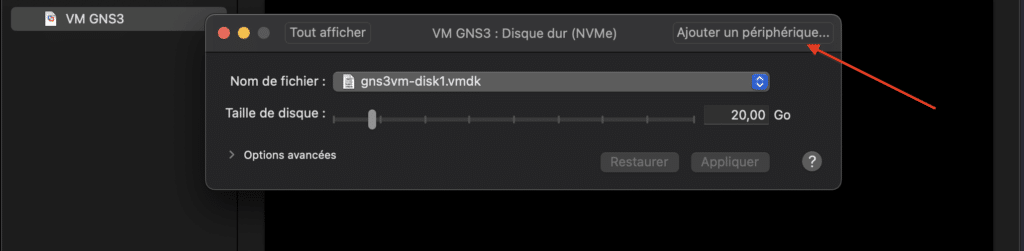
Next, add a device.
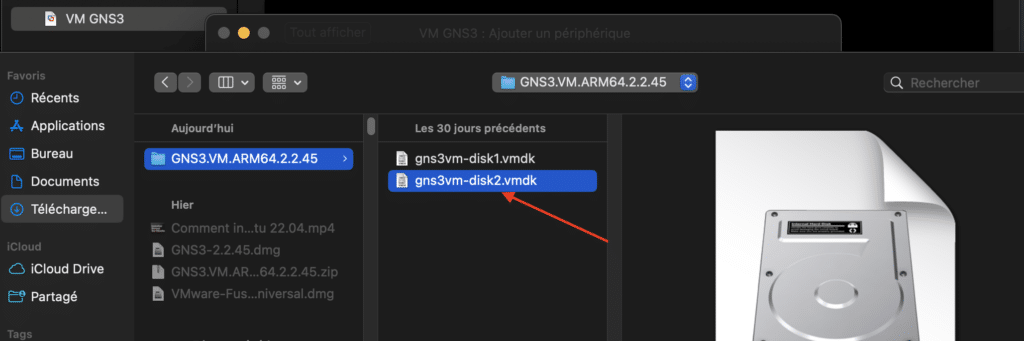
Select existing hard disk.
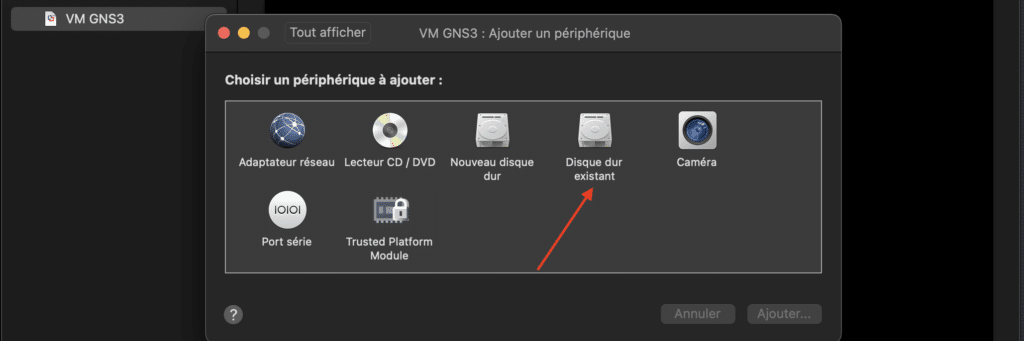
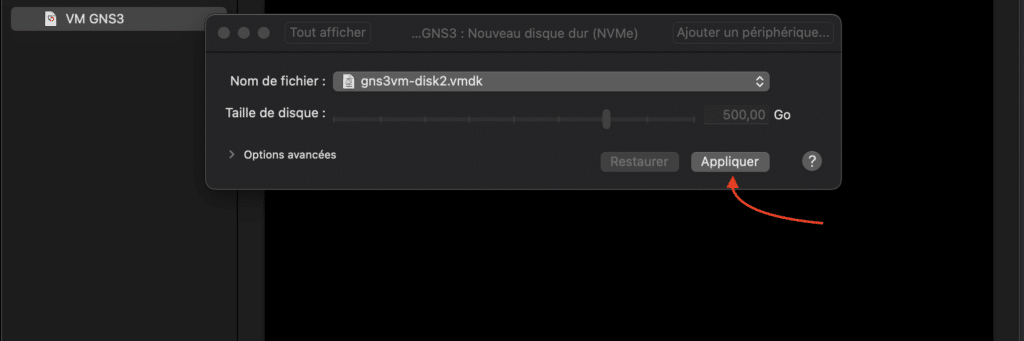
Now add disk 2 .
Click on Apply.
At the same time, you can configure the memory, processors and network card to suit your needs.
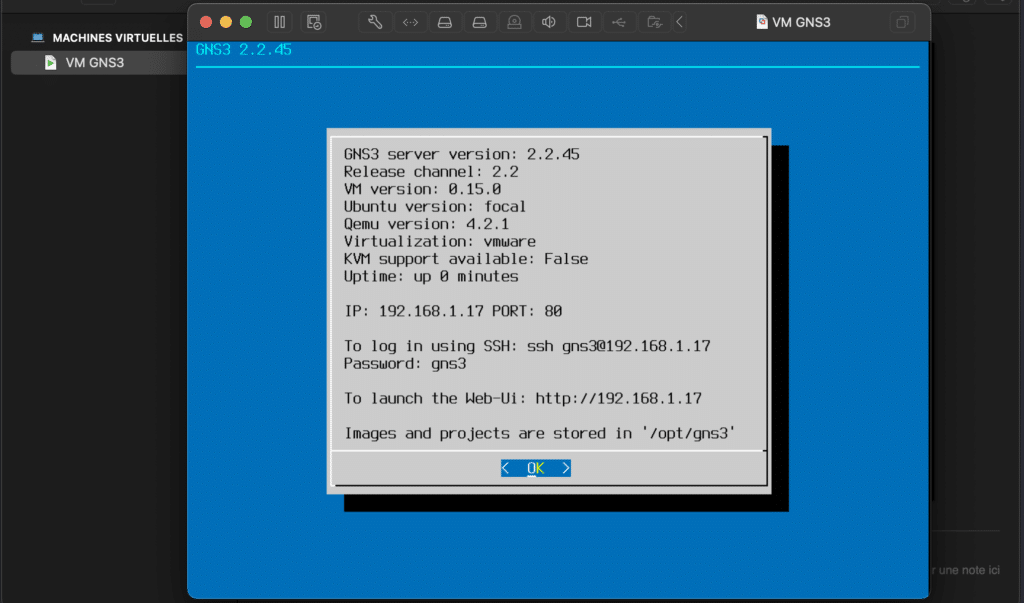
Once all the settings have been made, you can launch the virtual machine.
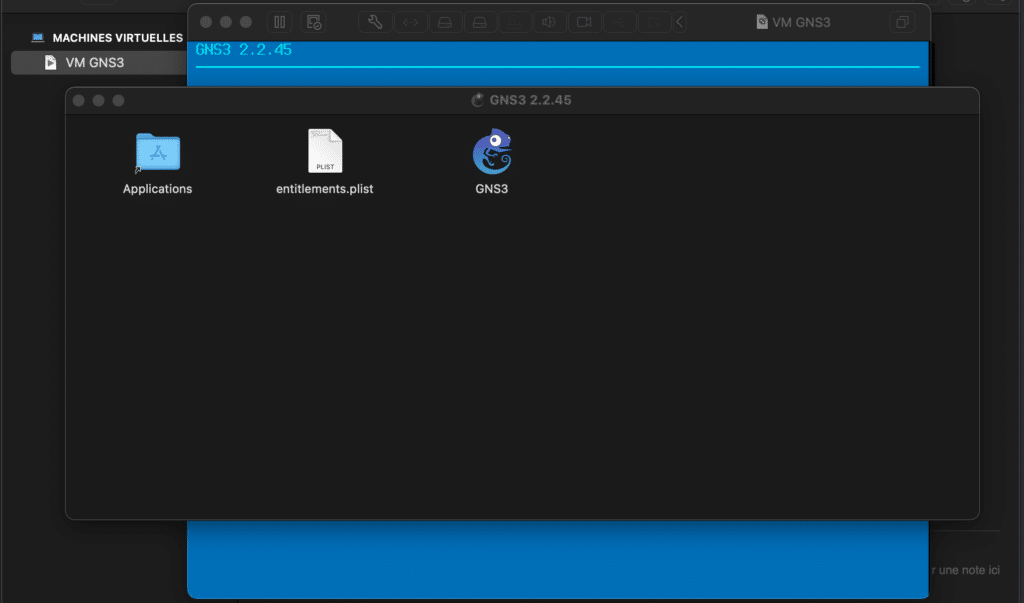
Now install the GNS3 dmg file by dragging the GNS3 icon into the Applications folder.
See also: How to install GNS3 GUI on macOS, MacBook M1, M2 and M3?
Once installation is complete, launch the GNS3 application from your Mac’s Applications folder or Launchpad.
Step 4: Connect GNS3 to the GNS3 VM server
Open the GNS3 application you have installed on your Apple Silicon Mac.
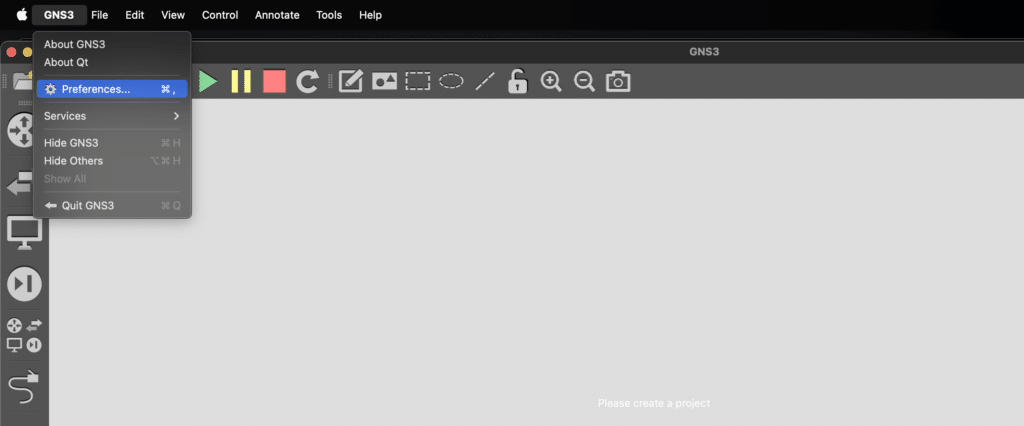
In the menu bar, click on “GNS3” then select “Preferences”.
Click on Server and uncheck Enable local server then fill in the information. Replace the IP address with the IP address of the GNS3 VM. The username and password is gns3.
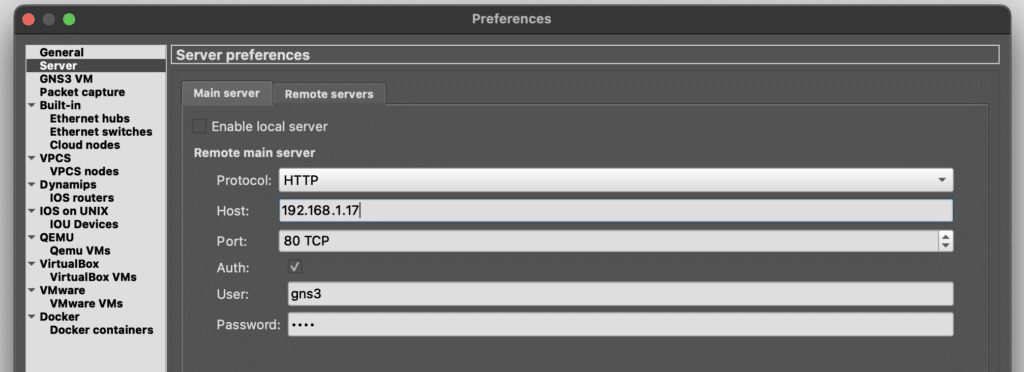
Once the information has been filled in, click Apply then OK.
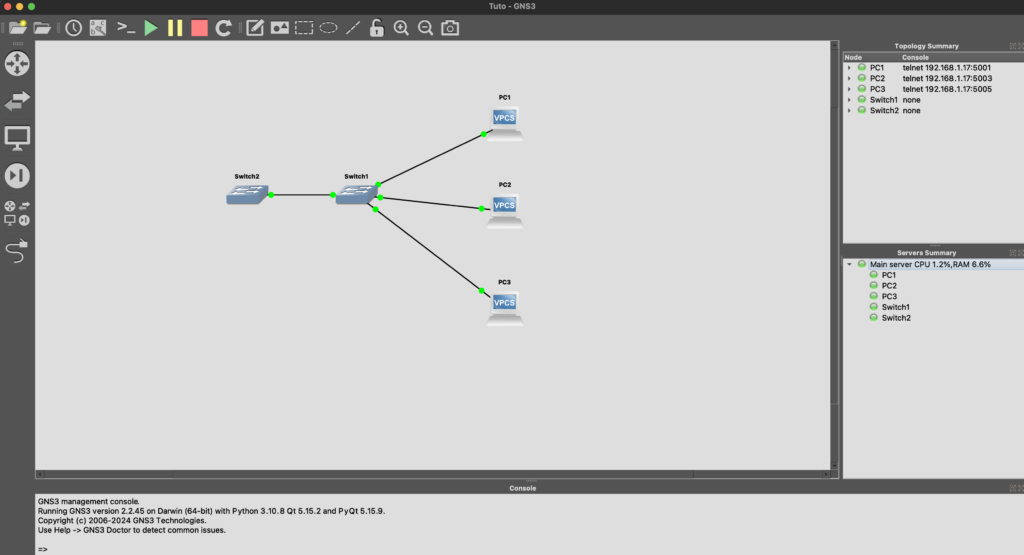
Once you’ve successfully connected GNS3 to your GNS3 VM server, you can start creating virtual network topologies and configuring them to your specific needs. You’re now ready to use GNS3 to simulate networks and test network configurations on your Apple Silicon Mac.
Conclusion
By following this guide, you’ve learned how to install GNS3 VM on your Apple Silicon Mac. Now you’re ready to create and test virtual network topologies with ease. Explore GNS3’s features to develop your networking skills and take on new challenges. Happy virtualization!
FAQs
Is GNS3 compatible with Apple Silicon Macs?
Yes, GNS3 is compatible with Apple Silicon Macs. You can install GNS3 VM on your Apple Silicon Mac to create virtual network topologies.
What’s the difference between GNS3 and GNS3 VM?
GNS3 is the main application you install on your computer, while GNS3 VM is a virtual machine used by GNS3 to run virtual network devices.
Can I use GNS3 without GNS3 VM?
Technically, yes, but the use of GNS3 VM is recommended for better performance and a smoother user experience.
Does GNS3 VM require a separate license?
No, GNS3 VM is available free of charge and can be downloaded from the official GNS3 website.
Is GNS3 safe to use on my Apple Silicon Mac?
Yes, GNS3 is safe to use on your Apple Silicon Mac. Make sure you download GNS3 and GNS3 VM from official sources to avoid security problems.