How to install Cisco Packet Trace on macOS?
Are you passionate about computer networks and want to install Cisco Packet Tracer on your Mac? You are in the right place! Cisco Packet Tracer is a powerful network simulation tool for creating, testing and troubleshooting virtual networks. It is very popular with students and professionals in the field.
In this article, we will see how to install Cisco Packet Tracer on your macOS, step by step. No stress, we accompany you throughout the process.
Prerequisites for the Cisco Packet Tracer installation
Before diving head first into the installation of Cisco Packet Tracer, it is important to verify that your Mac meets the necessary requirements.
Here’s what you need to install and use Cisco Packet Tracer on macOS without a hitch:
A compatible Mac: Make sure your Mac has an Intel or Apple Silicon processor (M1 or later) and at least 2GB of RAM and 1GB of free hard drive space.
How to install GNS3 GUI on macOS, MacBook M1 and M2?
A Cisco NetAcad account: To download Cisco Packet Tracer, you will need a Cisco NetAcad account. If you don’t have an account yet, go to the Cisco Networking Academy website and register for free.
Now that you have checked the prerequisites, let’s go to the next step: download Cisco Packet Tracer!
Download Cisco Packet Tracer
So you’ve checked everything and your Mac is ready for installation? Let’s go to the first crucial step: downloading Cisco Packet Tracer. So here’s how to do it:
Log in to your Cisco NetAcad account: Go to the Cisco NetAcad website and log in with your credentials. If you don’t have an account yet, register for free.
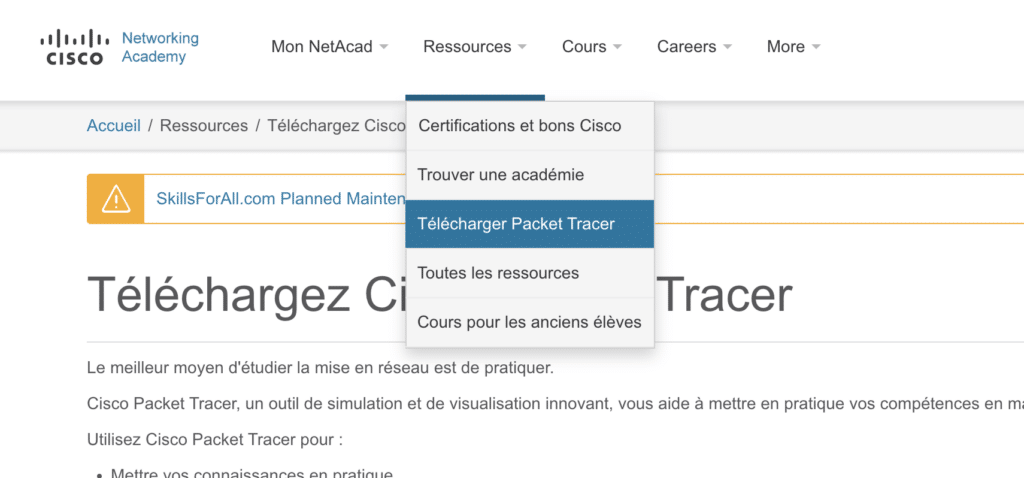
Access the download page: Once connected, click on “Resources” in the main menu, then on “Packet Tracer” in the submenu. You will be redirected to the Cisco Packet Tracer download page.
Choose the right version: On the download page, you will find several versions of Cisco Packet Tracer. Select the version for MacOS and download.
Congratulations, you have downloaded Cisco Packet Tracer to your Mac! Let’s move on to the next step: installing the software on your MacOS.
Install Cisco Packet Tracer on your Mac
Double-click on the file you have just downloaded to start the installation.
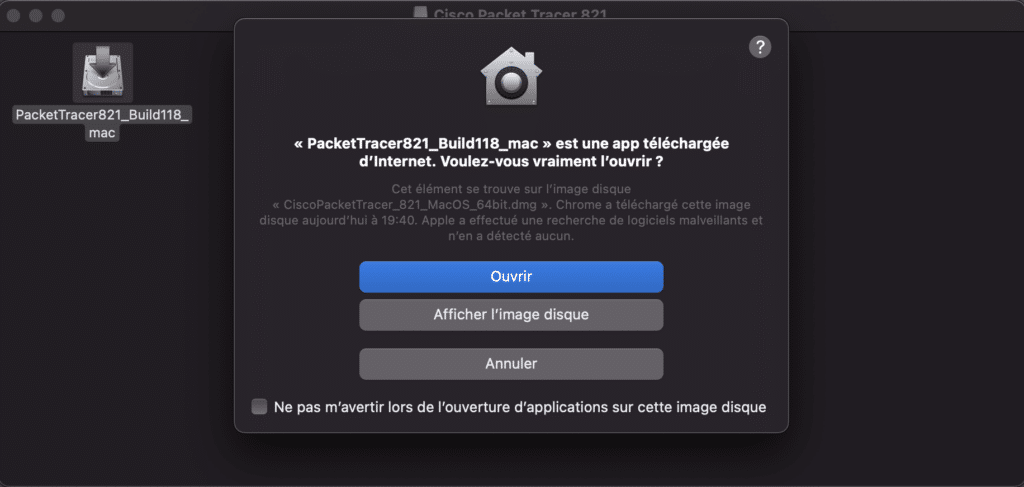
Click the disk and then Open…
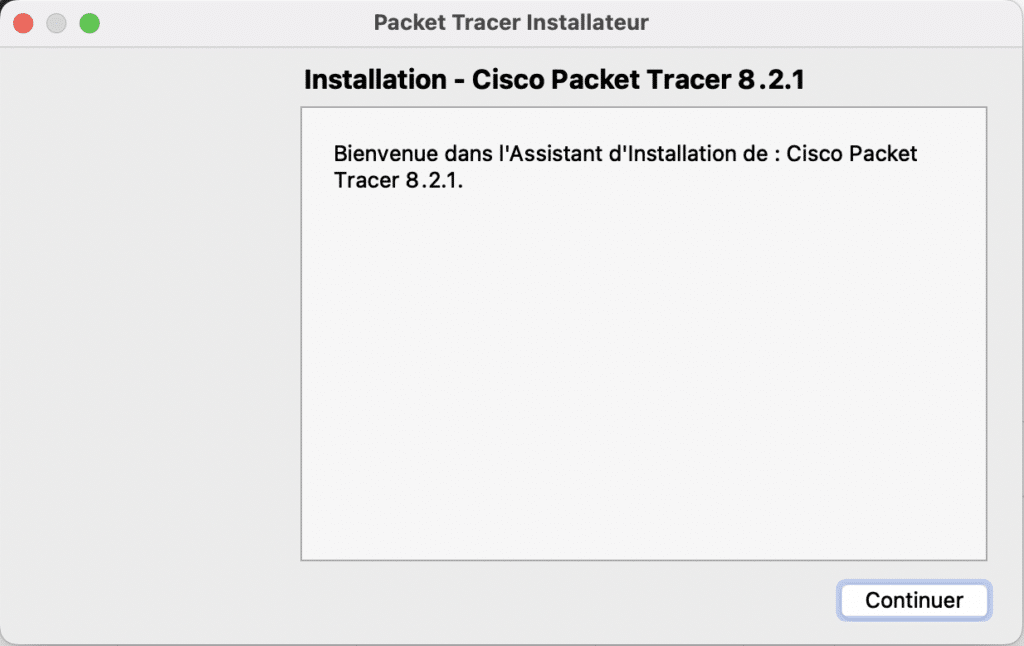
You can continue with the installation by clicking on continue. Accept the license and continue with the installation.
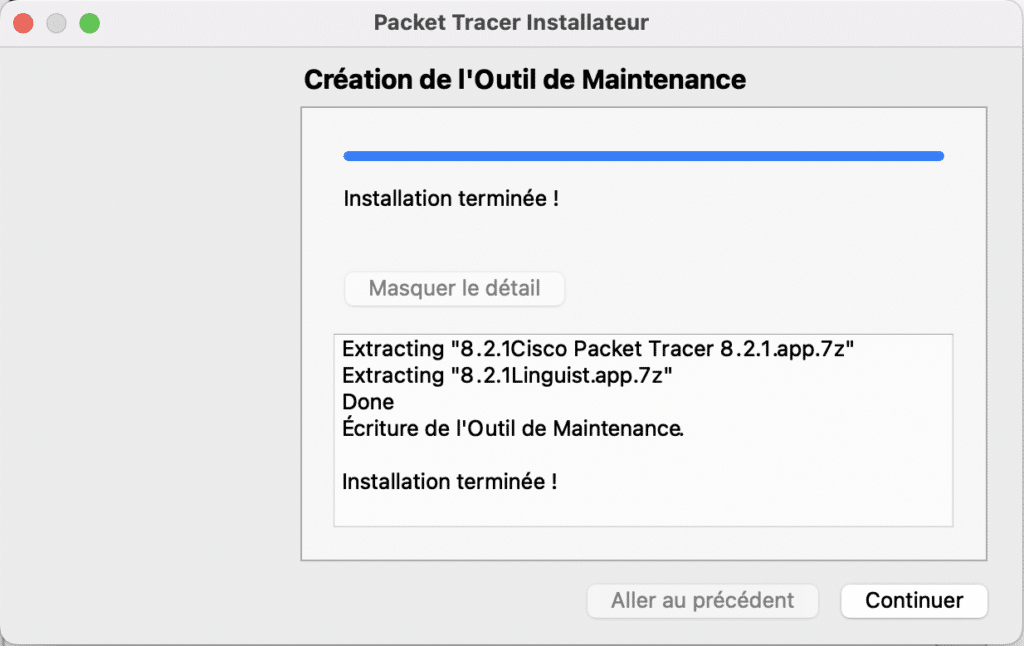
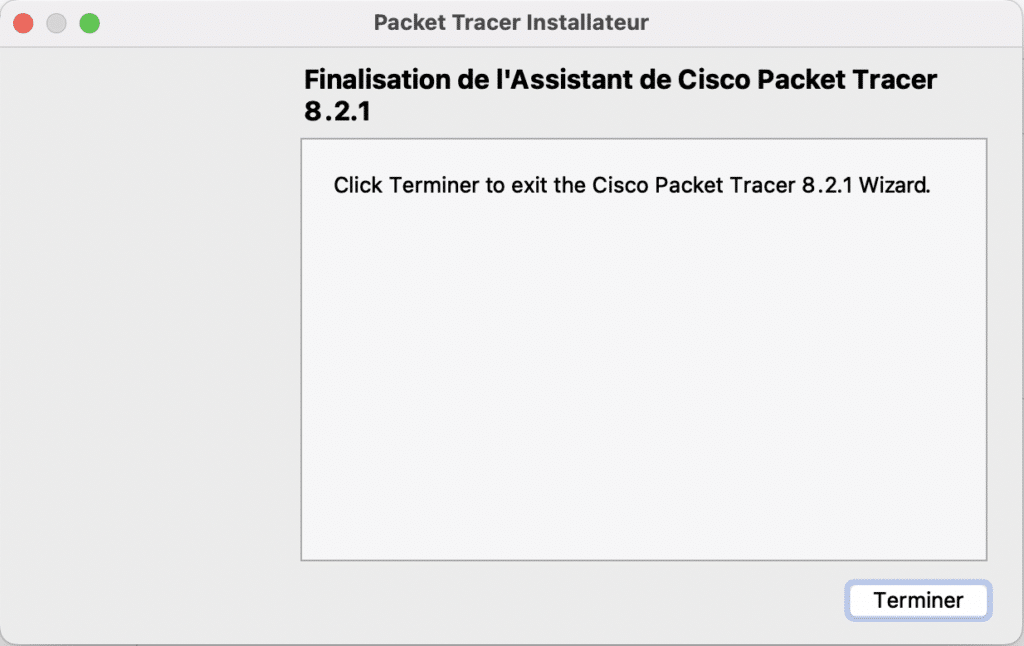
Finish with the installation…
Launch and configure Cisco Packet Tracer
Congratulations! You have successfully installed Cisco Packet Tracer on your Mac. It’s time to launch it and configure it to use it like a pro. Follow these simple steps:
Search for Cisco Packet Tracer in the search bar and launch the application.
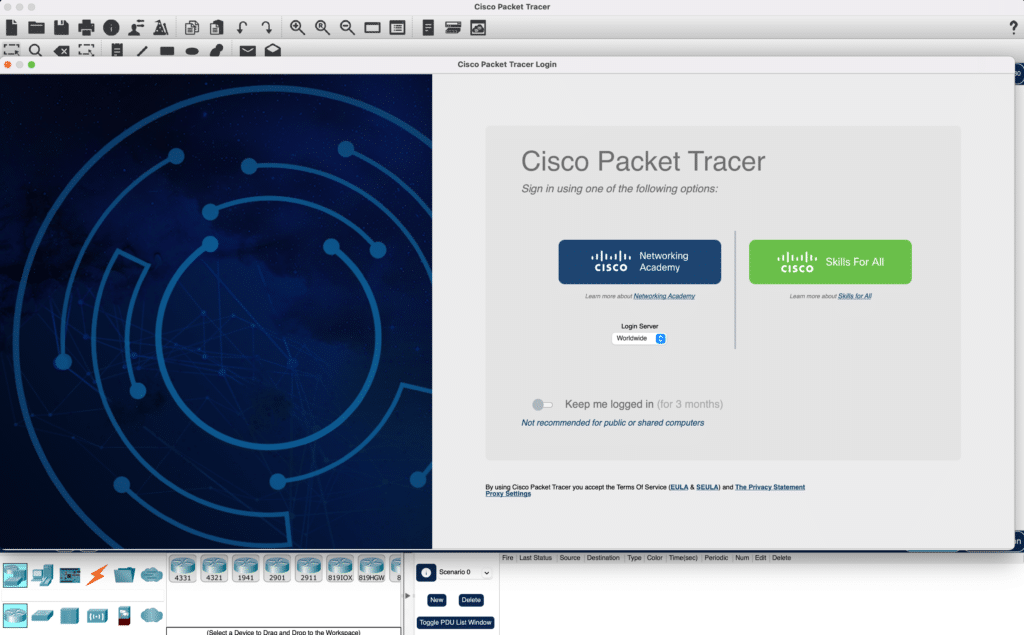
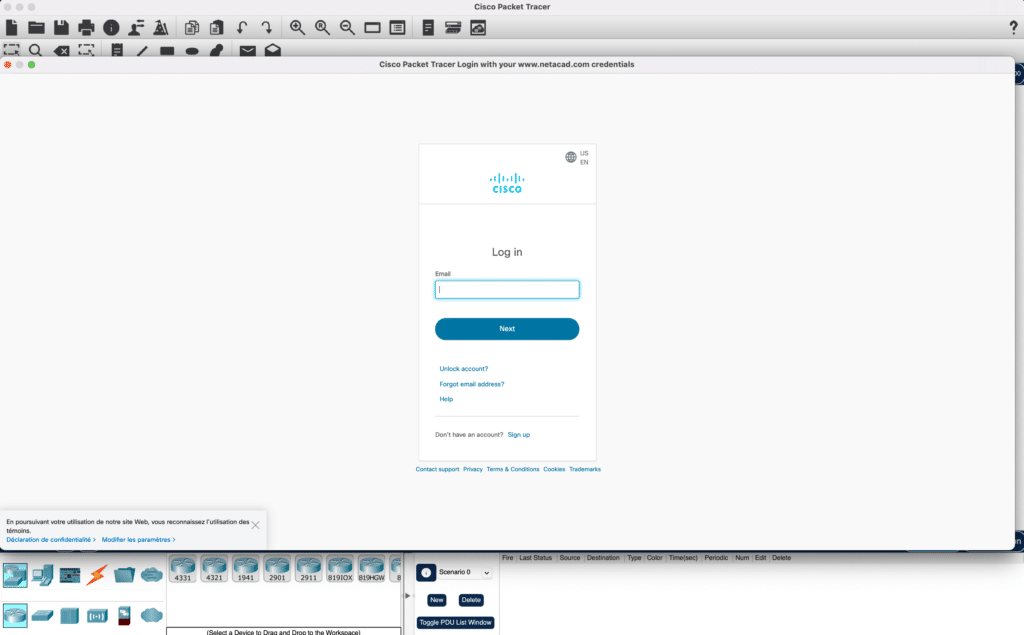
Log in to your NetAcad account: When Cisco Packet Tracer opens, it will ask you to log in with your Cisco Networking Academy account. Enter your login details and log in.
Configure preferences: Click on “Options” in the menu bar, then on “Preferences” to open the preferences window. Here you can customize Cisco Packet Tracer settings, such as display, keyboard shortcuts, and simulation options.
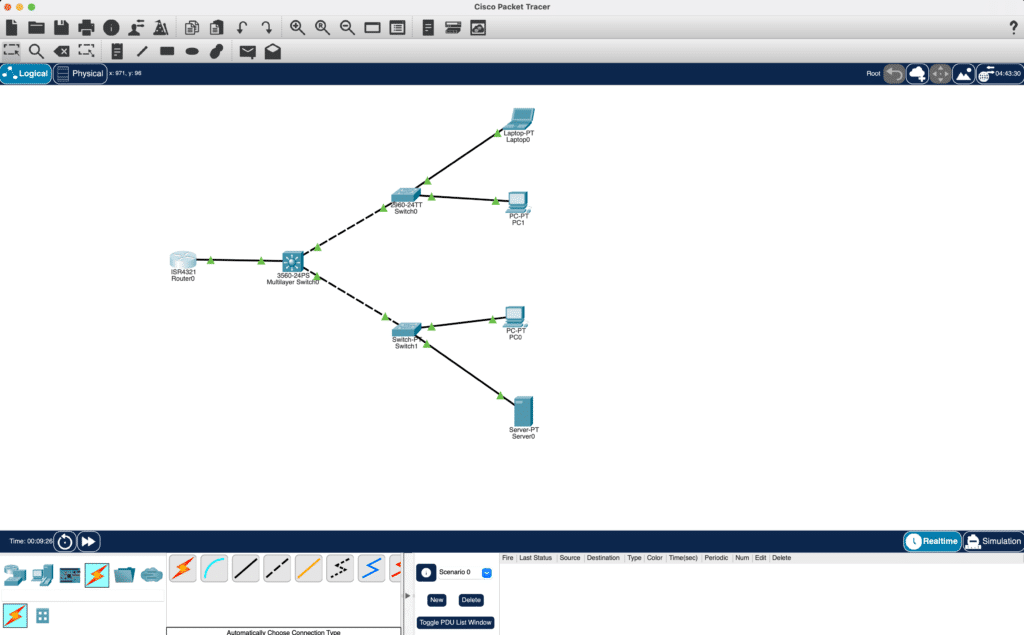
Test Cisco Packet Tracer: Create a small test network to make sure everything is working properly. Add a few devices, connect them and run a simulation to verify that the tool is working properly.
And now you have launched and configured Cisco Packet Tracer on your Mac! Now you are ready to explore the fascinating world of computer networks and improve your simulation and troubleshooting skills. Good luck with your training or career and have fun!


The installer only installs the “Linguist” software. I was unable to install Packet Tracer on my mac M1max using installer version 8.2.1 of PacketTracer.