Ready to push the limits of your Mac or MacBook with the Apple silicon M1, M2 or M3 processor? In this article, we’ll look at how to install CentOS Stream 9 on a Mac M1, M2 or M3. Transform your Mac into a high-performance CentOS Stream 9 environment.
Installation requirements
Before diving into the installation of CentOS Stream 9 on your Mac via UTM virtualization, make sure you have the following prerequisites in place to guarantee a smooth experience.
- RAM memory: at least 2 GB ;
- Storage: at least 10 GB ;
- The CentOS Stream 9 ISO file.
Step 1: Download CentOS Stream 9 and UTM
Go to the official CentOS website and download the ISO image of version 9.
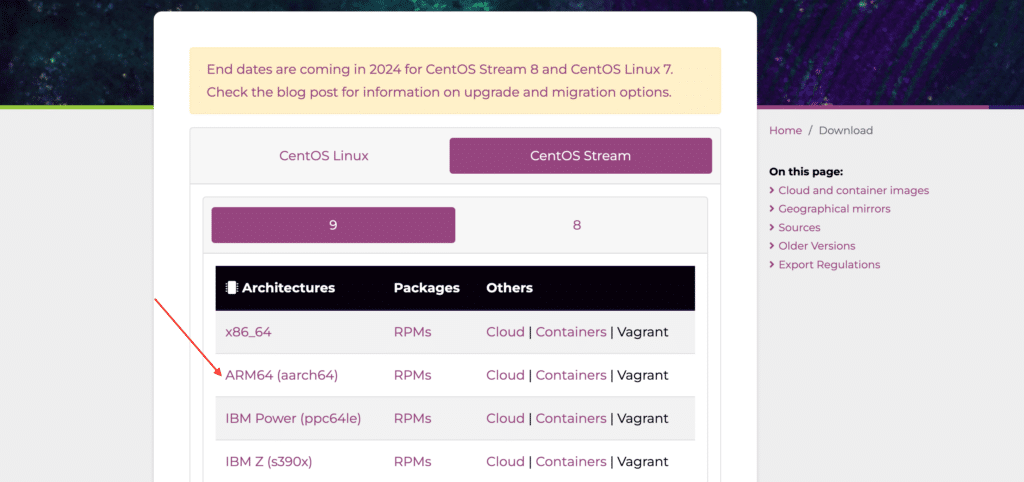
Make sure you choose the version compatible with your processor architecture (aarch64 for Apple M1, M2, M3).
Go to the official UTM website and download the latest version of the virtualization software.
Install UTM on your Mac for the next steps.
See also: How do I install Ubuntu 22.10 as a VM on macOS M1, M2 or M3 with UTM?
Step 2: Create the virtual machine
Open UTM on your Mac.

Click on “New Virtual Machine” in UTM to start the creation process.
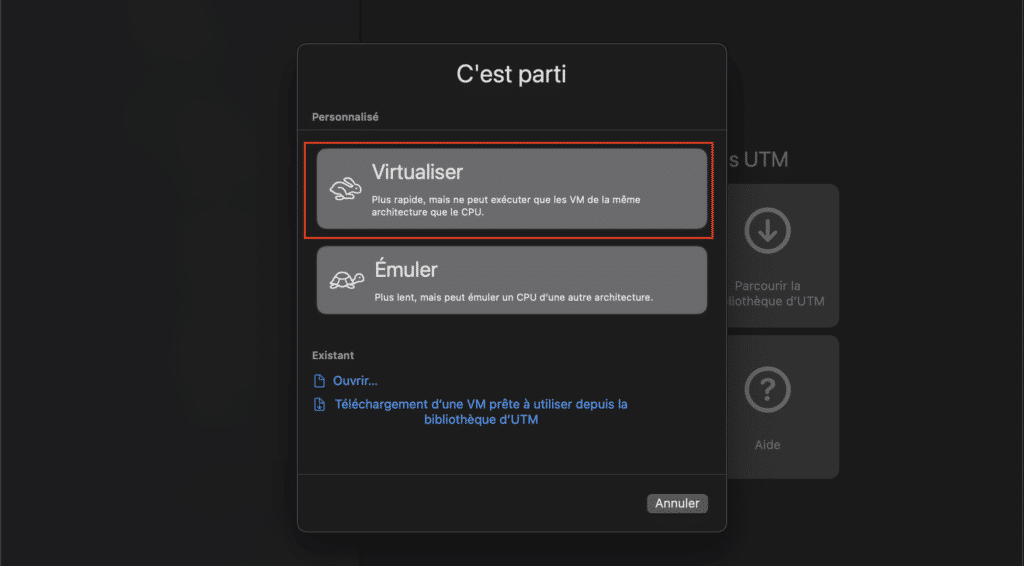
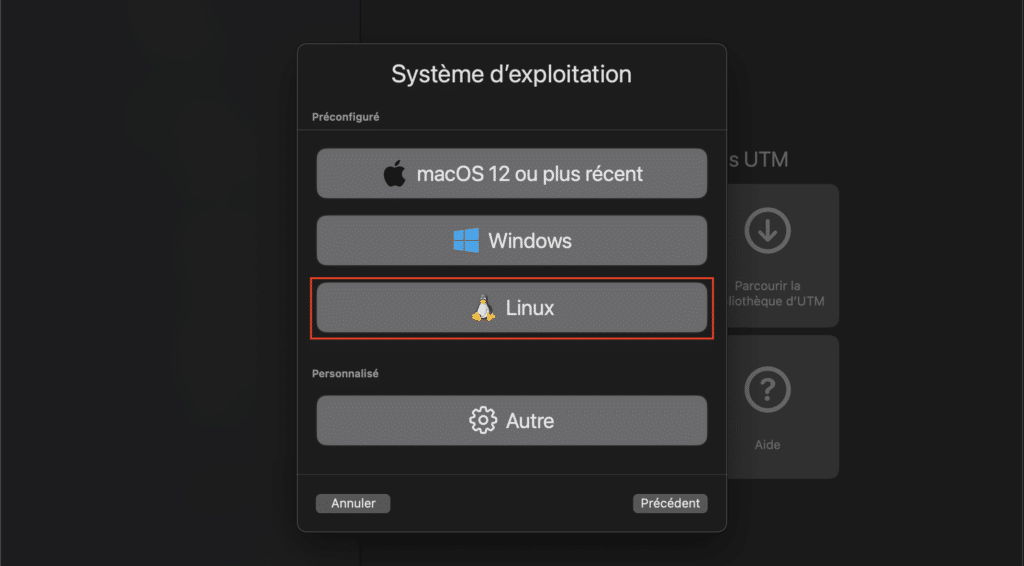
Select Virtualize, then Linux.
Browse and select the CentOS ISO file you have downloaded.

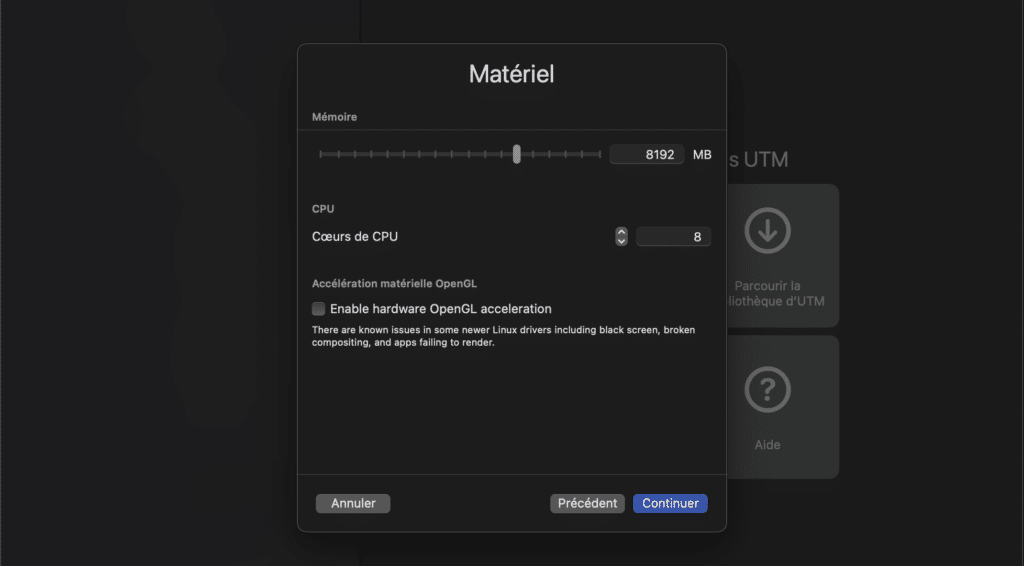
Define RAM and CPU memory.
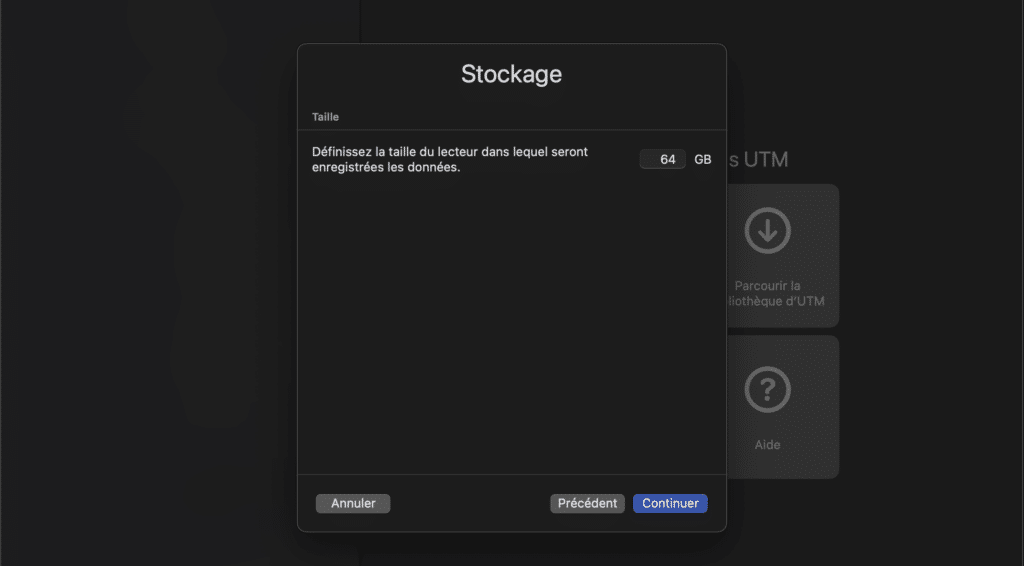
Give storage memory size.
Give your virtual machine a name (e.g. “CentOS_Stream_9”) and save the virtual machine configurations.

Step 3: Install CentOS Stream 9
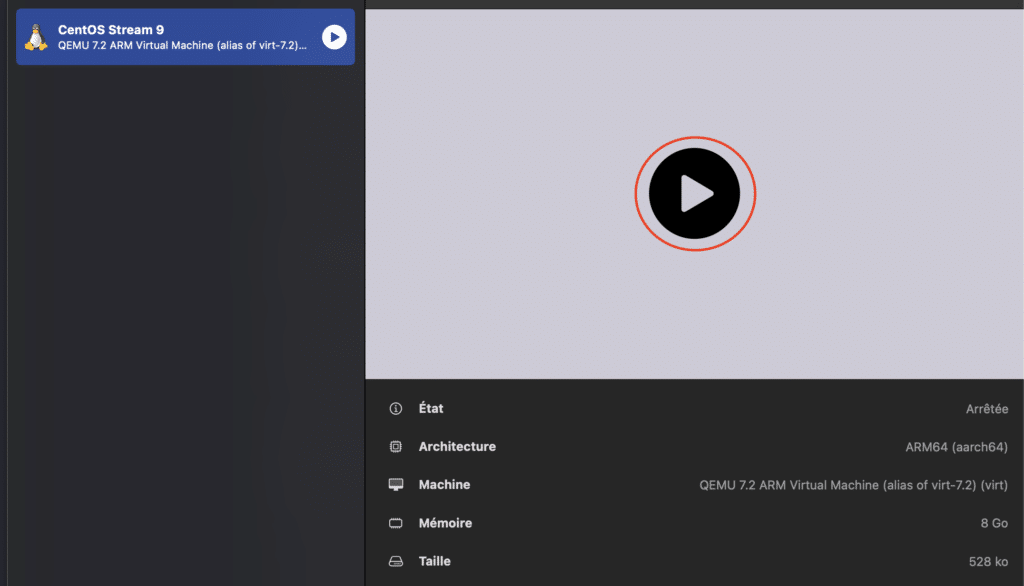
After creating the virtual machine in UTM, click on “Start” to launch the CentOS Stream 9 installation process.
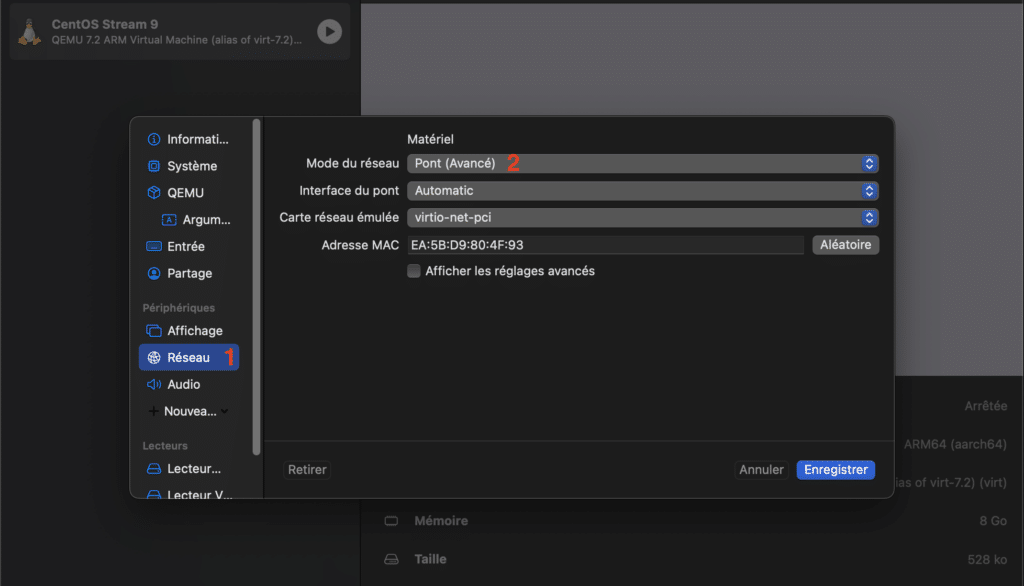
But before booting up, configure the network card to enable the machine to connect to the Internet. Configure network card in Bridge mode.
Click on Start to launch the installation.
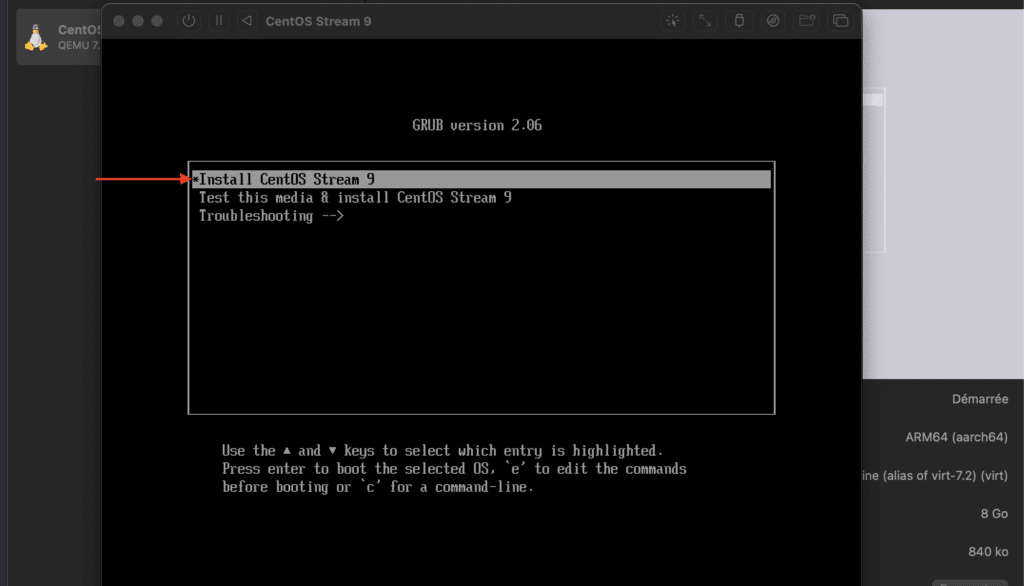
Select Install CentOS Stream 9 and wait a few seconds.
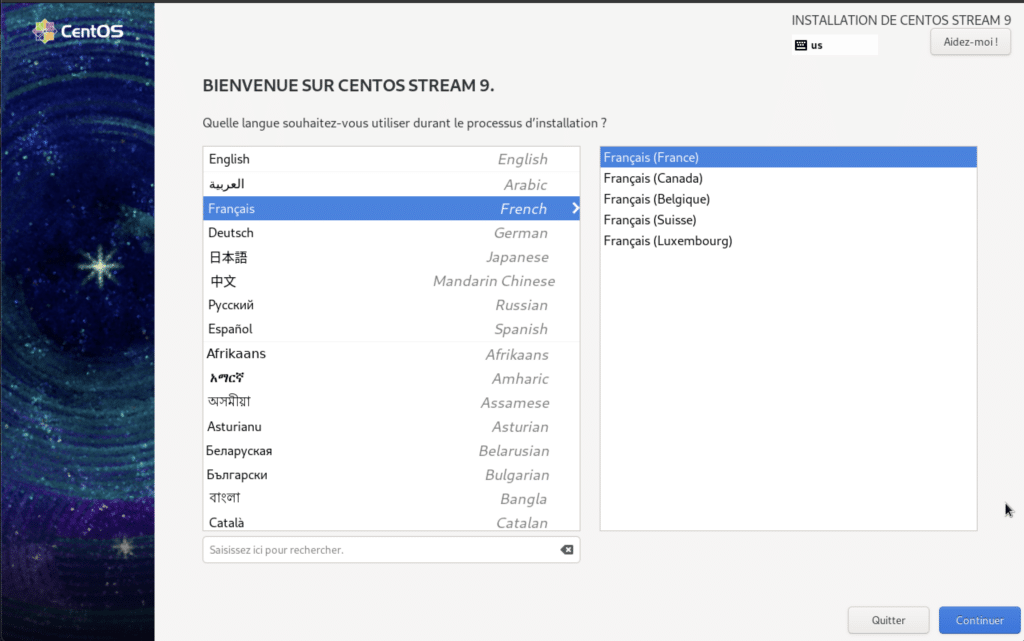
Select the installation language and continue. Then the keyboard layout.
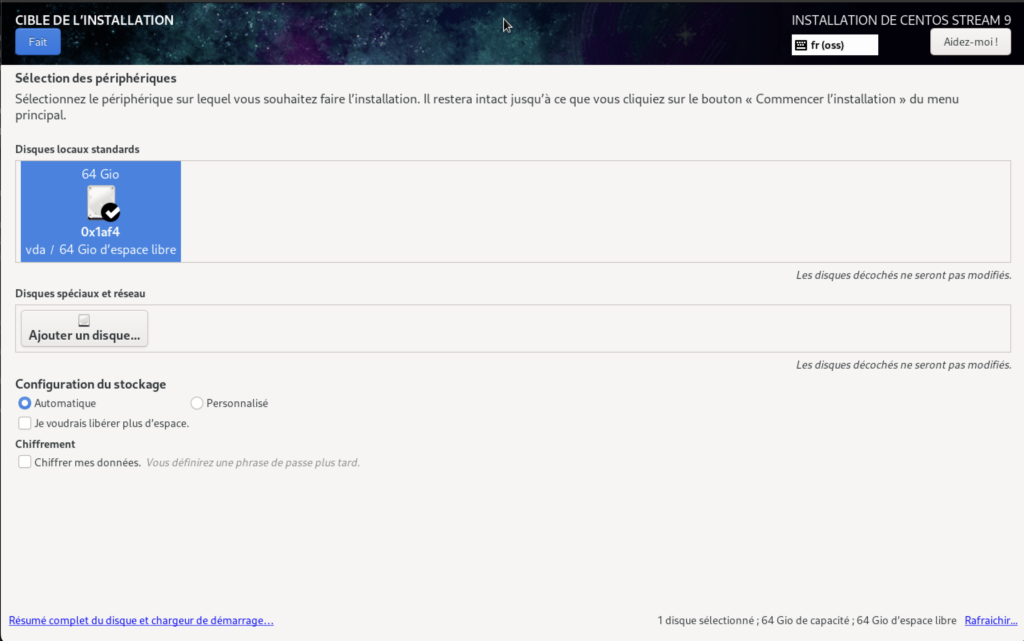
Configure the installation disk.

Select the entire disk and click Done.
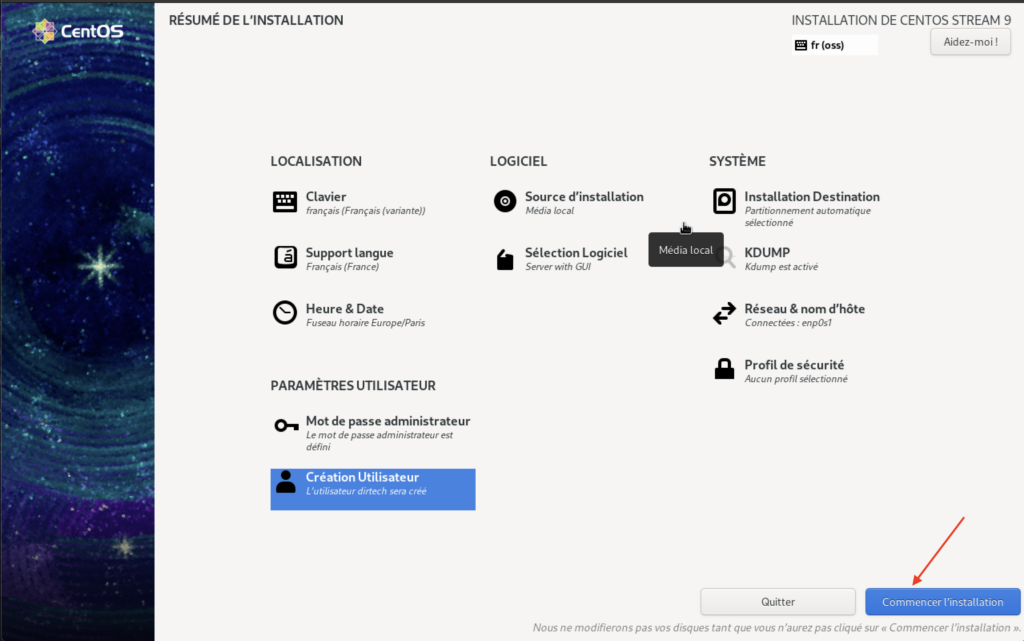
Do the same for user parameters.
Now click on Start installation.
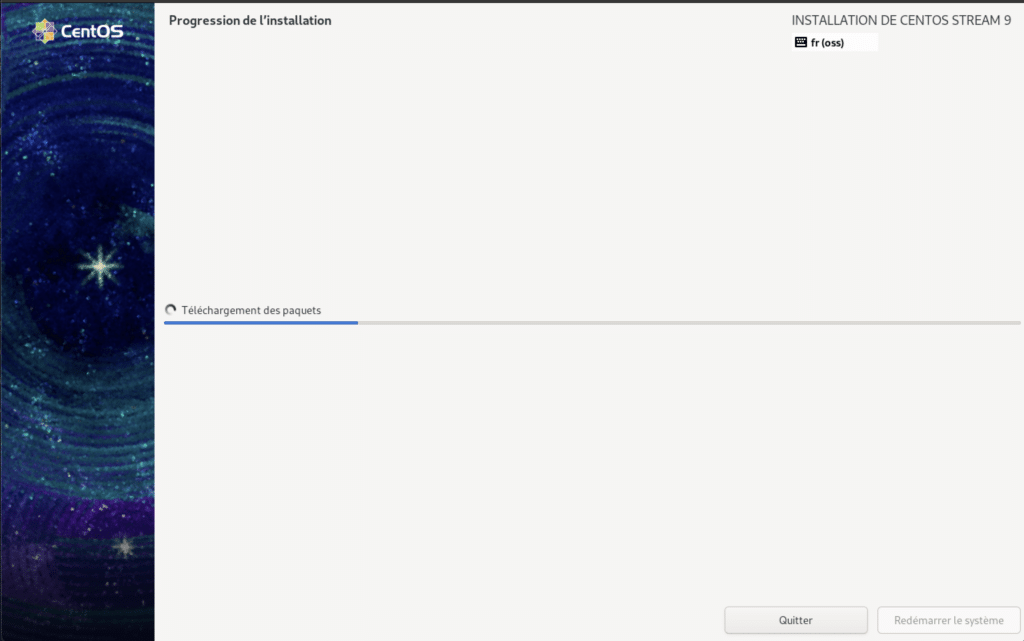
Installation will take about ten minutes, so please be patient.
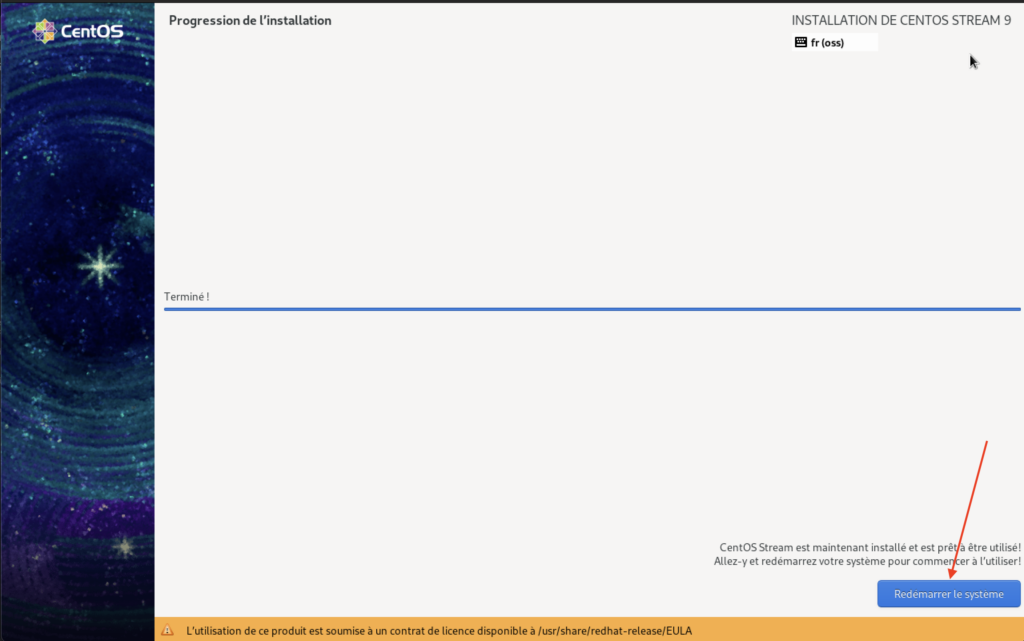
Once installation is complete, reboot the system.
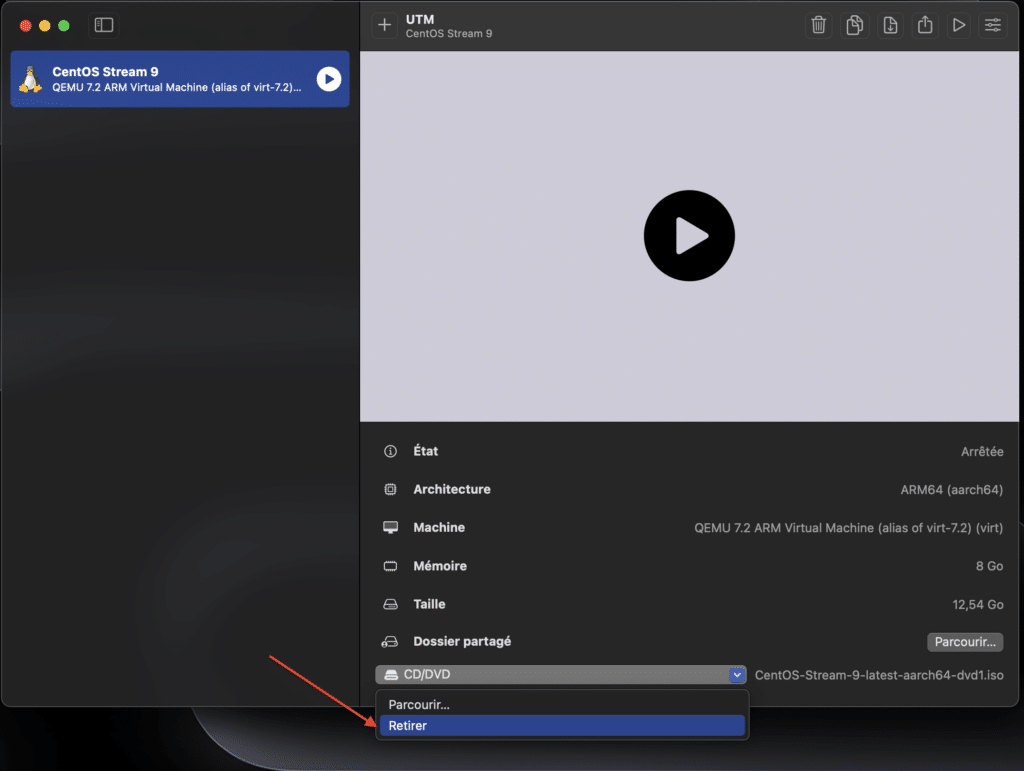
The installation process will start again. Switch off the machine and remove the installation disk.
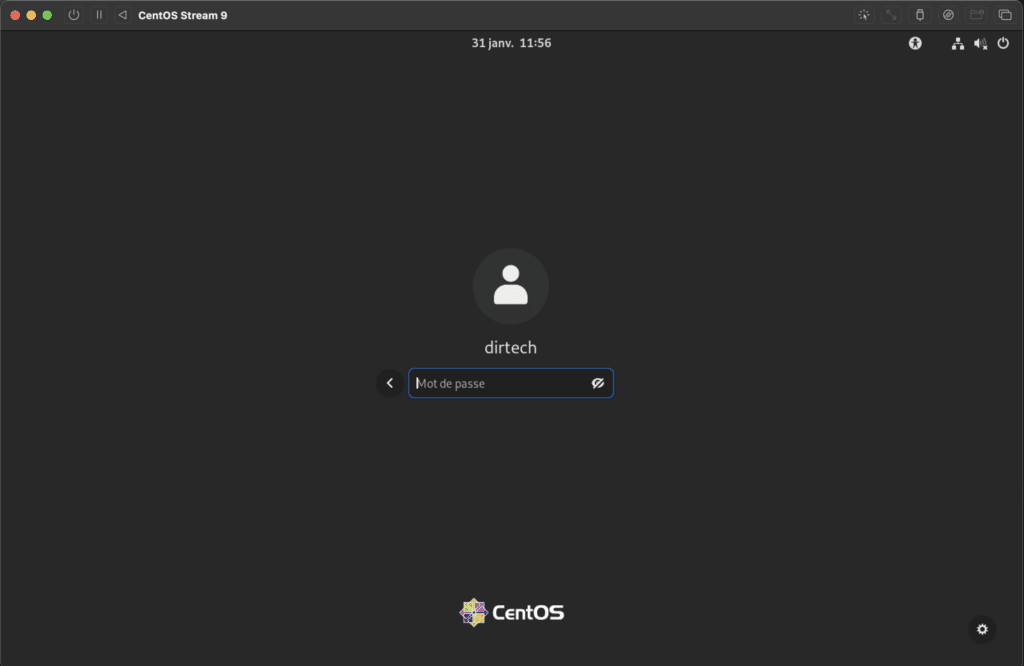
You can now start the virtual machine normally.
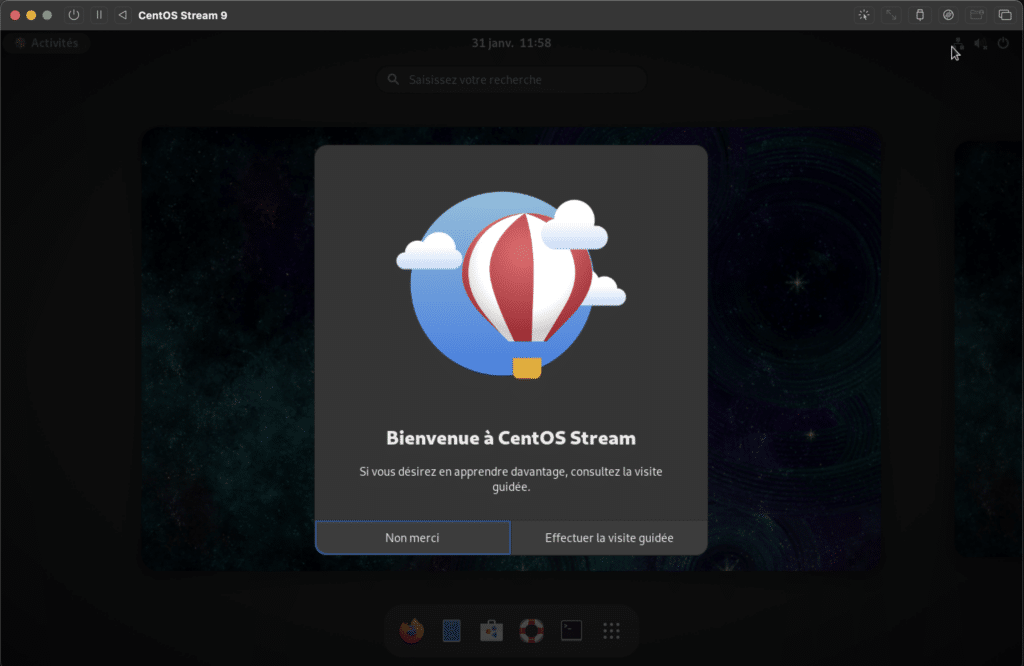
Log on to the machine using the login details of the user created during installation.
Congratulations, you have successfully installed CentOS Stream 9.
Step 4: Post-installation custom settings
Make sure your installation is up to date by running the system update commands :
su
sudo dnf update
Install the tools and software you need:
sudo dnf install [nom_du_logiciel]Configure network settings according to your preferences. Make sure you have a stable Internet connection.
Implement recommended security settings, including firewall configuration and password policies.
Explore the specific features of CentOS Stream 9 and familiarize yourself with the system.
Conclusion
Congratulations, you’ve successfully integrated CentOS Stream 9 into your Mac using UTM virtualization. Explore the vast possibilities offered by this unique combination. Stay tuned for more tips and tricks on how to effectively manage your CentOS Stream 9 virtual environment on the Mac.