If, like me, you’re a Mac M1, M2 or M3 user looking for a robust virtualization solution, you might consider using Proxmox Virtual Environment (VE) in conjunction with UTM. Proxmox VE offers a complete virtualization platform, and with UTM you can easily run it on Apple Silicon chips. Let’s take a look at the steps you need to take to install Proxmox VE on your Mac using UTM.
Step 1: Download Proxmox VE and UTM
Start by downloading the necessary files.
Go to the official Proxmox website to get the latest version of Proxmox VE.
Make sure you also download UTM, specifically designed for Apple Silicon chips, from its official source.
See also: How do I install Proxmox VE on VirtualBox?
Step 2: Install UTM on Mac
Open the UTM.dmg file you’ve downloaded and follow the instructions to install UTM on your Mac.
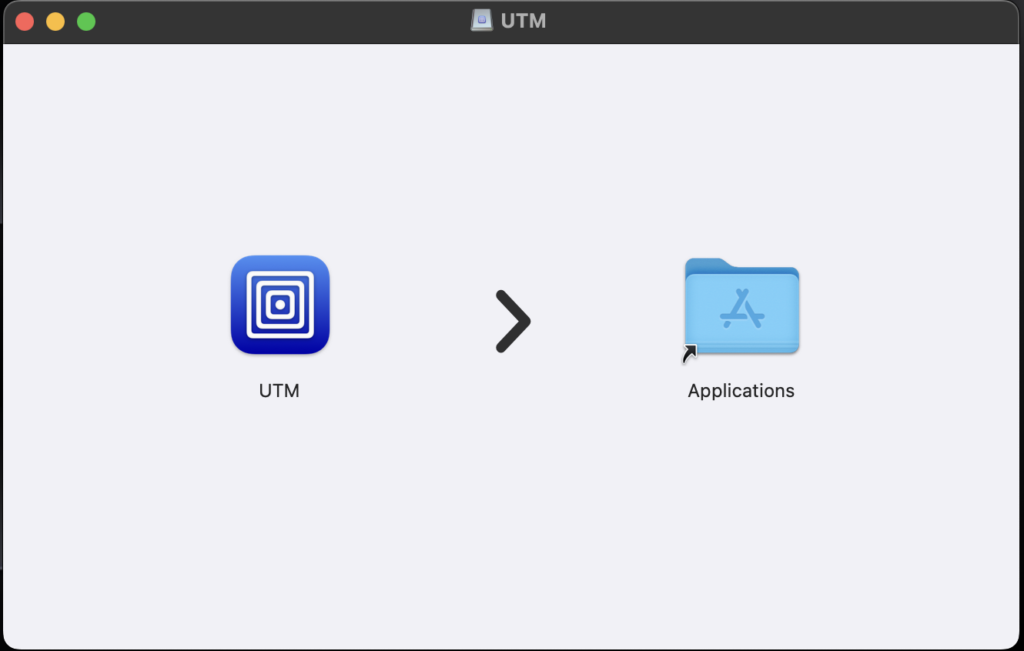
Make sure your application is correctly configured to support Apple Silicon chips.
Step 3: Create a new UTM machine
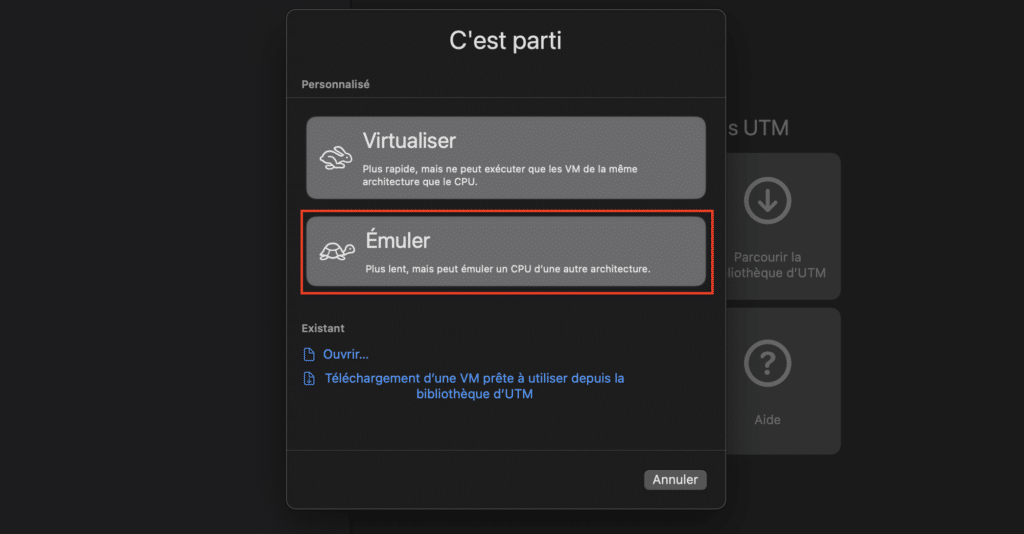
Launch UTM on your Mac and click on “Create a new virtual machine”.
Then select “Emulate”. This is because the Proxmox VE ISO file is not yet compatible with ARM architecture.
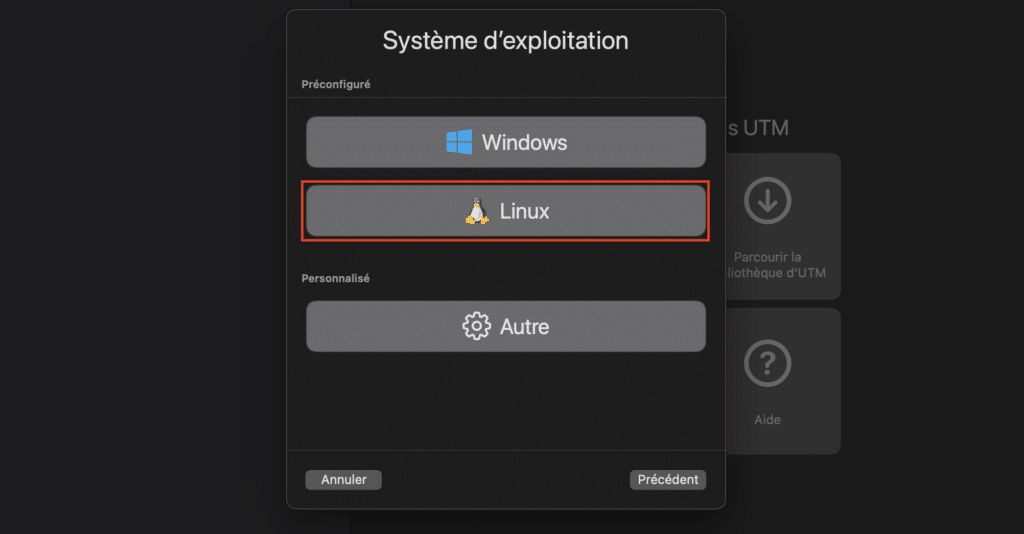
Choose the type of operating system by selecting “Linux” and the appropriate version of Proxmox VE.
Click on Browse to select and add the Proxmox ISO file you have downloaded.

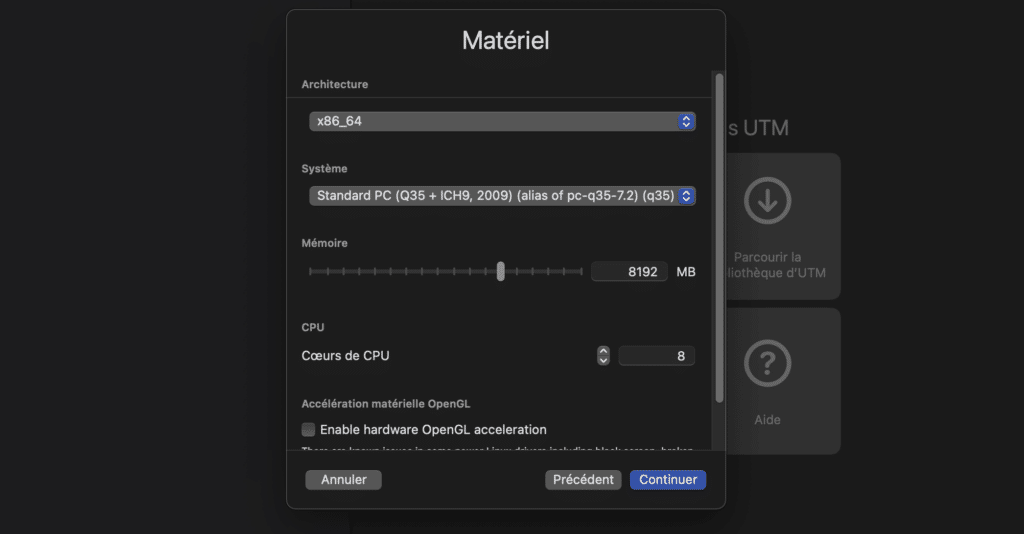
Allocate the necessary resources, such as memory and storage, according to your needs.
Continue by following the default instructions.
Finish by naming your virtual machine.

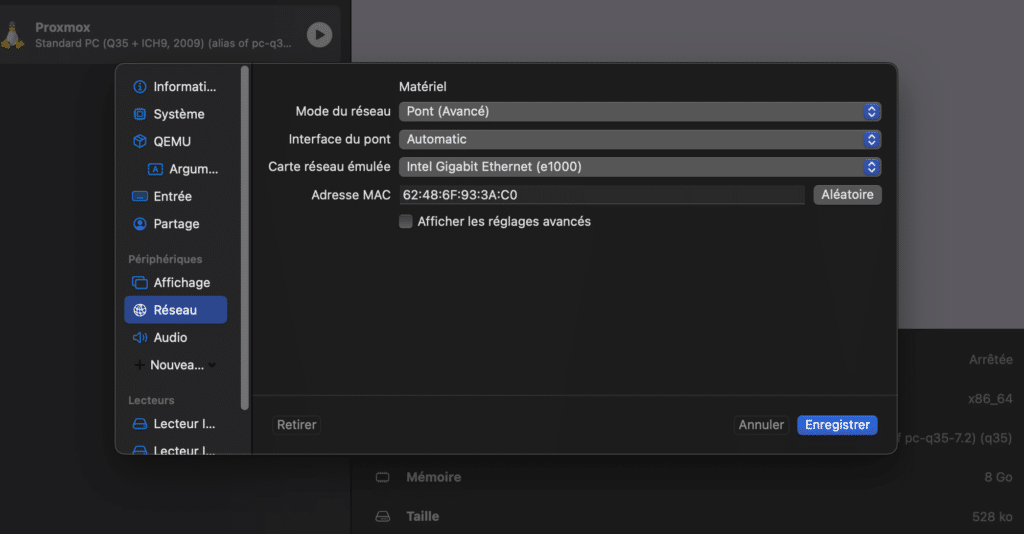
Don’t forget to set the network card to Bridge to enable Proxmox VE to connect to the network and have an IP address.
Step 4: Install Proxmox VE
Start installation by clicking on the play button of the virtual machine you have created.
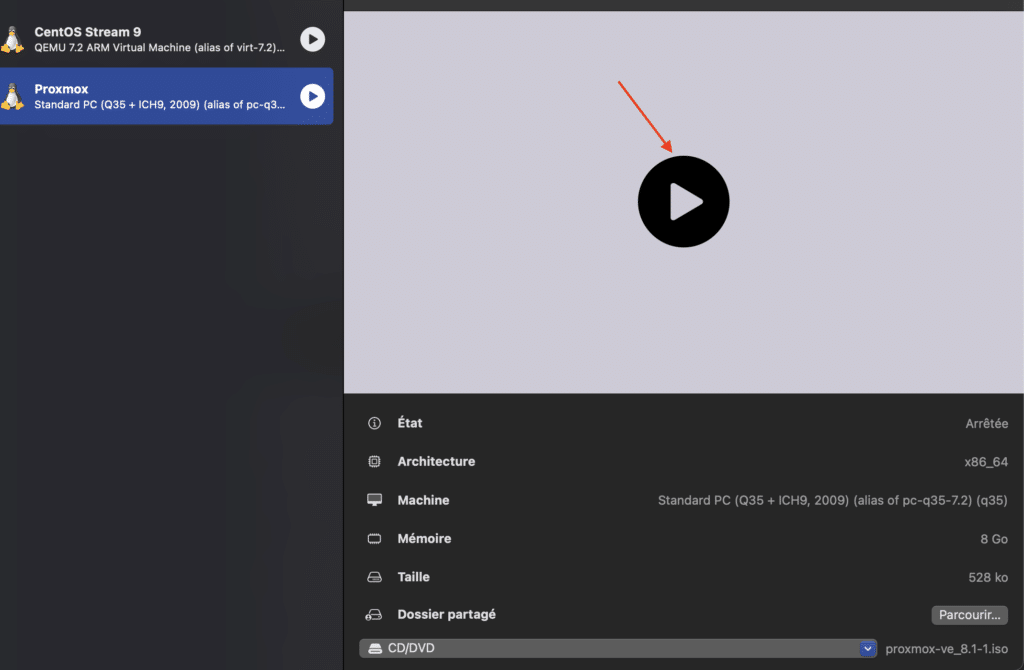
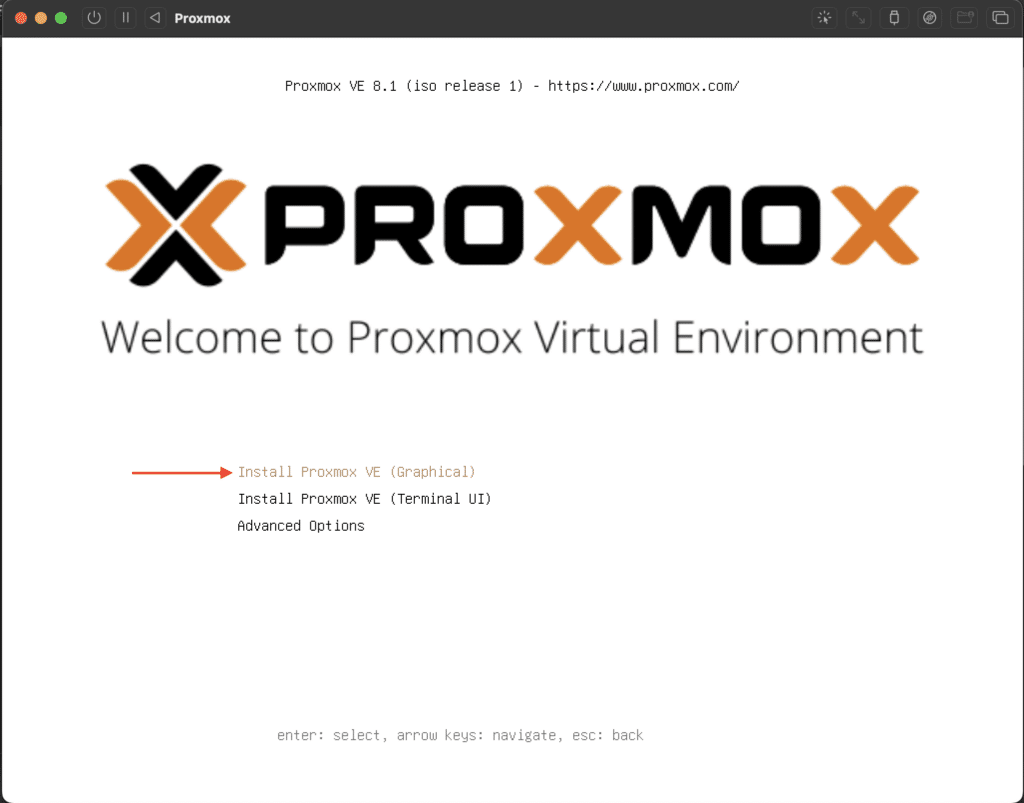
Start the virtual machine, then follow the Proxmox VE installation steps.
Choose Install Promox VE (Graphical), and wait a few seconds.
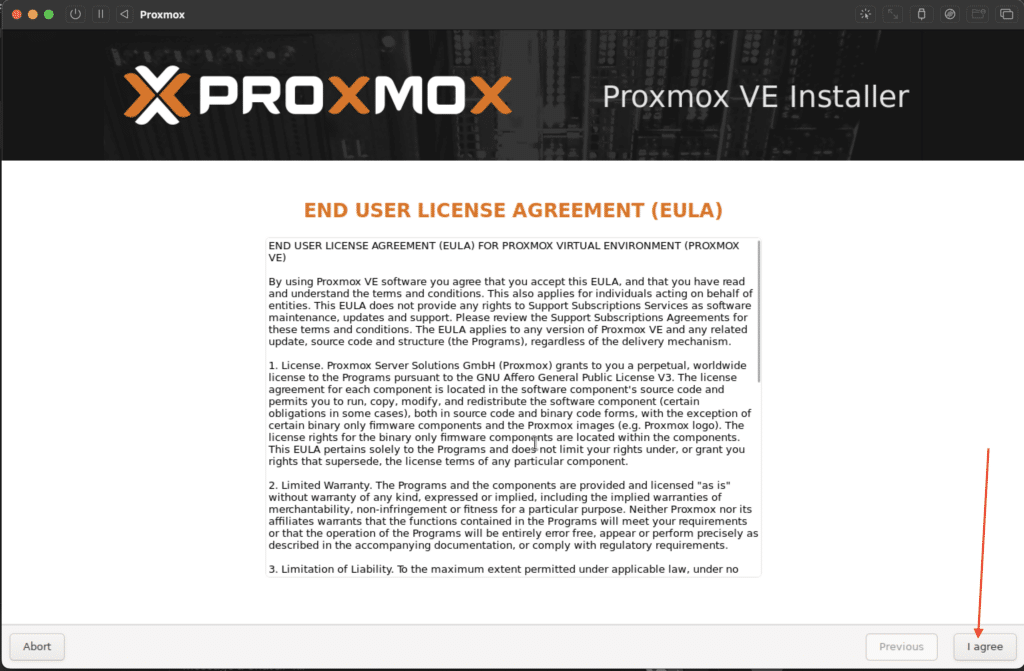
I accept the terms and conditions.
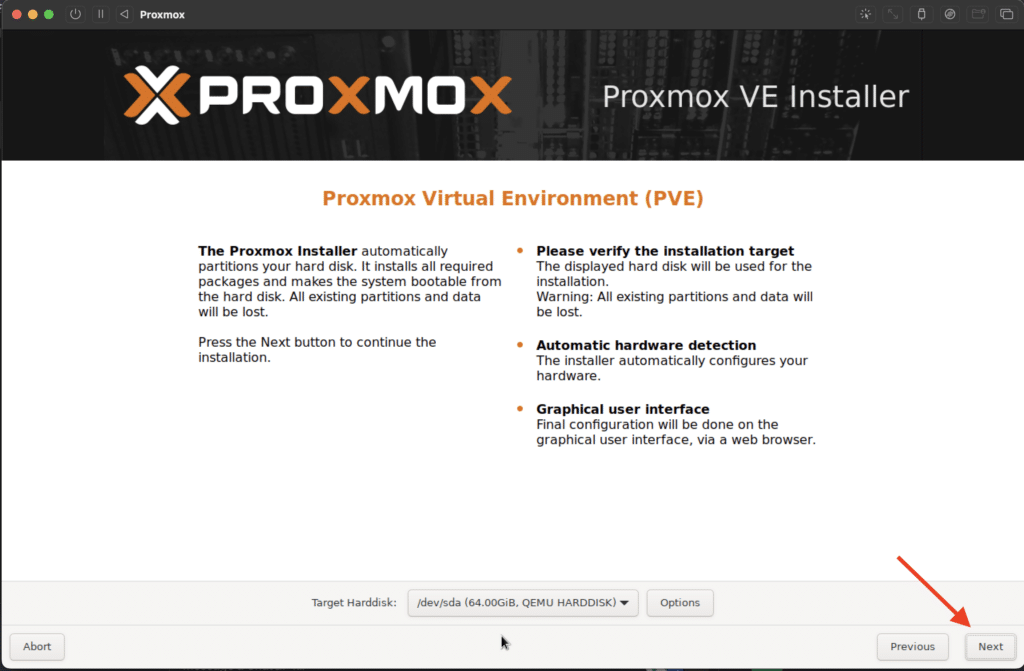
Select the target disk for installation and click Next.
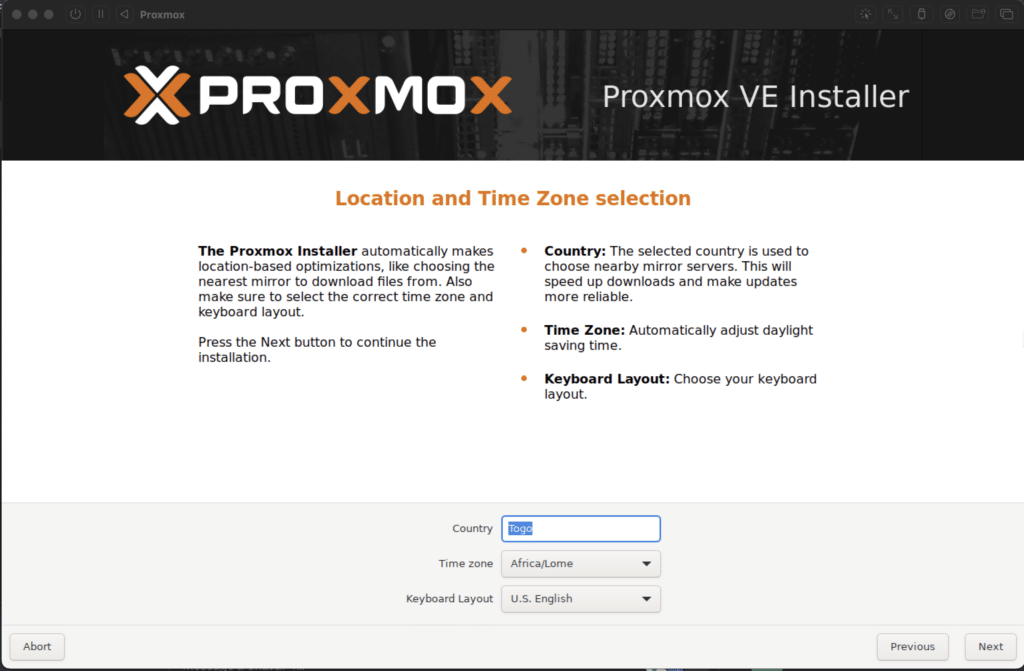
Add your location and keyboard layout.
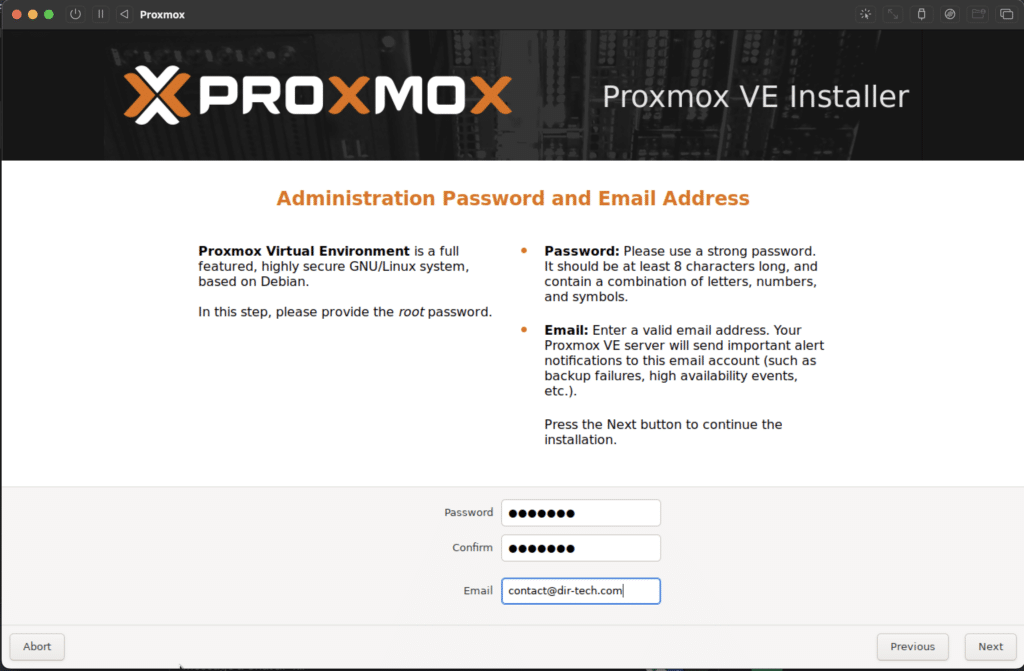
Set a password and your e-mail address.
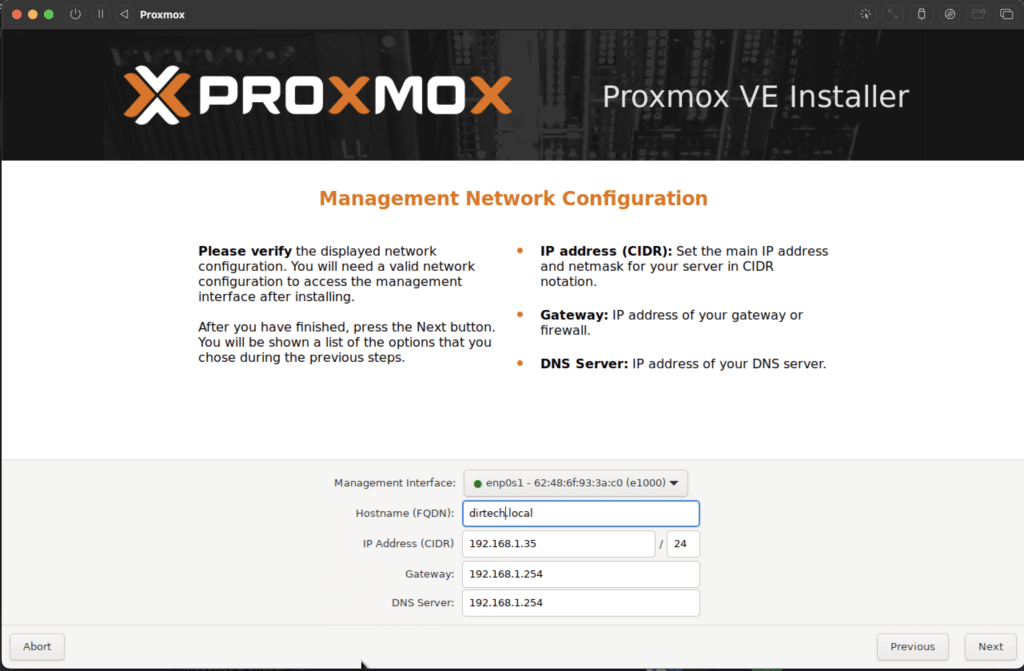
Configure network card, hostname, IP addresses if possible. Otherwise, by default, it already obtains an address via the DHCP service.
Click Install to begin installation. You’ll have to wait about ten minutes for the installation to finish.
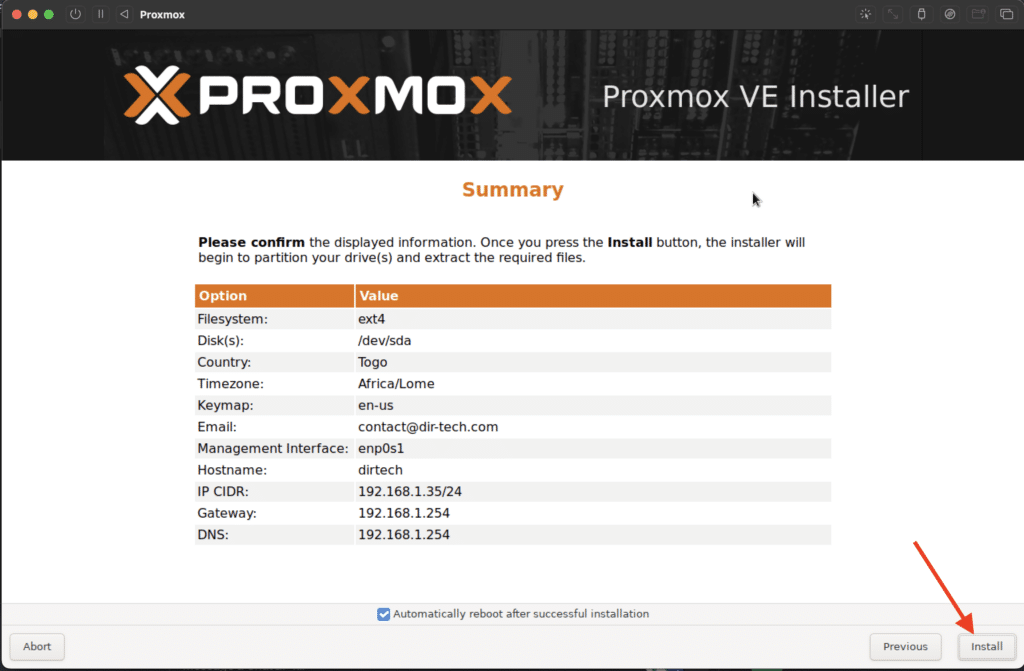
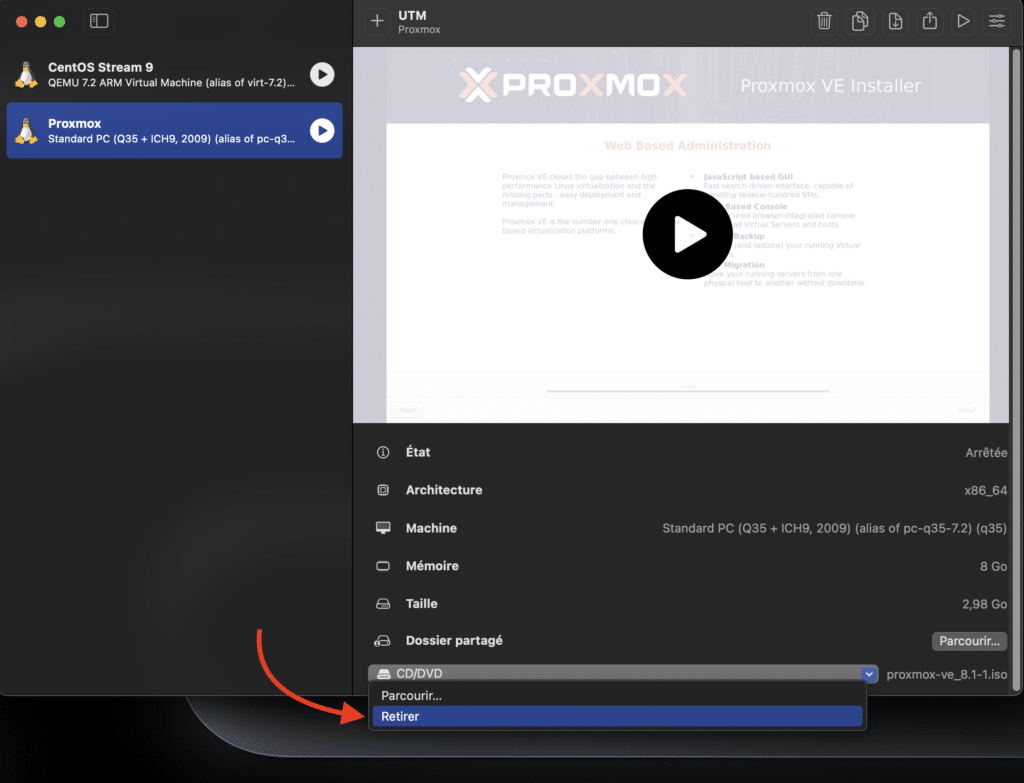
After installation, reboot the machine. The machine will probably restart in installation mode, switch it off and remove the installation disk.
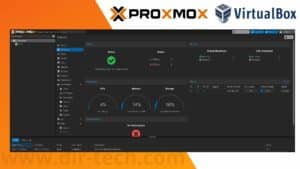
Step 5: Configuring Proxmox VE after installation
Once installation is complete, access the Proxmox VE web interface using the browser of your choice.
Start your machine and wait for it to get an IP address via the DHCP service.
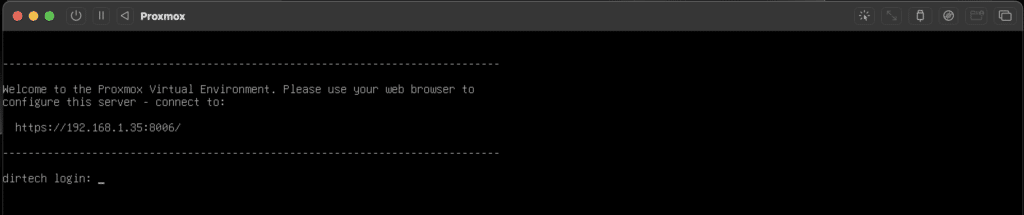
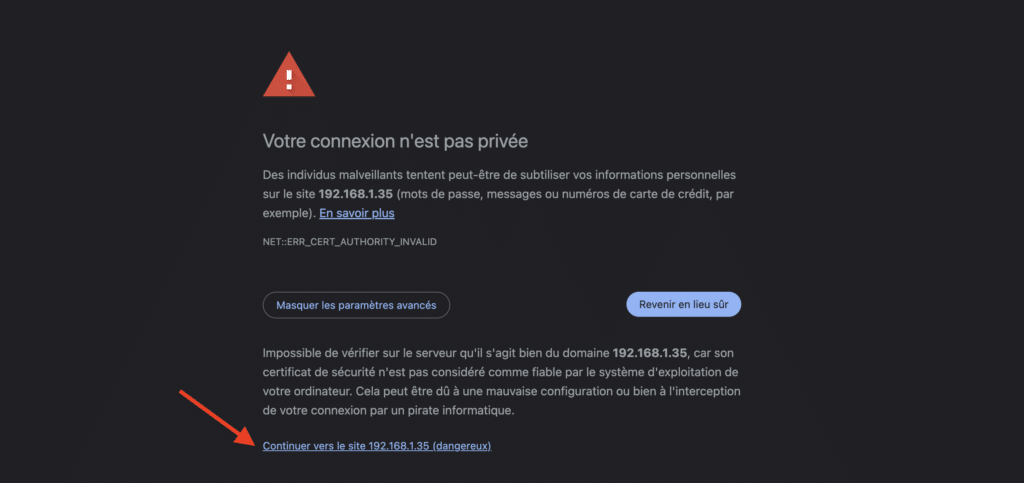
In your browser, use the IP address followed by port 8006 to connect to Proxmox. Confirms and continues to the site after a warning.
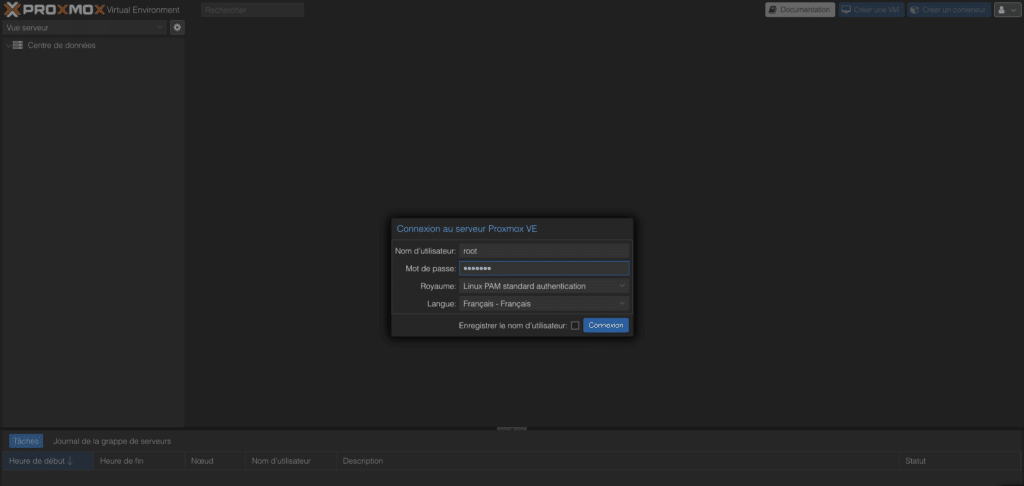
Log in with the credentials you defined during the installation process. Use root as your username and the password you created during installation.
Explore the interface to manage your virtual machines and containers.

Congratulations, you’ve installed Proxmox on your Mac.
Conclusion
Installing Proxmox VE on your Mac M1, M2 or M3 with UTM gives you a powerful virtualization platform. Whether for development tests, virtual server deployments, or other use cases, this configuration gives you maximum flexibility.
Follow these steps carefully to create a high-performance virtualization environment on your Mac equipped with the latest Apple Silicon chips.
FAQs
Why choose Proxmox VE for virtualization on Mac M1, M2 or M3?
Proxmox VE offers a complete virtualization platform with support for virtual machine and container management. It’s a powerful, open-source option.
Is UTM the only emulator compatible with Apple Silicon chips for running Proxmox VE on the Mac?
Currently, UTM is one of the most popular emulators supporting Apple Silicon chips. However, it’s essential to check for updates and new options that may emerge.
Does installing Proxmox VE via UTM on Mac M1, M2 or M3 affect overall system performance?
Performance may be affected, but this depends on the resources allocated and the workload. In general, with recent Macs, performance should remain robust.
Does Proxmox VE on Mac M1, M2 or M3 support all guest operating systems?
Proxmox VE is compatible with a variety of guest operating systems, including various Linux and Windows distributions. Check the documentation for a full list of supported operating systems.
Can I use Proxmox VE on my Mac M1, M2, or M3 for professional purposes?
Yes, Proxmox VE is suitable for professional use, whether for testing, virtual server deployments or other use cases. It offers a robust solution for virtualization.
Are there any special precautions to be taken when installing Proxmox VE on a Mac M1, M2 or M3 with UTM?
Carefully follow the installation instructions supplied by UTM and Proxmox VE. Make sure your Mac has the resources it needs for optimum performance.