In today’s world, database management has become a necessity for many companies and websites. Using phpMyAdmin on Ubuntu allows you to manage these databases efficiently. In this article, I guide you through the detailed steps on how to install phpMyAdmin on Ubuntu 22.04. This practical, concise guide is designed to help you set up phpMyAdmin quickly and hassle-free, so you can concentrate on more important tasks.
What is phpMyAdmin?
phpMyAdmin is a web-based MySQL database management tool.
It offers a user-friendly graphical interface for interacting with MySQL and MariaDB databases.
Created in PHP, phpMyAdmin enables database administrators to manage common database operations with ease.
Installation requirements
To follow this phpMyAdmin installation guide, you will need the following items:
- A computer with Ubuntu 22.04 installed;
- Access with root privileges;
How do I install phpMyAdmin on Ubuntu 22.04?
Here are the steps to follow to install phpMyAdmin on Ubuntu 22.04 :
Step 1: System update
First of all, make sure your system is up to date. Open a terminal and type the following commands to update your system:
sudo apt update & sudo apt upgradeStep 2: Install Apache
The next step in the process of installing phpMyAdmin on Ubuntu 22.04 is to install Apache.
Follow these step-by-step instructions to ensure correct installation.
See also: How to install the Cockpit web console on Ubuntu 22.04?
Install Apache :
sudo apt install apache2Once installation is complete, you can check that Apache is installed and running by typing http://localhost or http://adresse_ip (your computer’s IP address) into your web browser.
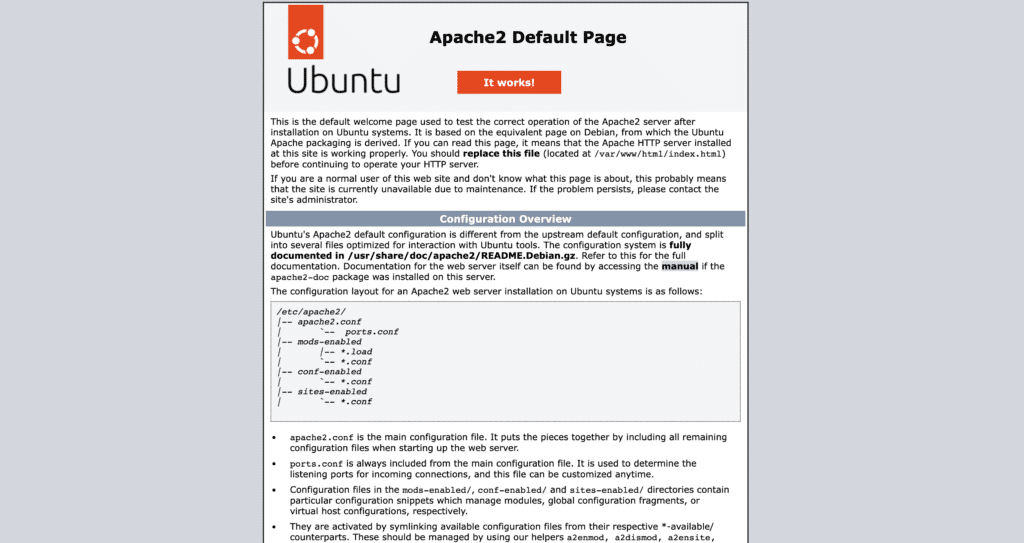
You should see the default Apache page confirming that the server is up and running.
Step 3: Install MySQL
Install the MySQL Server :
To install MySQL, enter the following command in the terminal:
sudo apt install mysql-serverInstallation will take a few minutes, depending on the speed of your Internet connection. Please wait for the installation to finish.
Secure MySQL installation
After installation, run the security script to reinforce the security of your MySQL server:
sudo mysql_secure_installationFollow the installation steps below:

Press Yes or Y to set the password yourself.
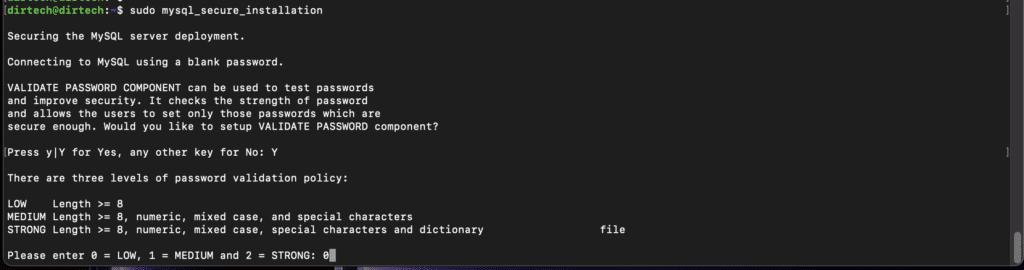
Then type 0 for a weak password, 1 for medium and 2 for a strong password.

Y to delete anonymous users by default.

Type N to authorize remote connection to the database.
Once installed, connect to the MySQL command interpreter with the following command:
sudo mysqlOnce you’ve typed the command, you’ll get this:
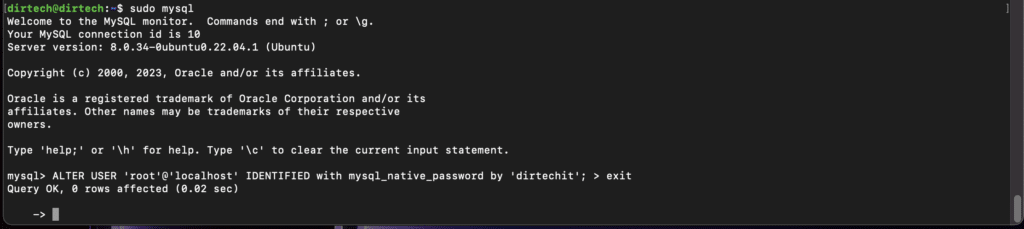
After installing the MySQL server, replace the default password with the password of your choice and exit MySQL.
To do this, the following query will be used:
ALTER USER 'root'@'localhost' IDENTIFIED with mysql_native_password by 'dirtechit';Replace dirtechit with your password. Then type exit to exit the MySQL terminal.
Restart the MySQL server by executing the following command:
sudo service mysql restartNow, if you type the above command :
sudo mysqlYou will get the following error:

After entering the password, access will be denied, as the password you have set is for the root user, so you must log in as root :
To log in as root, type the following command:
mysql -u root -pEnter the password you’ve just created.

Press exit to exit the terminal and continue with PHP installation.
Step 4: Install PHP
We’re going to install PHP with all its dependencies.
Type the following command to install PHP on your system:
sudo apt install php libapache2-mod-php php-mysqlCheck PHP installation
Check the PHP version installed by typing :
php -vThe output will be :

That’s it! Apache, MySQL and PHP are now installed on your Ubuntu 22.04 system. You’ve now taken a crucial step towards ensuring that phpMyAdmin runs smoothly on your machine.
Step 5: Install phpMyAdmin
You’ve successfully installed Apache, MySQL and PHP on your Ubuntu 22.04 system! Now it’s time to install phpMyAdmin.
In the terminal, enter the following command:
sudo apt install phpmyadminDuring the installation process, a screen will appear asking you to select the web server to be used.
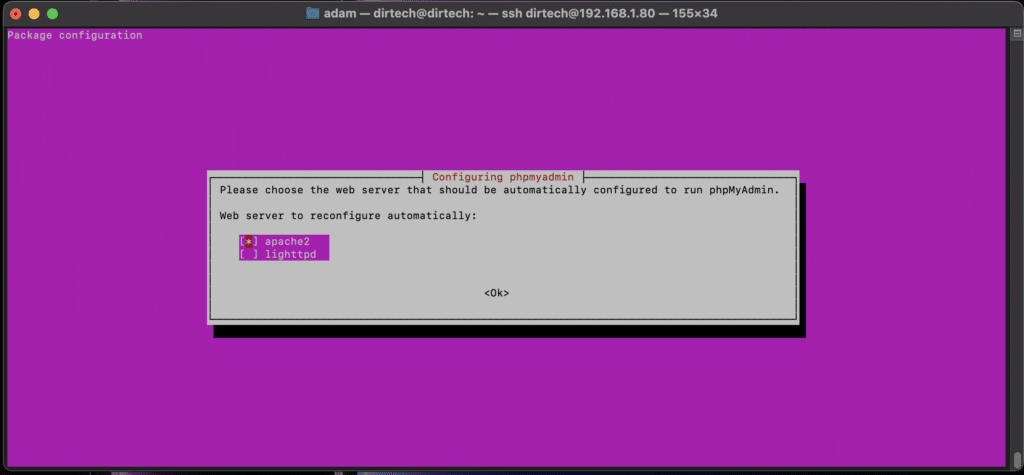
Use the Space key to select “apache2”, then press Enter to continue.

When asked if you want to configure a database for phpMyAdmin with dbconfig-common, choose “No” and press Enter.
Once phpMyAdmin installation is complete, make sure you restart the Apache server to apply all changes:
sudo systemctl restart apache2Open your web browser and enter the following URL:
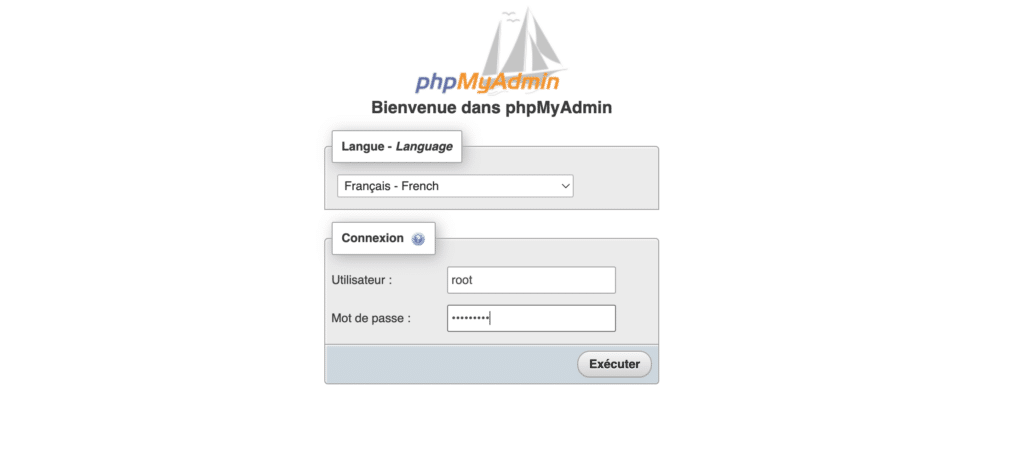
http://votre_adresse_ip/phpmyadminYou should see the phpMyAdmin login page.

Enter the username and password you defined during installation to access the phpMyAdmin interface. In our case, the password was dirtechit.
Once logged in, you will have :
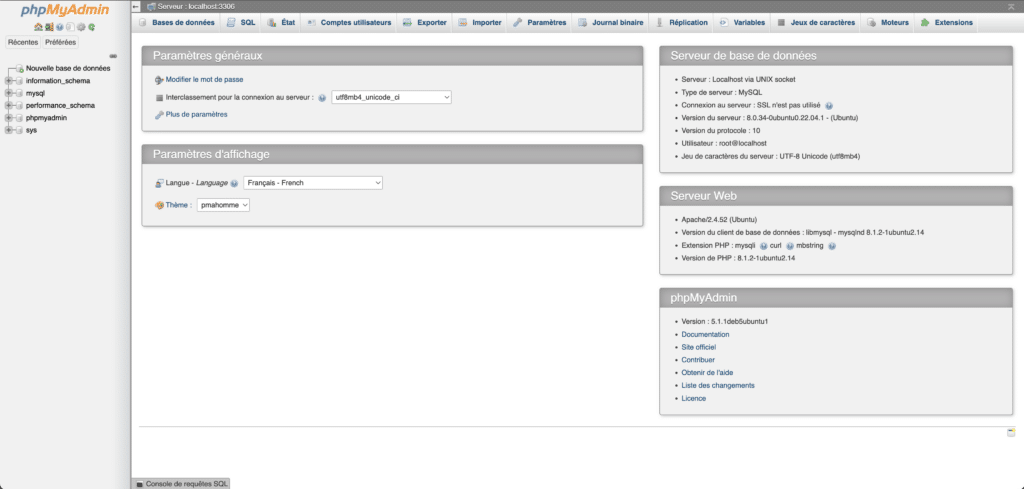
If you see the error: ‘phpMyAdmin configuration storage is not fully configured, some features have been disabled. See the problem analysis. Or go to the “Operations” tab of any database and set it there.‘
Click on View problem analysis then create.
How do I remove PhpMyAdmin from Ubuntu 22.04?
Sometimes it may be necessary to remove PhpMyAdmin from your Ubuntu 22.04 system, either to free up space or to reconfigure PhpMyAdmin.
The uninstall procedure is straightforward. Here’s how to do it step by step:
Uninstalling PhpMyAdmin
To remove PhpMyAdmin, open the terminal and run the following command:
sudo apt remove phpmyadminThis command uninstalls PhpMyAdmin from your system, while preserving configuration files and associated data.
Complete deletion with all dependencies
If you wish to remove PhpMyAdmin and all its libraries and dependencies, run the following command:
sudo apt purge phpmyadminThis command will purge PhpMyAdmin from your system, deleting all configuration files and associated data.
Conclusion
Now you know how to install phpMyAdmin on Ubuntu 22.04! Now you can manage your MySQL databases easily and securely. Follow these steps and you’ll be up and running in no time!
Remember, practice makes perfect, so feel free to explore and become more familiar with phpMyAdmin and Ubuntu 22.04.
So you’ve found this article useful and would like to find out more or get professional assistance on other subjects? So don’t hesitate to hire me on Upwork. I’ll be happy to help you.
FAQs
How do I access phpMyAdmin after installation?
After installing phpMyAdmin on Ubuntu, open your browser and type http://adresse_ip/phpmyadmin. Use the credentials you defined during installation to log in.
What should I do if I encounter errors when installing phpMyAdmin?
Make sure your system is up to date and that you have followed all the installation steps correctly. Consult the official documentation or search for the specific error online to find possible solutions. You can also hire me on Upwork. I’ll be happy to help you.
Can I install phpMyAdmin on other Ubuntu versions?
Yes, phpMyAdmin can be installed on other Ubuntu versions, but the specific steps may vary. Make sure you follow the appropriate installation guide for your version of Ubuntu.
How can I make my phpMyAdmin installation more secure?
Change the default username, use a strong password, update your software regularly, and configure additional security settings in the phpMyAdmin configuration file.
Does phpMyAdmin support other database management systems in addition to MySQL?
phpMyAdmin is designed primarily for MySQL and MariaDB. For other database management systems, you may need to consider other tools.
How can I back up my databases using phpMyAdmin?
In the phpMyAdmin interface, select the database you wish to save, then click on the “Export” tab. Choose the backup format (often SQL) and follow the instructions to complete the backup.