Zabbix is a popular open source monitoring solution used to track various network activities, servers, applications and other systems. In this guide, we’ll focus on how to install and configure the Zabbix agent for Windows. This will enable you to monitor your Windows machines via the Zabbix server.
Step 1: Download the Zabbix agent for Windows
To effectively monitor Windows machines with Zabbix, the first step is to download the Zabbix agent for your version of Windows.
Here’s how to do it:
Visit the official Zabbix website.
Once on the download page, choose the Zabbix agent version appropriate for your version of Windows.
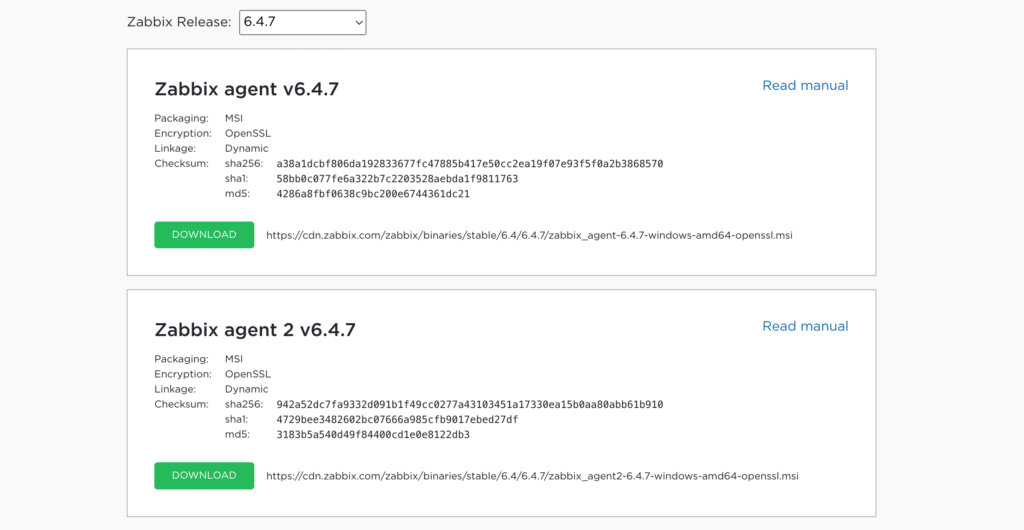
If you don’t know whether your system is 32-bit or 64-bit, you can check this in your computer’s system properties.
Step 2: Installing the Zabbix agent
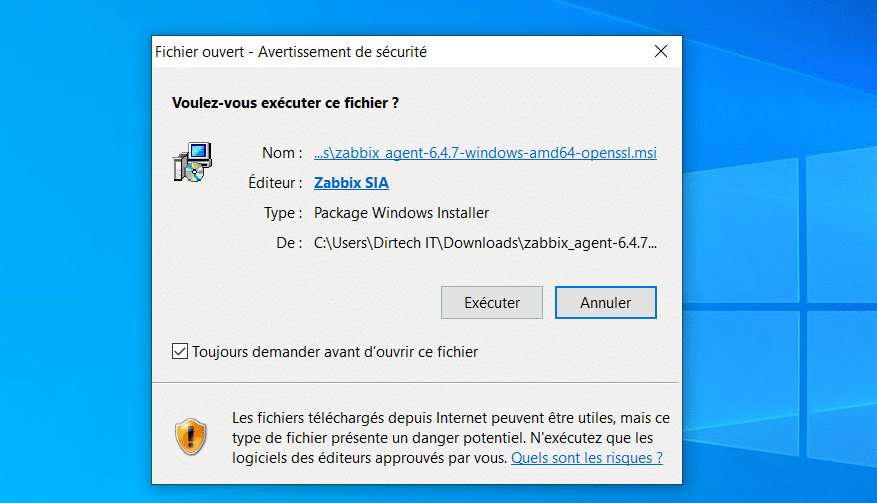
After downloading the Zabbix for Windows agent, the next step is to install it. Follow these instructions for a successful installation:
Open the extracted directory and right-click on the zabbix_agentd.exe file, then select “Run as administrator”. This will launch the agent installation.
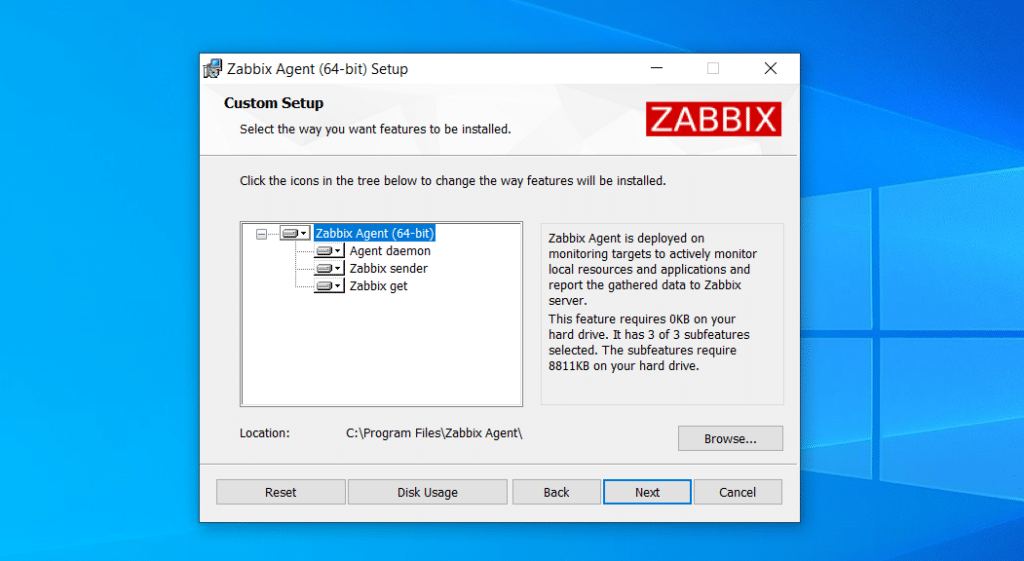
An installation window will open with several options.
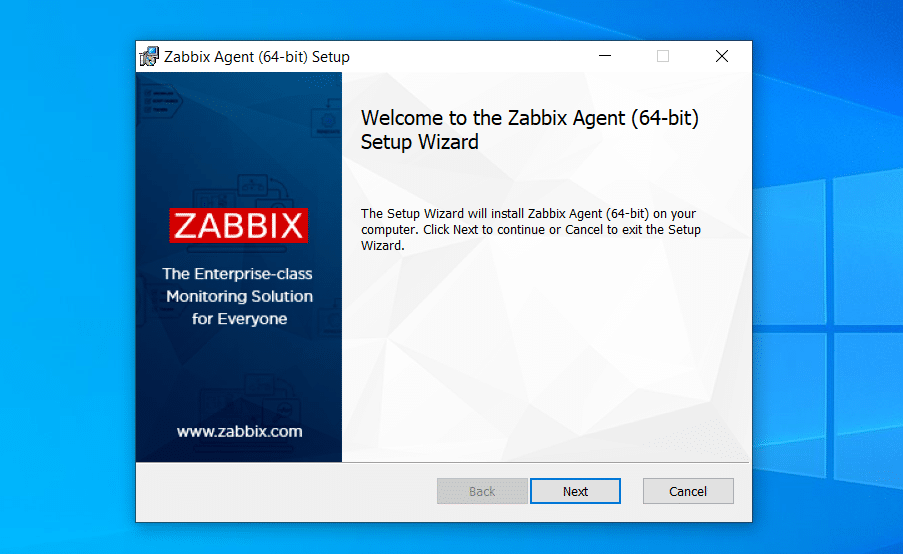
Keep the default settings, unless you have specific requirements, and click “Next” until the installation begins.
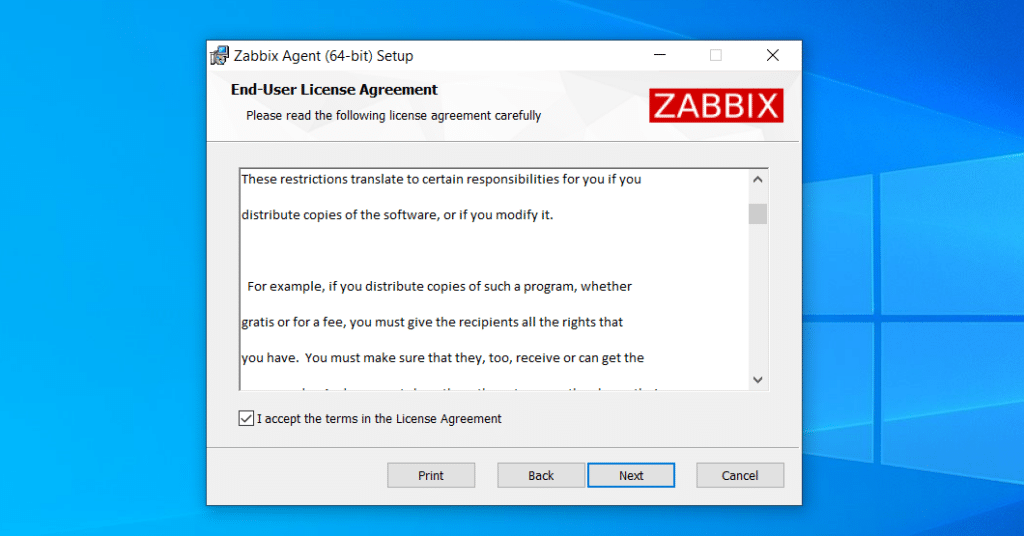
Click on Next…
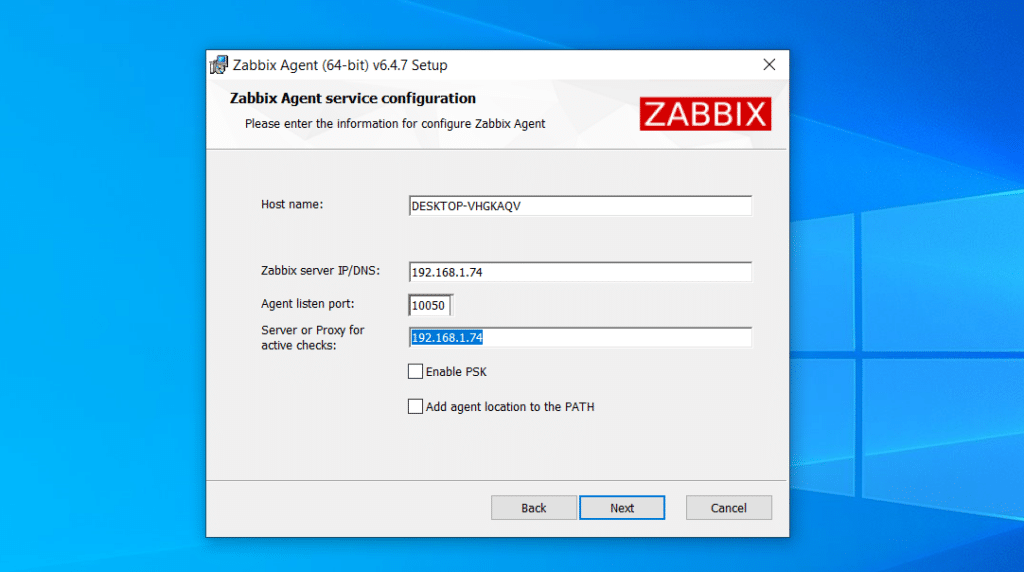
Keep the host name and add the IP address of the Zabbix server.
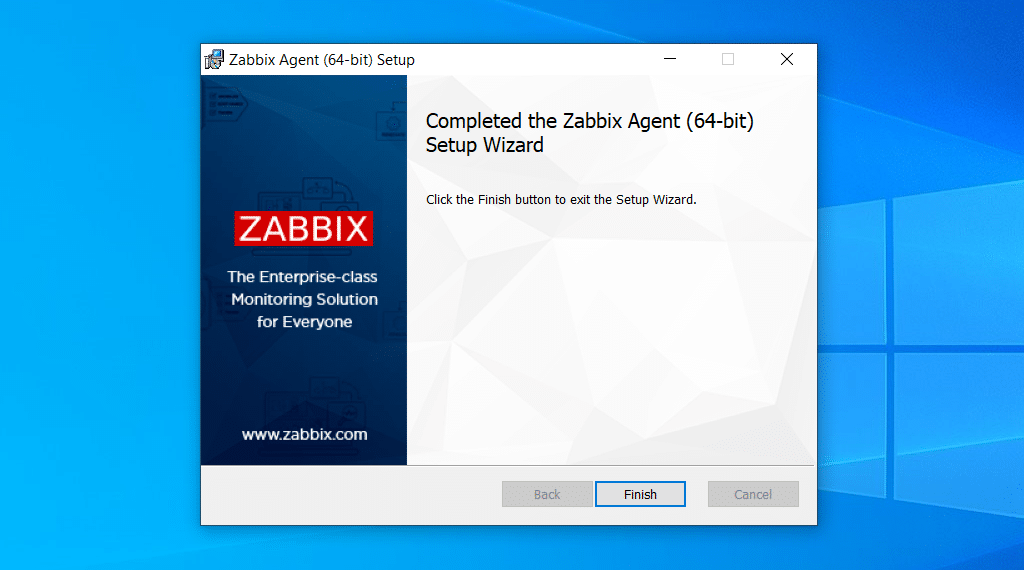
Finish the installation.
To make sure the agent is running, open the Windows Services Manager (by typing “services.msc” in the Start menu) and search for the “Zabbix Agent” service.

The service status should read “Running”.
See also: How do I install Zabbix Server on Ubuntu 22.04?
Step 3: Configuring the Zabbix agent on Windows
Once the Zabbix agent has been installed on your Windows machine, the next step is to configure it to communicate correctly with your Zabbix server.
Navigate to the Zabbix agent installation directory (e.g. C:\Programs\Zabbix Agent). Find the zabbix_agentd.win.conf file. This is the configuration file you’ll be modifying.
Right-click on the zabbix_agentd.win.conf file and choose “Open with”, then select a text editor such as Notepad or Notepad++.
If you add the server’s IP address during installation, you no longer need to do this configuration.
Find the line starting with Server=. Replace the default value (usually 127.0.0.1) with the IP address or domain name of your Zabbix server.
Server=ip_serverSimilarly, modify the line starting with ServerActive= to point to your Zabbix server.
ServerActive=ip_serverFind the line starting with Hostname=. By default, this can be configured to use the system host name. If you want a different name for this agent in your Zabbix interface, modify this line accordingly.
Hostname=Client ZabbixAfter making the necessary changes, save the file and close the text editor.
Step 4: Starting the Zabbix agent
Once the Zabbix agent has been configured, it is essential to ensure that it is working properly and communicating with the Zabbix server. Here’s how to launch the Zabbix agent on Windows :
Navigate to the Zabbix agent installation directory (e.g. C:\Programs\Zabbix Agent). Find the zabbix_agentd.exe file. Then run the file as administrator (just right-click on the file).
Step 5: Add the Windows client to the Zabbix server
Now that the Zabbix agent is installed and running on your Windows machine, the next step is to add it to the Zabbix server so that it can monitor your computer’s performance and other metrics.
Follow these steps to add your Windows client to the Zabbix server:
Open your favorite browser and navigate to the Zabbix server address. Log in with your username and password.
In the top menu, click on “Configuration”, then choose “Hosts”.
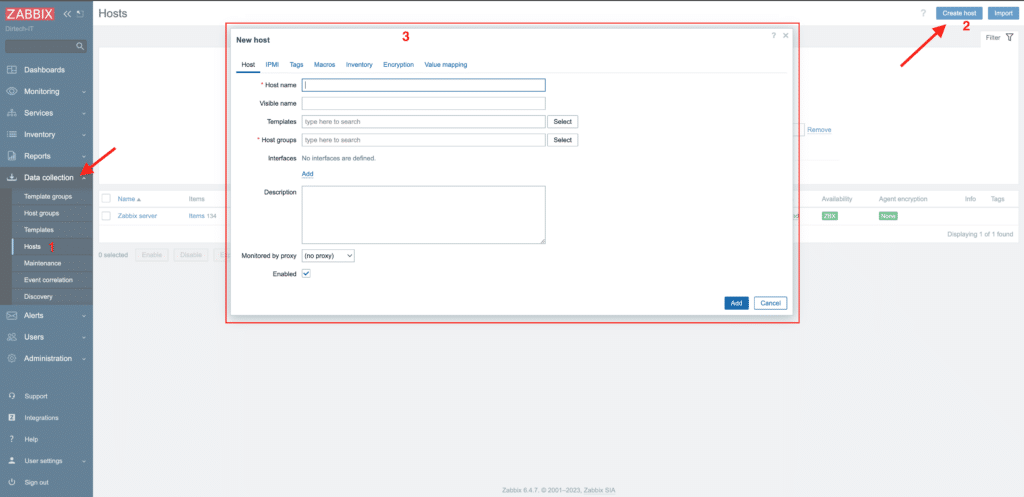
In the top right-hand corner, click on the “Create host” button.
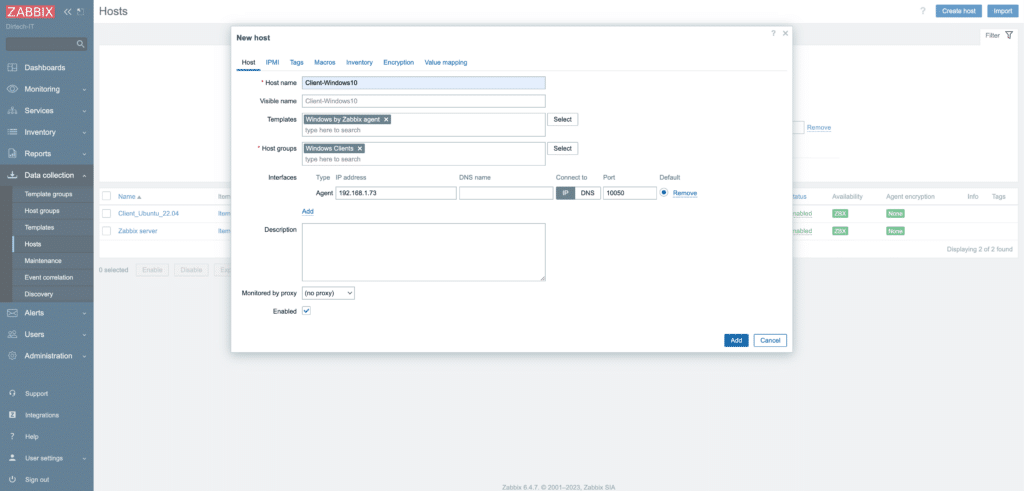
Configure host details :
- Host name: Give your Windows machine a meaningful name, e.g. “Client-Windows10”.
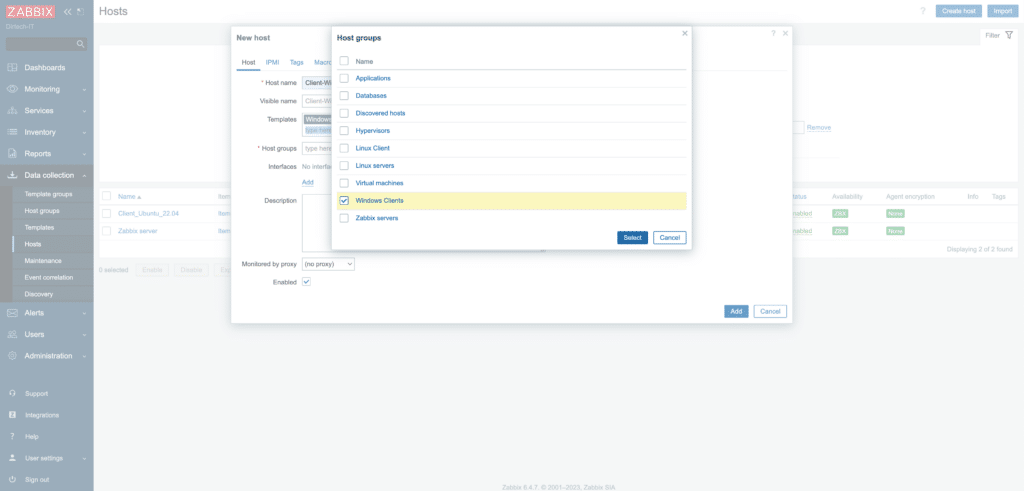
- Host groups : Select a relevant host group, such as “Windows Servers”, or create a new one.
- Interface agent: Enter the IP address of your Windows machine and make sure the port is correct (the default port for Zabbix Agent is 10050).
Click on the “Templates” tab.
In the section, type “Templates/ Operating systems” in the search bar and select the appropriate model, e.g. “Windows”.
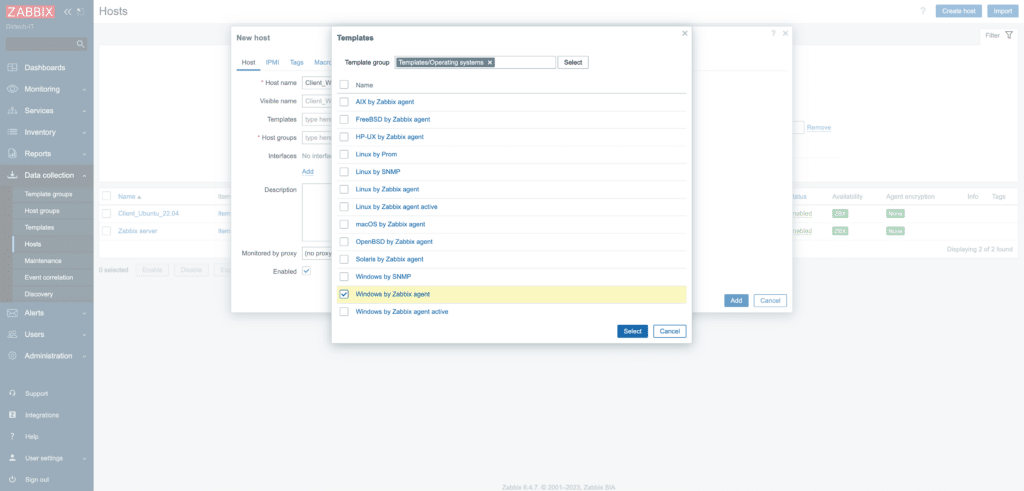
Also select the host group.
Then click on “add” and add the IP address of the agent (client).
Click on the “Add” button to associate the template with your host.
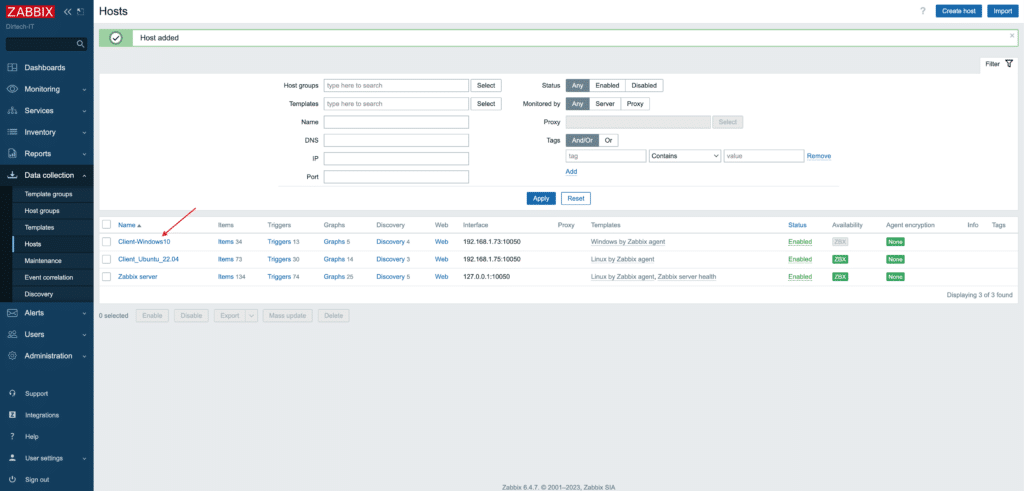
After a few minutes, return to the “Hosts” page and check the “Availability” column. If everything is working correctly, you should see a green icon indicating that the Zabbix agent on your Windows machine is communicating correctly with the Zabbix server.
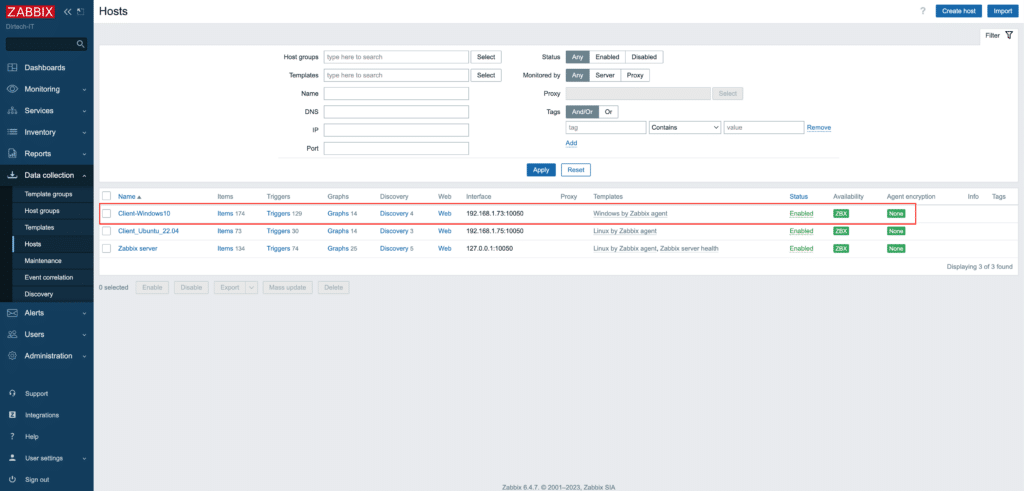
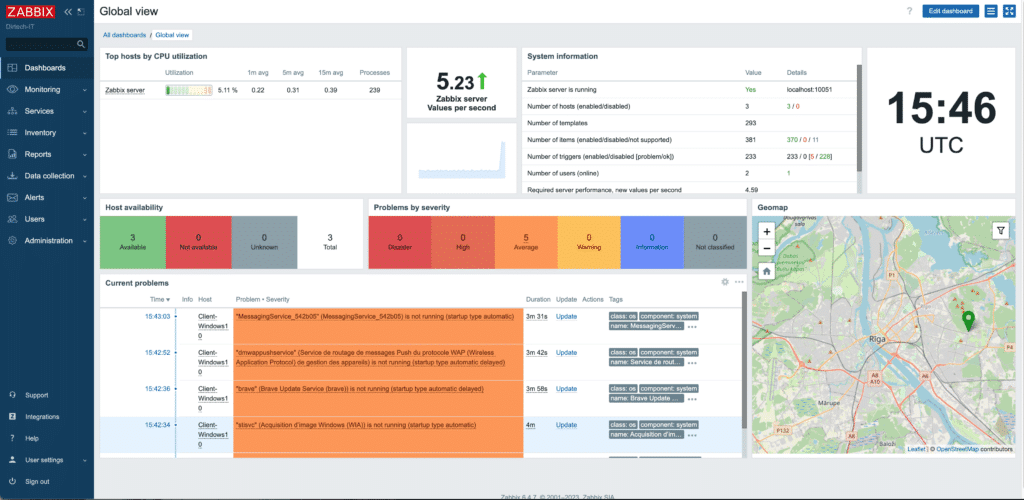
Congratulations, your Windows client is now added and monitored by your Zabbix server. You can view graphs, reports and alerts specific to your Windows machine from the Zabbix web interface.
Conclusion
With these steps, your Windows machine should now be monitored by your Zabbix server. This gives you visibility of your Windows machine’s performance and potential problems from the Zabbix interface.
You found this article interesting and would like professional assistance on other subjects? So don’t hesitate to contact me on Upwork. I’ll be happy to help you.
FAQs
Why install the Zabbix agent on Windows?
The Zabbix agent enables in-depth monitoring of performance, availability and various metrics of a Windows system, providing a complete view of your machine’s status.
Will the Zabbix agent slow down the performance of my Windows PC?
No, the Zabbix agent is designed to be lightweight and have minimal impact on the performance of the system on which it is installed.
Do I need to install additional dependencies to run the Zabbix agent on Windows?
No, the Zabbix agent installer for Windows includes all the necessary dependencies.
How do I update the Zabbix agent on Windows?
Simply download the latest version of the agent from the official Zabbix website and follow the installation process. The old version will be replaced by the new one.
Does the Zabbix agent require administrator rights to run on Windows?
Yes, for some advanced metrics and to be able to start or stop the service, administrator rights may be required.
Can I monitor several Windows machines with a single Zabbix server?
Absolument ! Zabbix is designed to monitor thousands of machines. Simply install the agent on each machine you wish to monitor and add it to your Zabbix server.
How can I troubleshoot if my Zabbix agent doesn’t communicate with the server?
Make sure your Windows firewall allows traffic on the port used by Zabbix (by default, port 10050). Also check the agent configuration to ensure that the Zabbix server address and port are correct.