In this article, we will discuss how to create a BIMI (Brand Indicators for Message Identification) record in CyberPanel. BIMI is an emerging standard that allows companies to display their logo alongside their emails, reinforcing their brand image and authenticity.
The purpose of this article is to guide you through the steps necessary to set up a BIMI record in CyberPanel, so that your emails stand out and inspire more confidence in your recipients.
If you would like to learn more about BIMI email, check out the article below.
Prerequisites for creating a BIMI record
Before you begin creating a BIMI record in CyberPanel, it is important to ensure that you have the following in place:
A verified and configured domain in CyberPanel.
A Domain-based Message Authentication, Reporting, and Conformance (DMARC) policy in place for your domain.
A logo in SVG format adapted to the requirements of BIMI (respect of dimensions, colors, and file format).
A web hosting to store your SVG file, accessible via a public URL.
DNS records are usually created automatically when a site is set up on CyberPanel.
Create an image (your logo) in SVG format
First, you will need to get a copy of your logo and convert it to SVG format. For this, you can use online conversion tools.
Here are some basic guidelines to get you started:
- It must have a background color instead of transparency
- No embedded images (png, jpeg, etc.)
- Square dimensions (for example, 50x50px)
Upload the BIMI logo to CyberPanel
You must add the logo you just converted to SVG file to the root of your site.
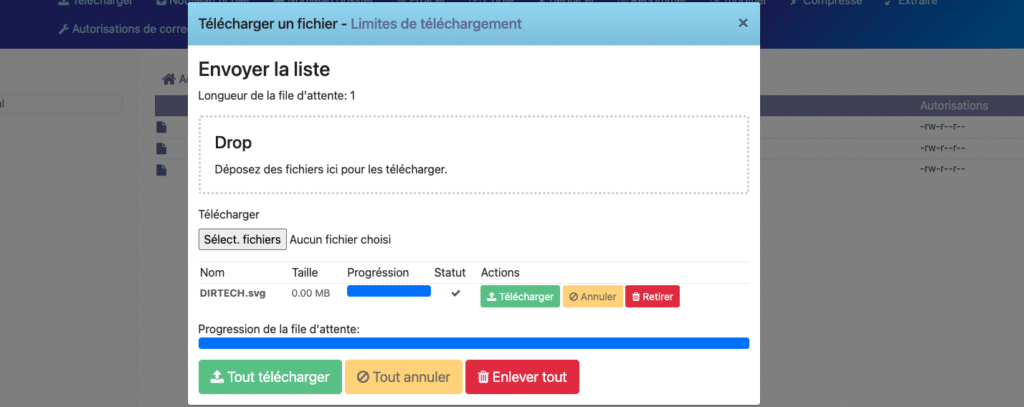
To upload the file, you can use FTP. Personally, I use the CyberPanel file manager to upload the file to public_html.
The steps below explain the file manager method.
Go to your site and click on File Manager.
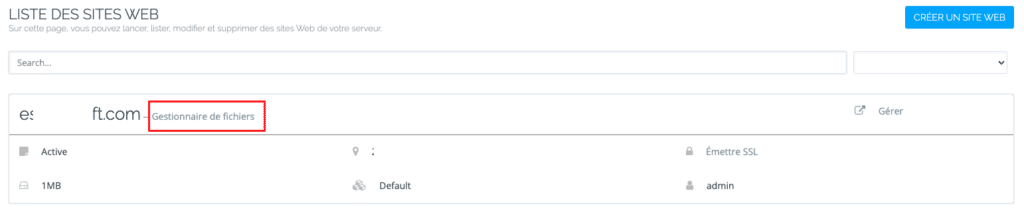
Then click on public_html.

In the public_html folder, click on Download.
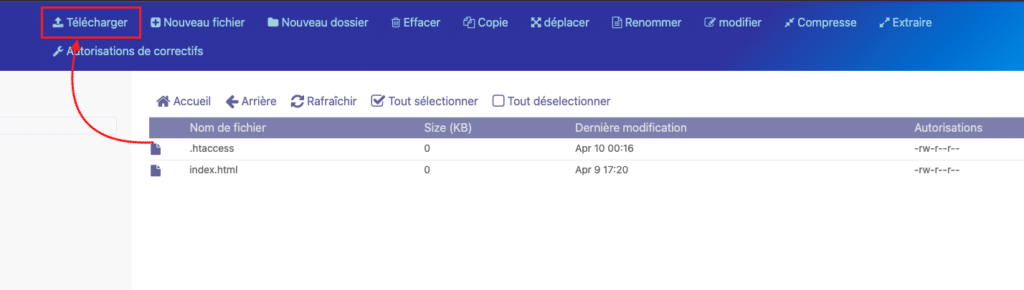
From here, you can now add your logo.
Make sure you can access the URL of the image
For example, https://example.com/logo.svg
Add a BIMI DNS record
Simply copy parts of the sample BIMI DNS record below and replace the URL with the URL of your SVG image.
The record must include the prefix “v=BIMI1;”, followed by the URL of the hosted SVG file.
For example:
default._bimi 3600 IN TXT "v=BIMI1; l=https://exemple.com/logo.svg"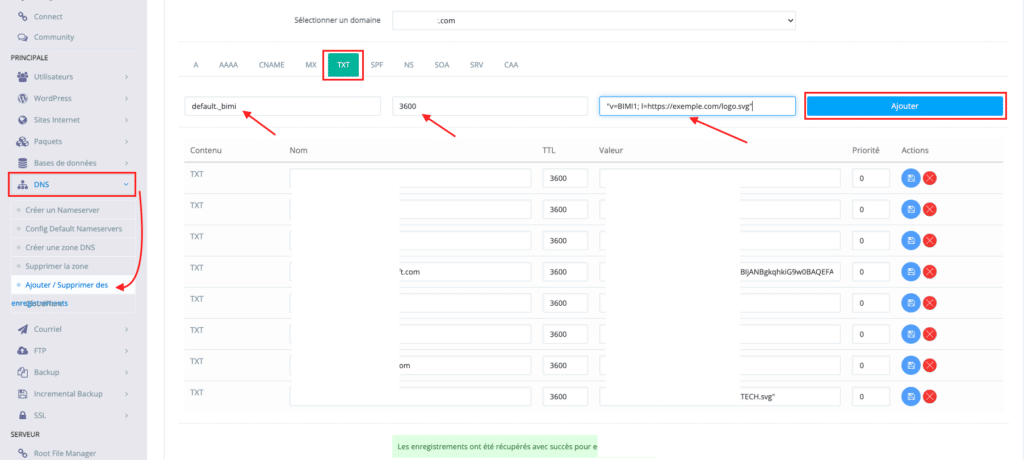
Validate and test the BIMI record
To verify and test that your BIMI DNS record is working, you can send an email.
There are also free BIMI registration checkers available online to confirm your CyberPanel email configuration.
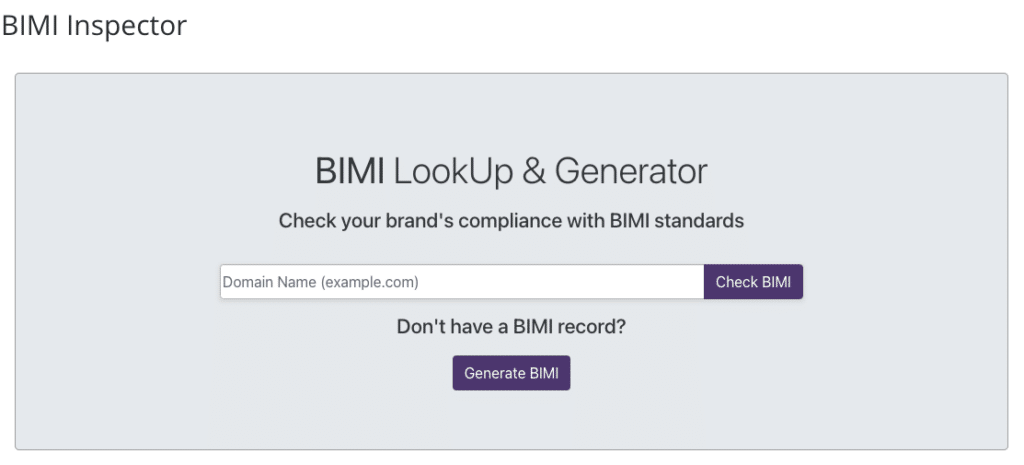
You can check the BIMI record with the BIMI Inspector tool.
Conclusion
In short, setting up a BIMI registration in CyberPanel is a simple process that can offer many benefits to your business in terms of trust and brand recognition.
By following the steps outlined in this article, you will be able to create and validate a BIMI record for your domain.
This allows you to display your logo in compatible email clients, enhancing the credibility of your emails and improving the user experience.