You use CyberPanel to manage your web hosting and want to benefit from Cloudflare’s advantages to optimize and secure your websites? This guide will show you how to configure CyberPanel’s DNS server using Cloudflare step by step. By combining the features of CyberPanel and Cloudflare, you will benefit from automatic propagation of DNS records and increased protection against DDoS attacks.
How to Install CyberPanel: Step-by-Step Guide
Create a Cloudflare account and add your domain
Step 1: Sign up on Cloudflare
Go to Cloudflare and sign up by following the instructions on the screen. You will need to provide an email address and choose a password for your Cloudflare account. Then confirm your email address.
Step 2: Add your domain to Cloudflare
Once logged into your Cloudflare account, click on the Add Site button at the top of the page and enter the domain name of your website.
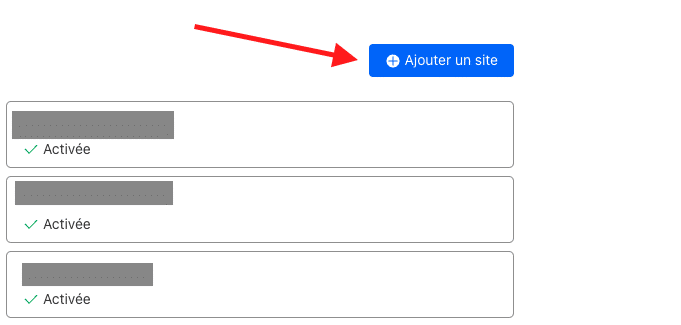
Click Add Site and follow the steps to configure and verify the existing DNS records. Finally, choose a subscription plan for your domain (free or paid) and confirm your selection.
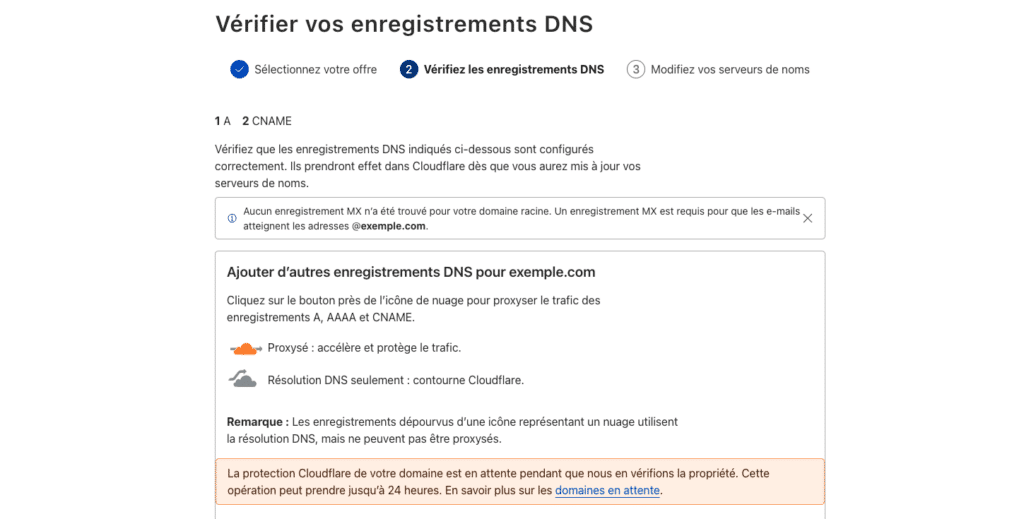
Follow the instructions and check your DNS records. It should be noted that DNS changes can take up to 48 hours to propagate.
Another option I prefer is to buy your domain name directly from Cloudflare. With this option, you won’t have to configure DNS records and your website is well protected.
Cloudflare – CyberPanel Integration
CyberPanel has a feature to synchronize changes in DNS records. This is so that you don’t need to connect to Cloudflare to also update the records. The DNS records of your sites are automatically propagated between Cloudflare and CyberPanel.
Note that changes to DNS zones in Cloudflare will not be passed on to CyberPanel DNS zones. You must therefore modify the DNS records from CyberPanel.
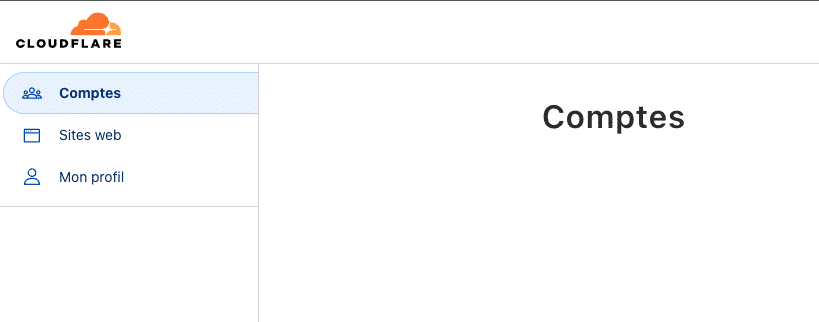
To do this, log into your Cloudflare account, then go to the My Profile tab.
On the right, select API Tokens and go to Global API Key then display
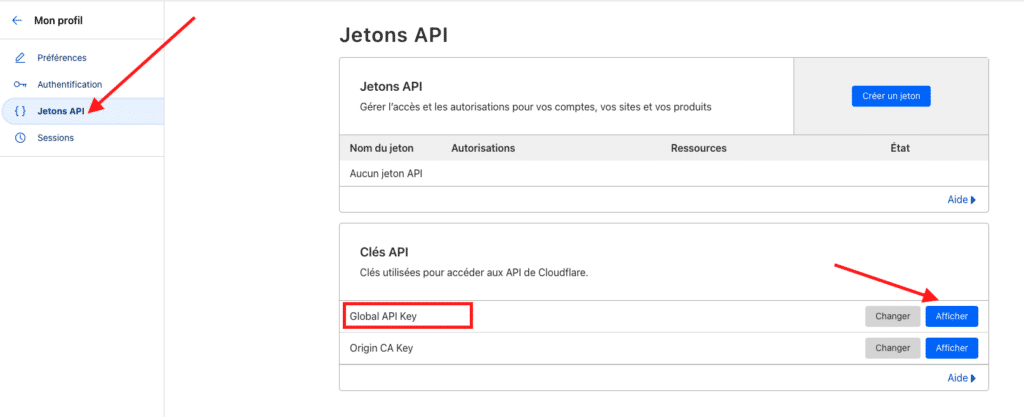
If you do not see the option to display, you must create the API token by clicking on Create Token at the top.
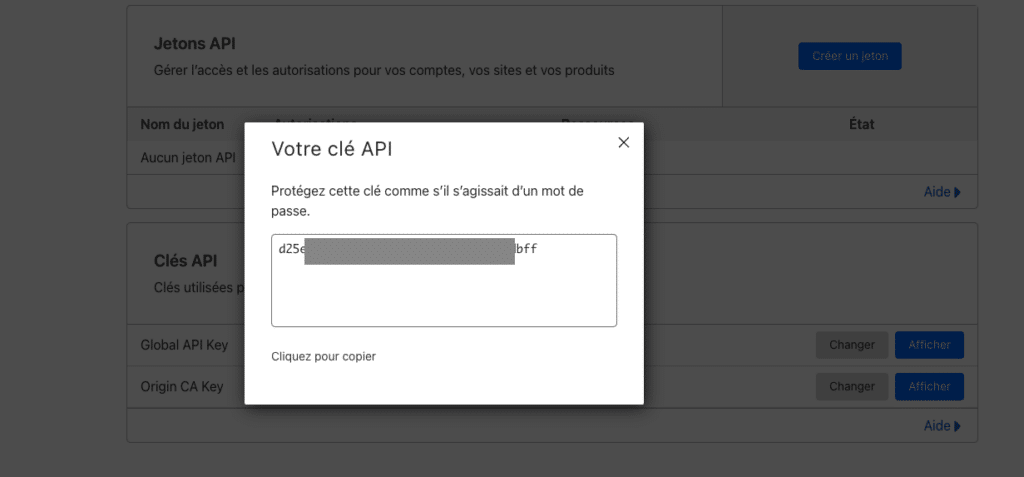
Once you have the API token, you need to log into CyberPanel this time.
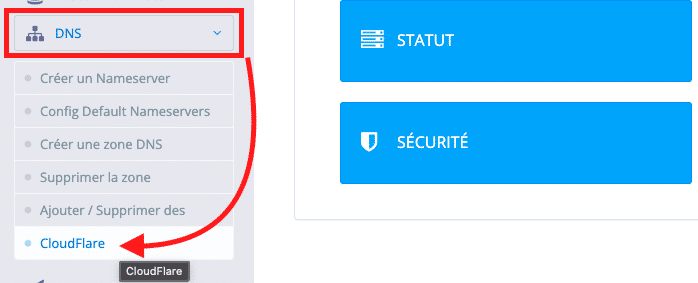
Click on Cloudflare, then enter the API token you just copied to Cloudflare.
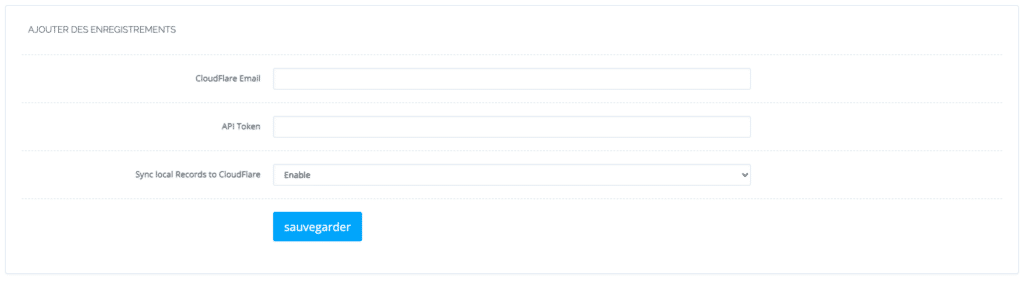
Enter the email address you used on Cloudflare. Then the API token and select the enable option to activate the synchronization, then save.
Configure the CyberPanel DNS server
Configuring CyberPanel’s DNS server correctly is crucial to ensure the proper functioning of your websites and domain name resolution.
Still on the CyberPanel dashboard, go to the DNS option, then add/remove records.
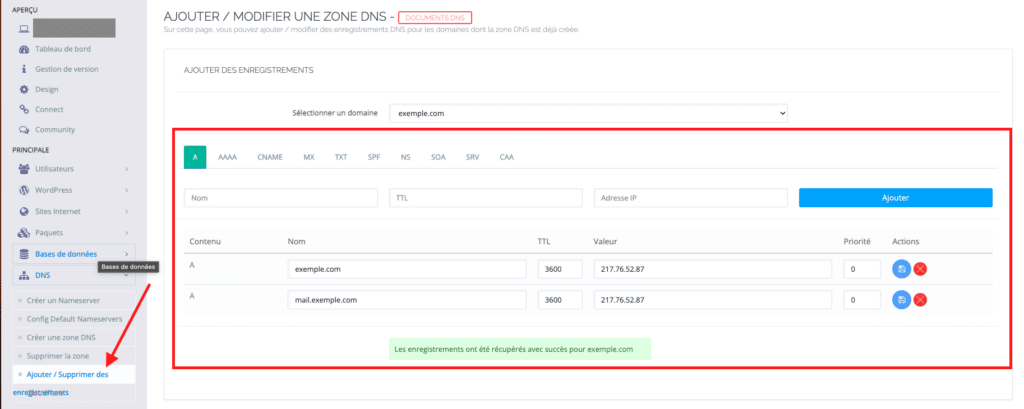
Add an A record for the domain.
Add a CNAME record for the subdomain “www”.
Set up MX records for email (if necessary).
Add more DNS records if necessary (TXT, SRV, etc.).
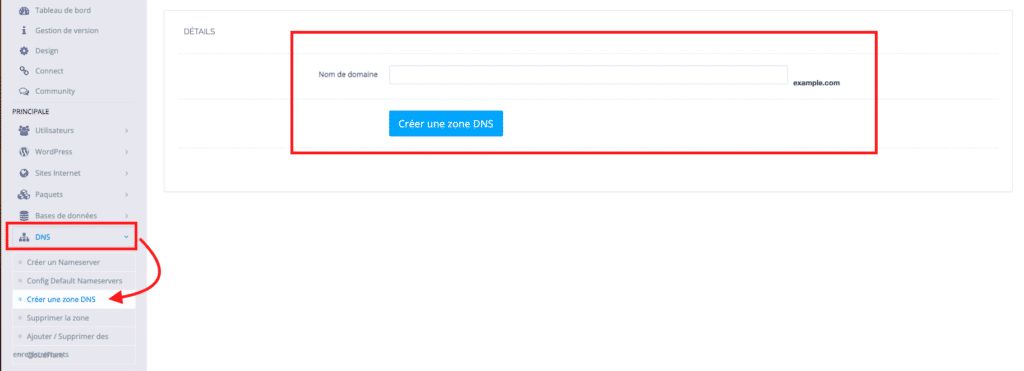
Create a DNS zone on CyberPanel
Creating a DNS zone is usually used to add a domain that only requires DNS management or mail server hosting on your server. It does not create a home directory for the domain.
You can add DNS zones in the DNS > Add Zone section.
It is important to mention that CyberPanel automatically manages the creation of DNS records when a site is created. Thus, you will not need to create these DNS records manually. And even more if you have already integrated Cloudflare-CyberPanel, the DNS records are automatically proposed.