Table des matières
Masquer
WordPress is a free, open-source content management system. We will see here how to install WordPress locally on a machine.
Install WampServer
WampServer is a Windows-based web development platform for dynamic web applications using the Apache2 server, the PHP scripting language and a MySQL database. It also has phpMyAdmin to manage your databases more easily. So to install it:
- Download WampServer (32 or 64 bits depending on your Windows architecture) here
- Double-click on the downloaded file and let us guide you. Everything is managed by the WampServer installer. By default, WampServer is delivered with the latest versions of Apache, MySQL and PHP.
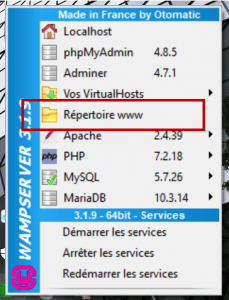
- Automatic creation of a ” www ” directory during installation (typically in c:\wamp\www).
Install WordPress
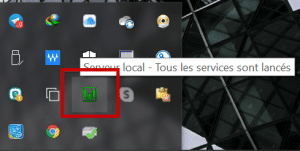
After the installation of WampServer, we will now proceed to the installation of WordPress. So to start, launch WampServer and make sure its icon has changed from red to green. So to install WordPress, we will proceed as follows:
- Download the latest version of WordPress CMS from the official website here

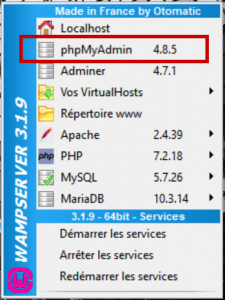
- Check that WampServer is running (green icon) and launch phpMyAdmin
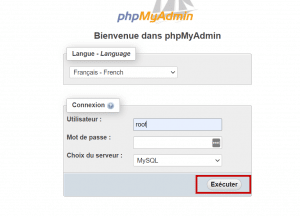
- Connect to the database (by default the user name is root and leave the password field empty).
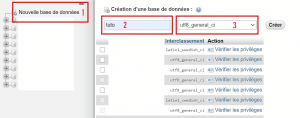
- Create a database for your site.
- Create a folder (yoursite) in the WampServer installation folder in the C /wamp64/www disk
- Copy and unzip the downloaded WordPress file into the created folder.
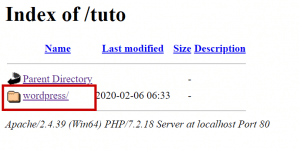
- Then in your browser, type localhost/votresite
- Click on wordpress to start the installation.
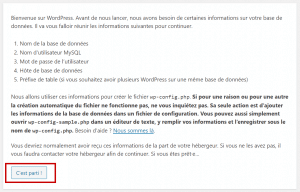
- The installation begins, read what wordpress offers and click on ‘go!
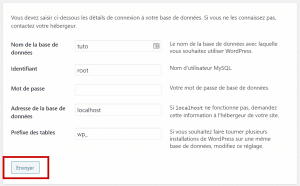
- Fill in the name of the database (created in the phpMyAdmin tab), the name of the user, in our case “root”, no need for a password, address for the database “localhost”, it is not necessary to modify the prefix of the table and click on Send.
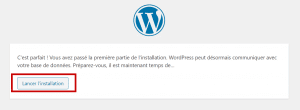
- If you have the message ‘it’s perfect’, click on launch the installation to continue (if not, double check the information)
- The next step will ask you for information about the WordPress site to be created and your user profile. Fill in the title of your future WordPress site, fill in the Username field and the Password field to create a WordPress user profile, fill in your email address to receive notifications of your site’s activities and the password renewal link. Locally, it is not useful to check the box of visibility with search engines. Click on Install ;

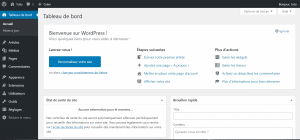
- The installation has been completed, click on Login and enter your username and password to log in to your WordPress site for the first time
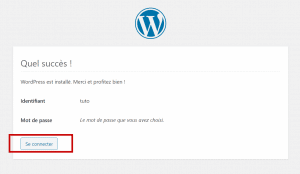
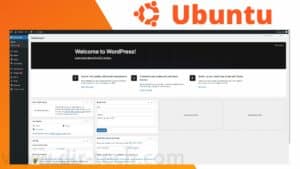
- You will have access to the WordPress dashboard, Congratulations!!!